62 Impala Project

Topstrap

Well Known Member
First off I'd like to say I'm so glad I found this forum. Just reading the various threads and viewing the projects that others are working on has taken a LOT of the doubt I've had about tackling a project such as this away I feel this is something my two sons and myself will get a lot out of just by being able to do the work together. There is so much satisfaction when you assemble an engine and hear it fire for the first time or assemble a car and see the final product come together. Thanks to all that have posted so much useful information for the rest of us to read and learn from.

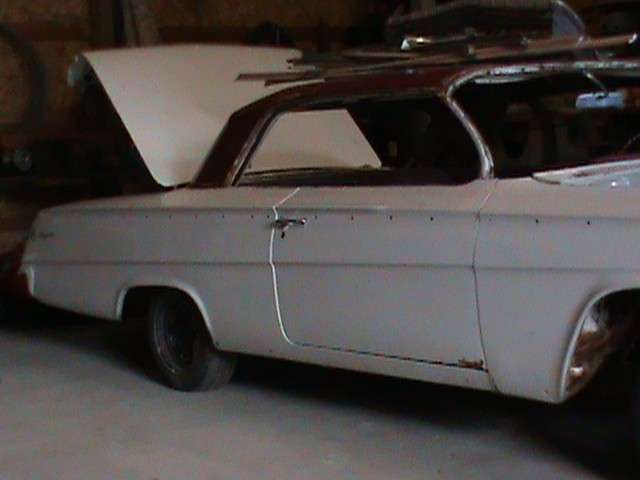
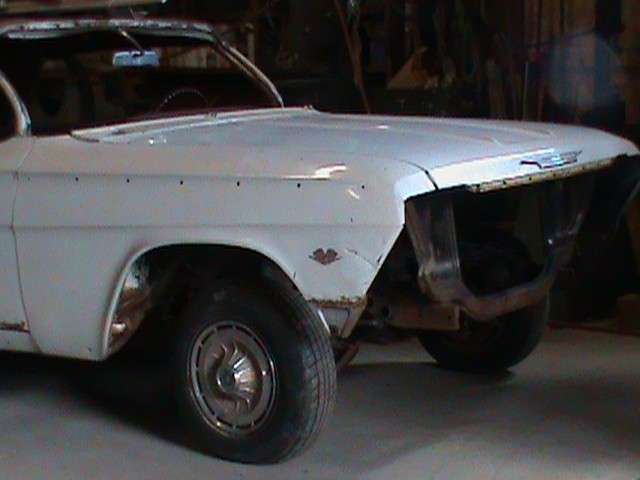
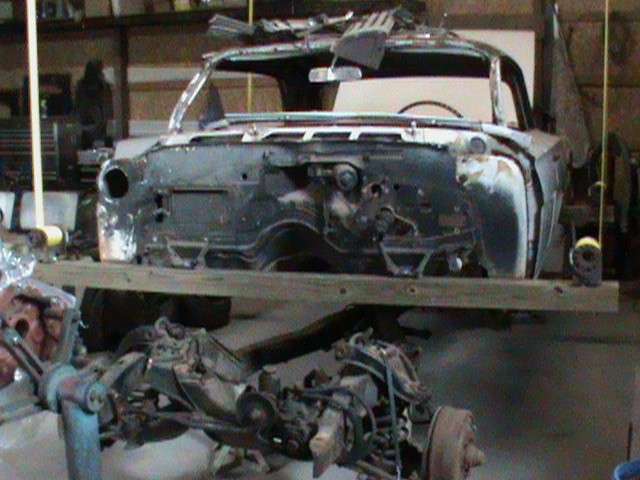
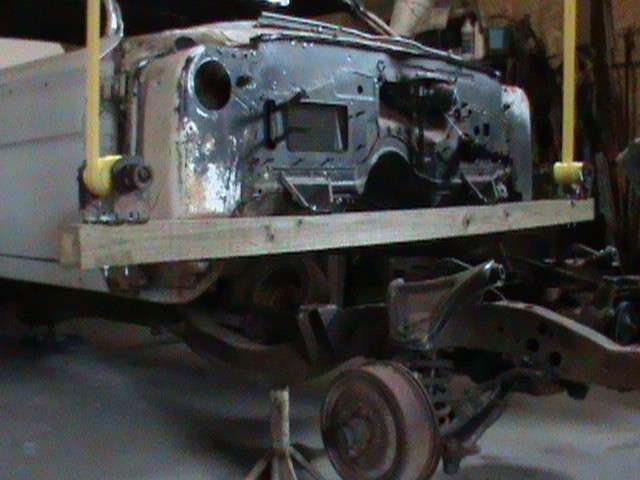
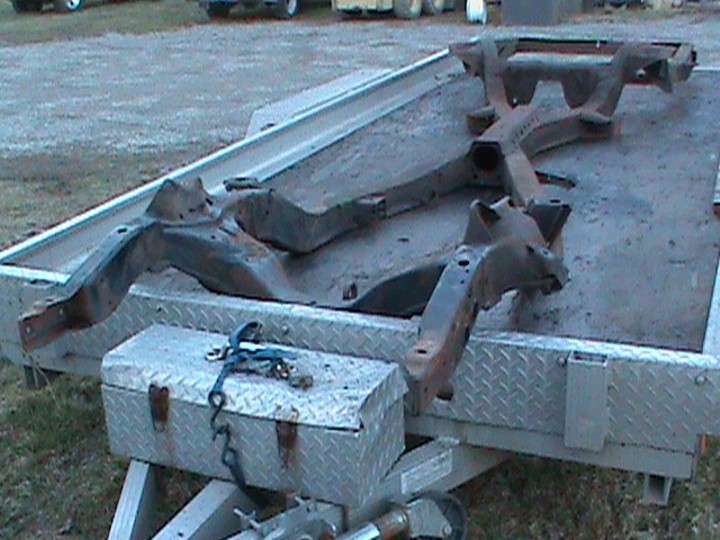
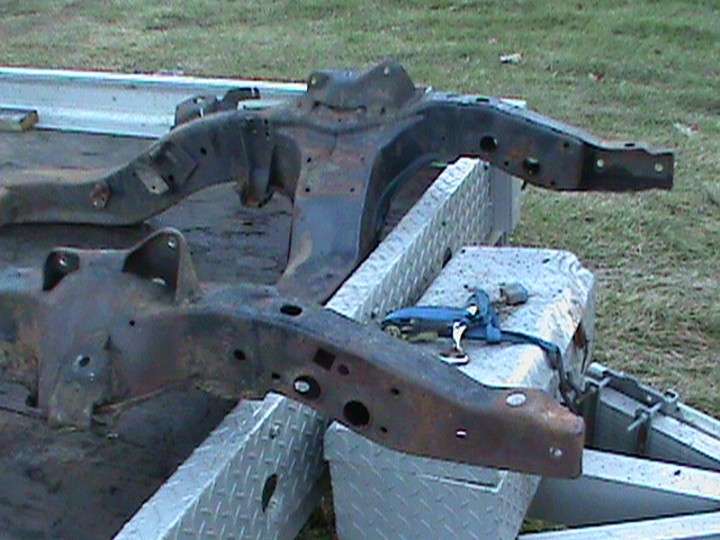
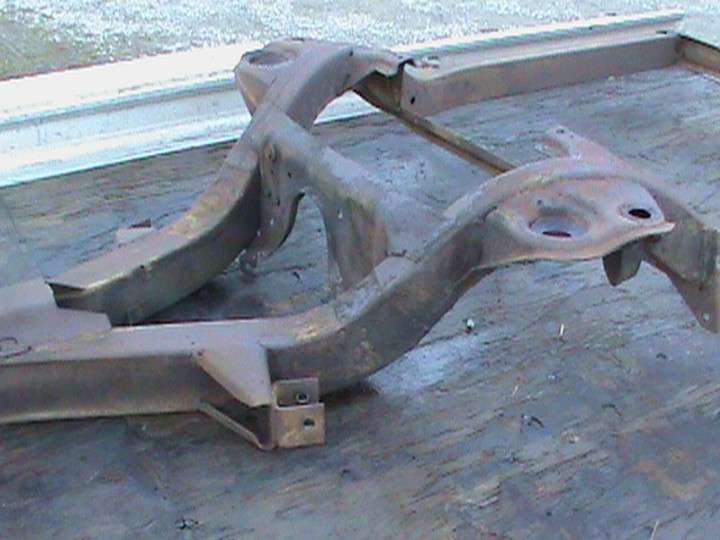
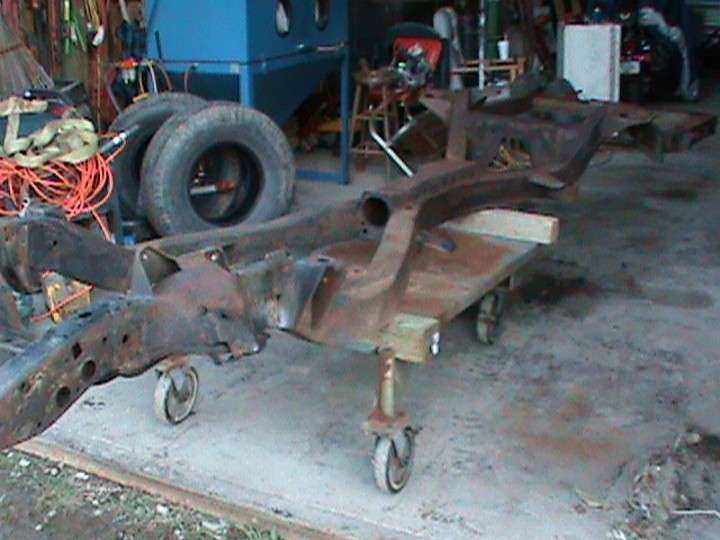
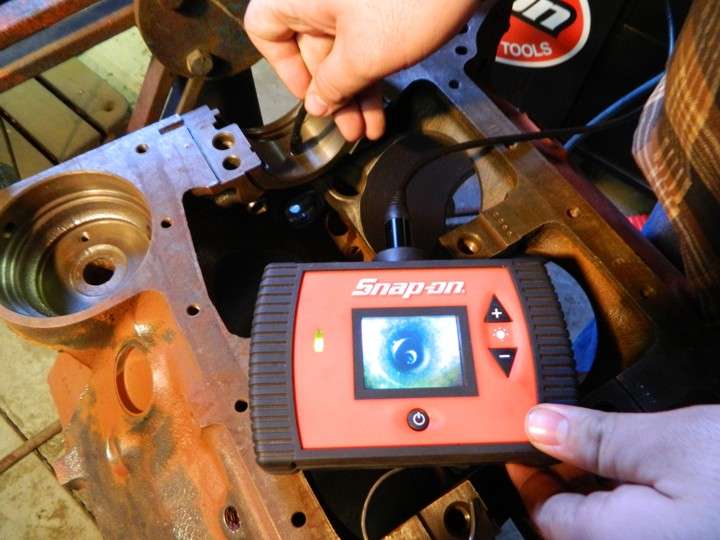
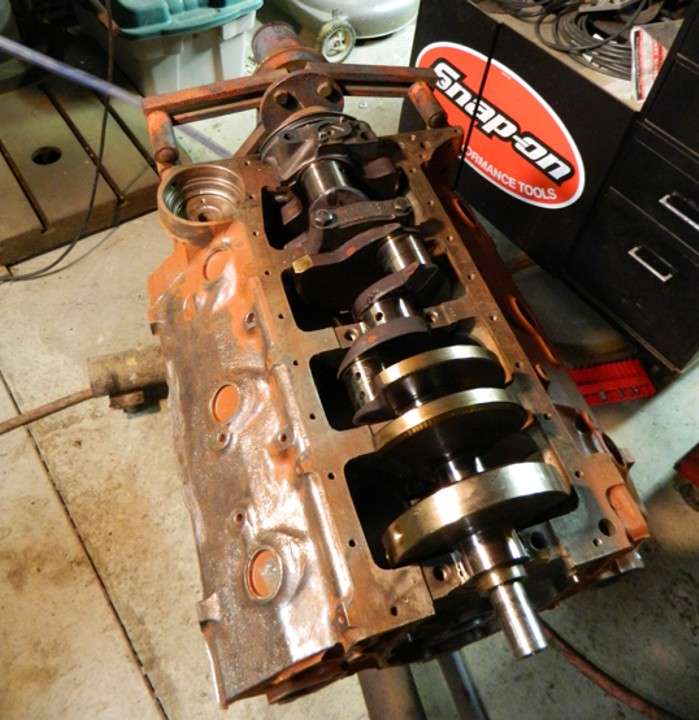
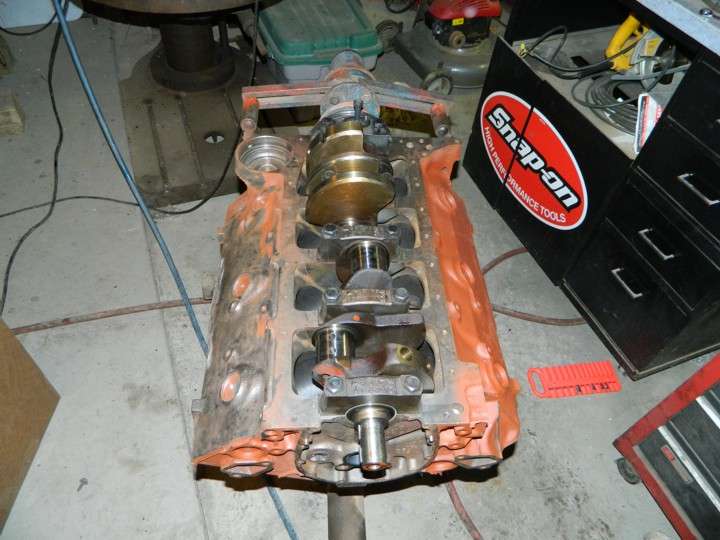
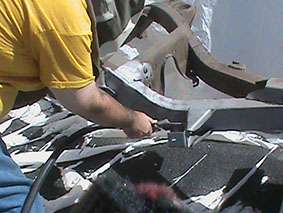
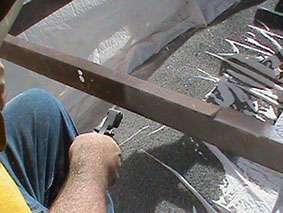
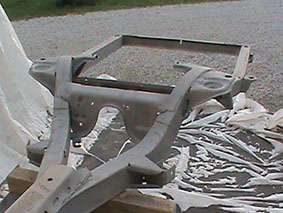
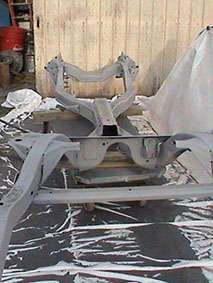
Started off with a relatively solid Southern 62 Impala Sport Coupe to build on. Luckily stumbling onto a really good shape truck 409 motor started it off and led to needing something to put it in. My eldest son has always loved the looks of the 62 Impala and hopefully this will be something that will give him lots of memories to look back on when it's done. Have to start somewhere so I'll start with where it started and hopefully keep updated with pictures as we go.

impalarearclip.jpg

impalahomeingarage1.jpg
impalafrontclip.jpg
impalawindshieldarea.jpg


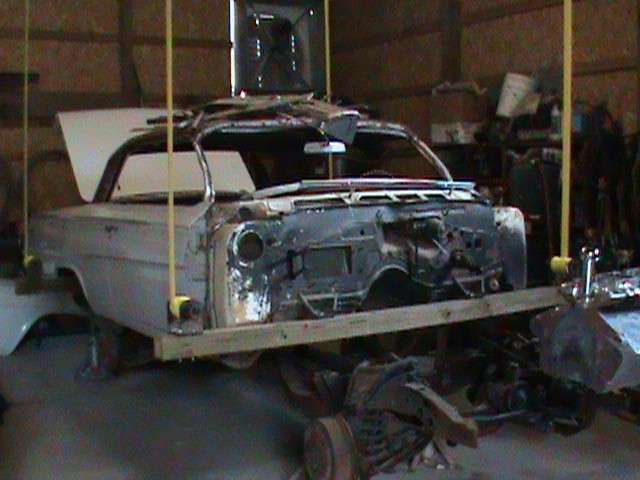
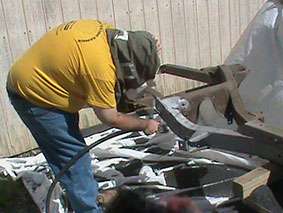
My buddy has a body rotisserie but is being used by another friend so I made up this just to get the body off the frame and be able to still work on it some until the rotisserie is available. Not fancy but it's safe and works. Used 4 large ratchet assemblies from a Semi and added a spring to hold the locking dogs in place since they are meant to operate upside down. They lock positive and have plenty of room to hold the long straps. Used eye bolts that are rated at 2200lbs each thru 4x4s across my rafters to spread the weight across them. Now to see if I can get my wife to gently rock me back and forth while I sit inside and dream of it being done.

impalawithslingsfullvie.jpg
impalaslingsfrontview.jpg
impalaslingslowerfrontv.jpg


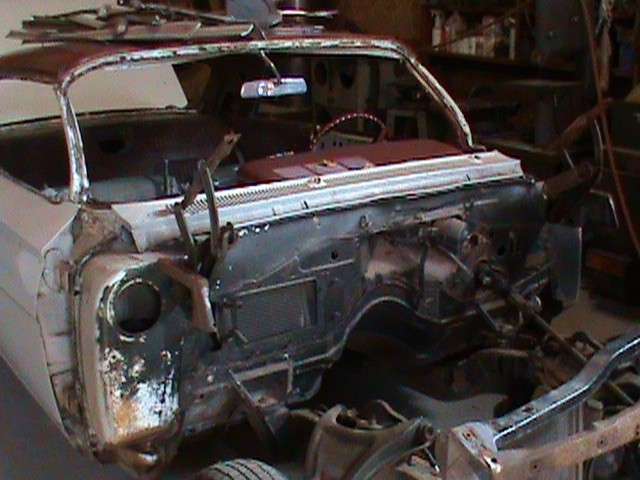
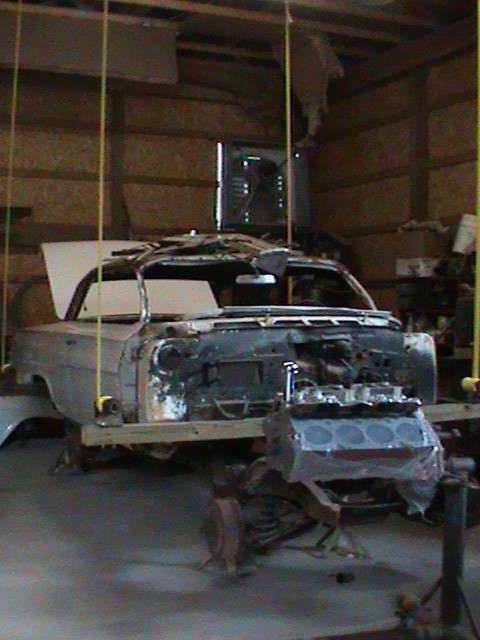
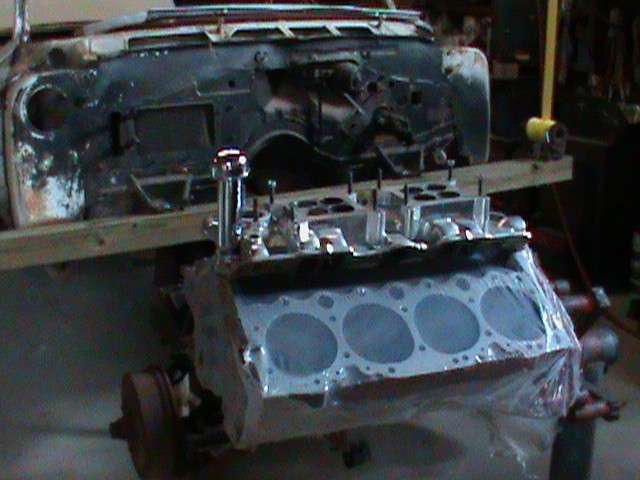
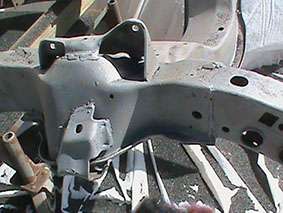
Just had to get a picture of the motor with the body, can't wait to see the frame all done with the motor sitting in it. Seems like such a huge project but seeing how others have done it with their cars the journey will be the most enjoyable.

impalatallviewslingsfro.jpg
impalafrontviewwithmoto.jpg
409motorwithintake.jpg


Will get more pictures as we progress.

Dennis, Chris and Jake
 

jim_ss409

Well Known Member
Supporting Member 5
Darn, I'm only getting red X's instead of pictures.:cry It might just be my computer.
Sounds like a great project. You can't go wrong with a 62 Impala.

I cut and pasted this line from your post...
"There is so much satisfaction when you assemble an engine and hear it fire for the first time or assemble a car and see the final product come together."
You sure got that right! :beer Good luck with the project.
 

tripower

Well Known Member
Supporting Member 2
When I clicked on a image the image came up and then a pop up came up and redirected me to another site...:bat
 

Topstrap

Well Known Member
Hi, I put thumbnail pictures up and the redirect was probably to Image Shack where the full size pictures are. I'll change the thumbnails to full size to make them easier to view.

Dennis
 

tripower

Well Known Member
Supporting Member 2
Hi, I put thumbnail pictures up and the redirect was probably to Image Shack where the full size pictures are. I'll change the thumbnails to full size to make them easier to view.

Dennis
Yes it did do that as well but it also opened up another unrelated site as well as several pop ups. I just tried it again and my firefox said it blocked a pop up and then a couple more ads popped up.
 

Topstrap

Well Known Member
I'll redo that initial post, hard to tell what happened. Run Norton full time but who knows what might of happened. I've been visiting a lot of Impala, 409, car sites lately so hard to tell what might of got tagged on.

Will redo it and see if that cures it. Sorry for any inconvenience.

Dennis
 

Topstrap

Well Known Member
Got the frame out from under the car finally. We got it stripped down and took it down to the local carwash to get some of the grime off and see what we had. Looked really good from what we could tell but after a few dollars worth of washing other than one body mount hole at the rear of the frame being a bit elongated with a bit of rust on one side there isn't any anywhere. Should be a breeze to sandblast and get ready for paint. Been reading up on what others have used and not sure whether to use POR15 or the epoxy primer and frame paint from Eastwood. Not going to be a show car but do want it to be clean and shiny when done.

frameontrailerfullview.jpg


frontpartofframe.jpg


rearpartofframe.jpg


Got it sitting on an old cart I've had for years and cut the handle off, should make it easy to move around while sandblasting and when we start reassembling.

frameondolly.jpg


The new 4 wheel disc brake conversion kit came the other day, also got SS brake lines and front end rebuild kit. Think once we start putting things back on it'll help keep the excitement going to see more progress towards the finished product. Will probably order the engine rebuild kit soon, Block had very little mileage on it and standard bore will work as will standard bearings.

Thinking of this rebuild kit, this motor has the small 333 heads, got a small port dual quad intake I'd like to use with two 500 Eldebrock carburetors. Going to use the 2 1/2" stock exhaust manifolds, think this kit will be OK?

http://www.ebay.com/itm/Chevy-409-M...Parts_Accessories&hash=item2c5adf2ff3&vxp=mtr

Thanks for help I've gotten already, will have plenty more questions as we progress.

Dennis
 

Tom Kochtanek

Well Known Member
Supporting Member 13
Dennis:

Thanks for sharing the progress pics. When I did my last two frames, after dismantling and sand blasting, I first put two coats of POR on using a simple $1 chip brush, it flows out fairly well with few brush marks. Probably took less than a quart. While the 2nd coat was setting up, I sprayed it with Eastwood's Chassis Black (used about four rattle cans). They key is to follow the POR instructions for prepping, then make sure you get that top coat (the Chassis Black) on before the 2nd POR coat gets dry or she won't bond so well. I suspect that's way better than the simple black coat the factory used!

Good luck on your project. I found it really helpful to have a second "donor" car in the vicinity when I reassembled everything. I used that for reference quite a bit, even when the Assembly Manual(a must have) covered that topic. I guess I work in 3 dimensions better than two :). Take your time in fitting up the fenders, hood and doors, it takes a lot of fussing around and doesn't follow conventional logic (at least for me it didn't).

You are going to be very proud of the final results, having had a hand in every little detail :).

Best,
TomK
 

Topstrap

Well Known Member
Between other project and being COLD up here in Ohio lately things been on hold. Got a bit of warmth today and decided to dig thru some of the boxes I've been accumulating. The engine rebuild kit came as did the 4 wheel disc brakes and dropped spindles but the frame isn't sand blasted yet so decided to start on the engine. Been over 30 years since I've had one apart and doing a rebuild and son has never done it so this should be a lot fun. Basically stock but upped the compression to 9:1 when it's done and a mild cam so it'll sound like it's got a bit of attitude at a red light.

I've got so many projects going on in my garage it's a mess, but at least it's in out of the weather. Got some engine parts cleaned up and put cam bearings in, used the little Snap-On viewer wife got me and it made aligning the oil holes up dead center a whole lot easier than back in the day when you used a flashlight and guessed.

installingcambearings2.jpg


cambearingholealignment.jpg


Son thought was pretty darn cool and I let him most of the prepping, lubing, aligning and install. Think when he hears it fire up for the first time and knowing he made it happen will be something he'll never forget. I still remember my first one way back, heck most of them leave good memories when it all goes right.

settingcrankin.jpg


crankandmainsin.jpg


Old stuff to most of you, but want to have a record for us and others from bare nothings to hopefully a finished car.

Youngest Son is bringing torque wrench home from his work shop box tonight so we'll try to get plastigage in tomorrow and get everything checked then start taking old pistons off the rods and new ones on.Gotta keep remembering pistons on this motor have a certain way to go in. :)

Dennis
 

Tom Kochtanek

Well Known Member
Supporting Member 13
Dennis:

Thanks for the update and th epics. Pretty cool that the boys are pitching in and that you are doing much of it in your garage. Looks as if you're having fun :).

Good luck with the completed engine build. I found them easier to do than completing the body, but I expect you already knew that!

Cheers!
TomK
 

Topstrap

Well Known Member
Finally an update on progress. Was a long cold winter up here in Ohio and finally got the air dryer set up on the compressor and got the sand blaster working great. Bit of news before I post some updated pictures. The very good friend I bought the 409 from stopped out to visit and see how things were coming along. He's always loved the old Impalas and even had a 409 SS Impala in his younger days. He had said I was the only one he'd ever consider selling this motor to since he knew I'd do something with it.

We spent a few hours looking things over and going over ideas and sharing old times and the last thing he said as he was leaving was "When it's done I have to get to drive it. Told him no problem and we'd take a few rides together. Two days later he died of a heart attack. I think the visit out was meant to be, we talk a lot on the phone but didn't get together as much as we'd like and having those few hours one last time is something I'll not forget. There used to be three of us all named Dennis that ran together and we ended up with me being #1, he was #2, and another was #3. When the phone would ring he'd always say Hey #1, #2 here what's happening? When this car is finished I'll take all our memories and take a long ride and remember all the great times we had growing up together. Somewhere on this car will be a small "This is for you #2."

OK, enough of that and on to some progress pictures. To some on here this isn't much but we've never had a car down this far. We decided to do as much of it as we can ourselves, and we're having a blast even though it's quite a project.

Finally got the frame sandblasted and other than 3 of the rear body mount holes being a bit rusted which is an easy fix with welding in new ones the frame is in excellent condition. Being from the South it had no undercoating and also no tar from the roads like we get up here. Easy to blast and ready for epoxy primer and frame paint.

chrissbframe2.jpg

chrissbframe3.jpg

chrissbframe1.jpg

sbframecloseup.jpg

sbframerear.jpg

sbframefront.jpg

sbframewhole.jpg


Been reading all I can about primer and paint and seems most like the SPI epoxy primer. I've never painted anything like this before so any hints on how to best do it are appreciated. Probably not rocket science but want to do it right and have a nice job that will hold up. This won't be a show car and will be driven a lot and don't want it to look like a total noob did it.

Next set of pictures will hopefully be of repairing the rear body mount holes and then the painting. Can't wait to start assembling the front and rear end and make a roller out of it.

Topstrap
 

k9hotrodder409

Well Known Member
Supporting Member 15
Dennis , Welcome to the site.:clap Great group here:hug 
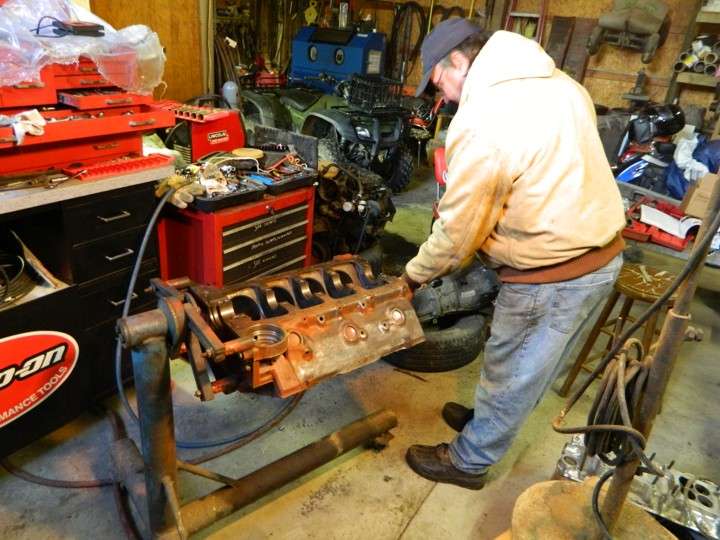
and lots of info on the "W" engine. Enjoy the ride. Looks like a very nice project. Hope you and your son enjoy the build. Keep those pictures coming !

:crazy:dance:cheers
 

tripower

Well Known Member
Supporting Member 2
Dennis, Sorry to hear about your friend. As for painting the frame I would have it powder coated. You will end up with a much better finish and the cost will be less. I just had my 57' Buick frame done in 60% black and the cost was 400.00. That included the rear end housing and transmission crossmember.

Frame Powder Coated 1.jpgFrame Powder Coated 2.jpgFrame Powder Coated 3.jpg
 
Top