Topstrap
Well Known Member
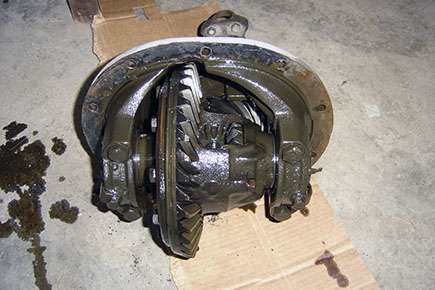
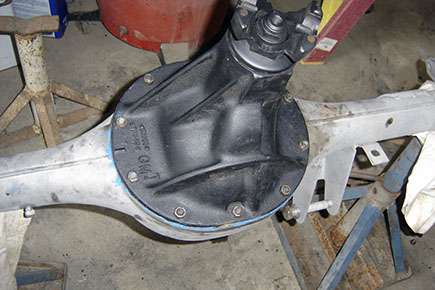
Out with the old and in with the new. Switched over the old open rear end third member and got the 3:55 posi unit in I got from Shan. The local NAPA wasn't going to be able to get the new gasket till Monday so I bought a sheet of rubberized gasket paper and made my own. Was kinda fun like the old days making them with a ball peen hammer and some silicone.
Found out my old rear was a 3:36 and they used that ratio with the higher horse 327/300HP with the aluminum intake which was kinda interesting. Knew it was an old 327 car but wasn't sure which HP it was.
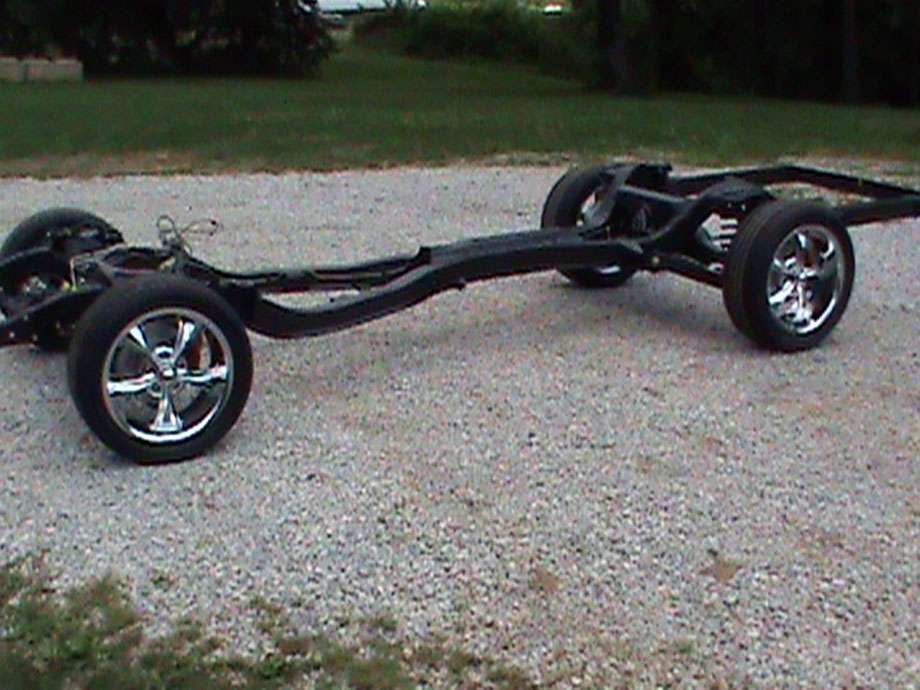
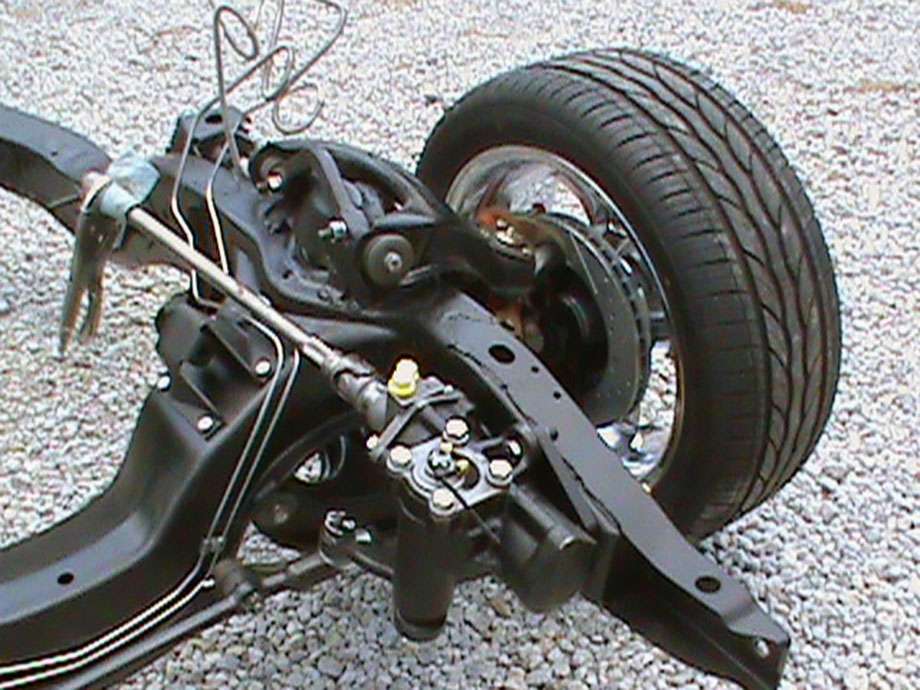
Out with the old,
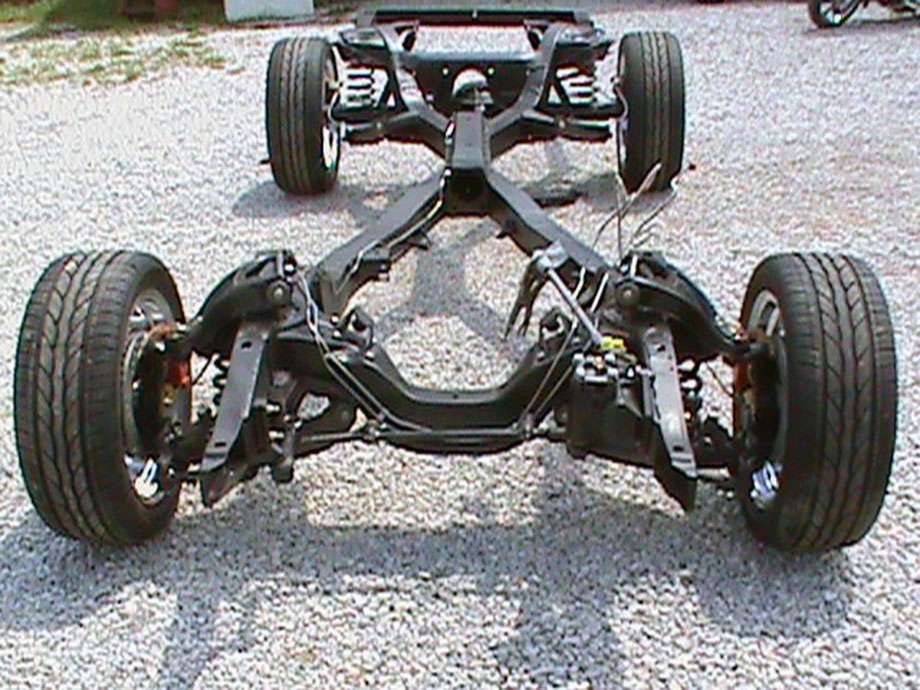
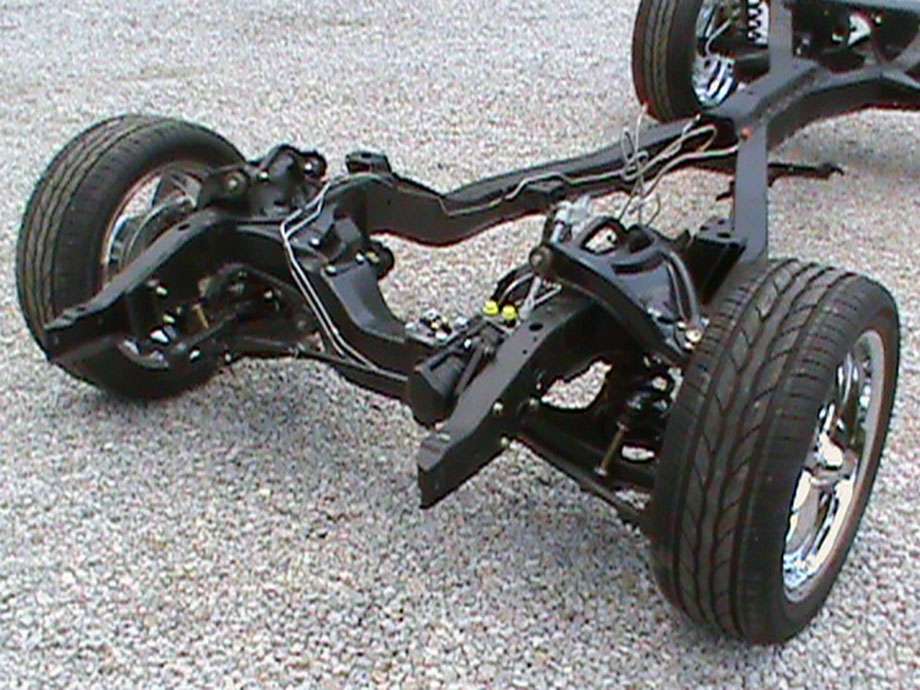
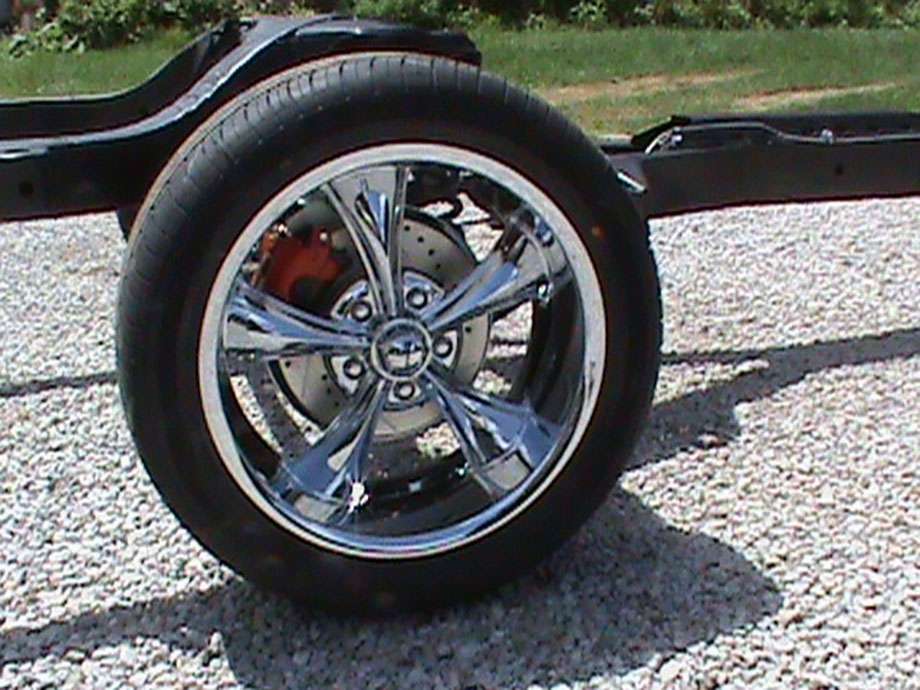
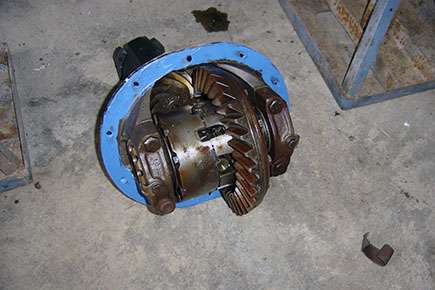
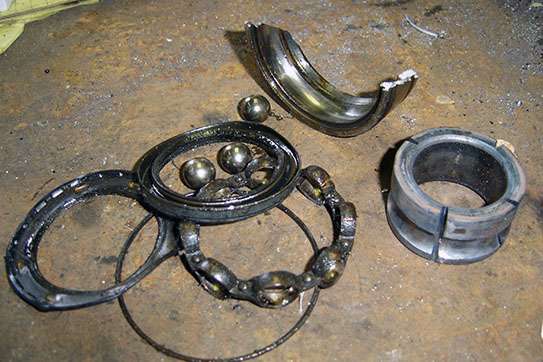
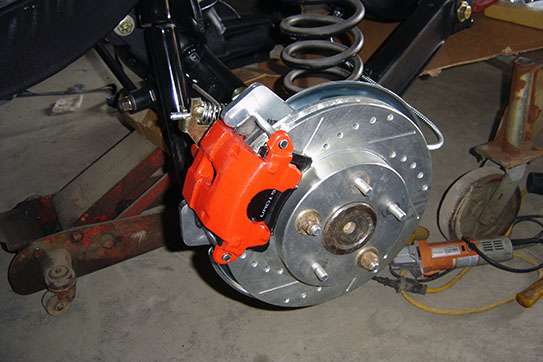
The new is ready,
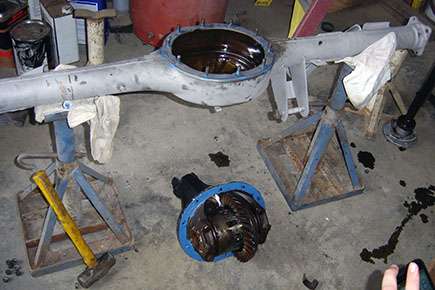
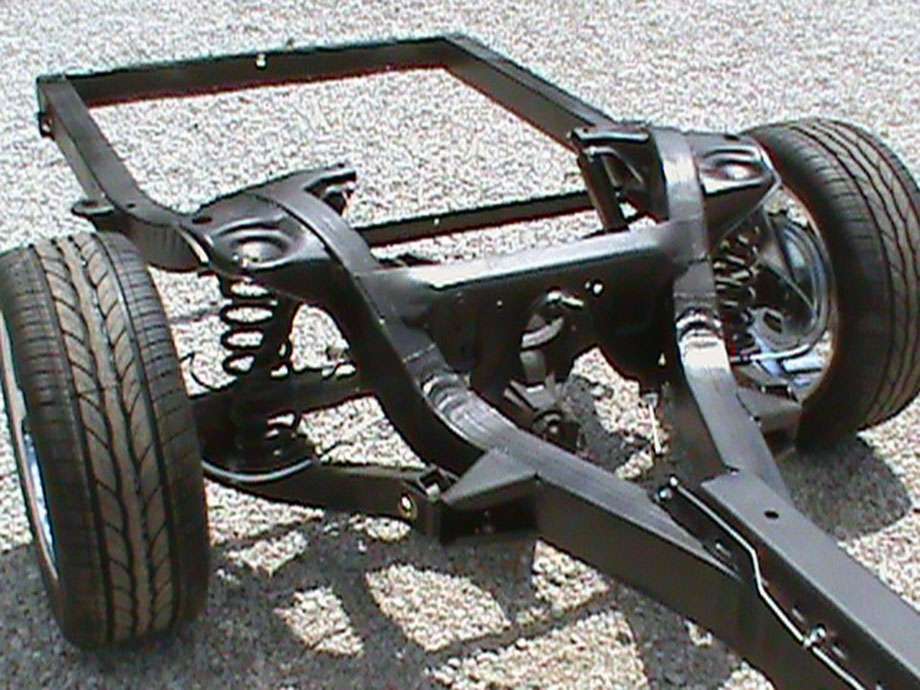
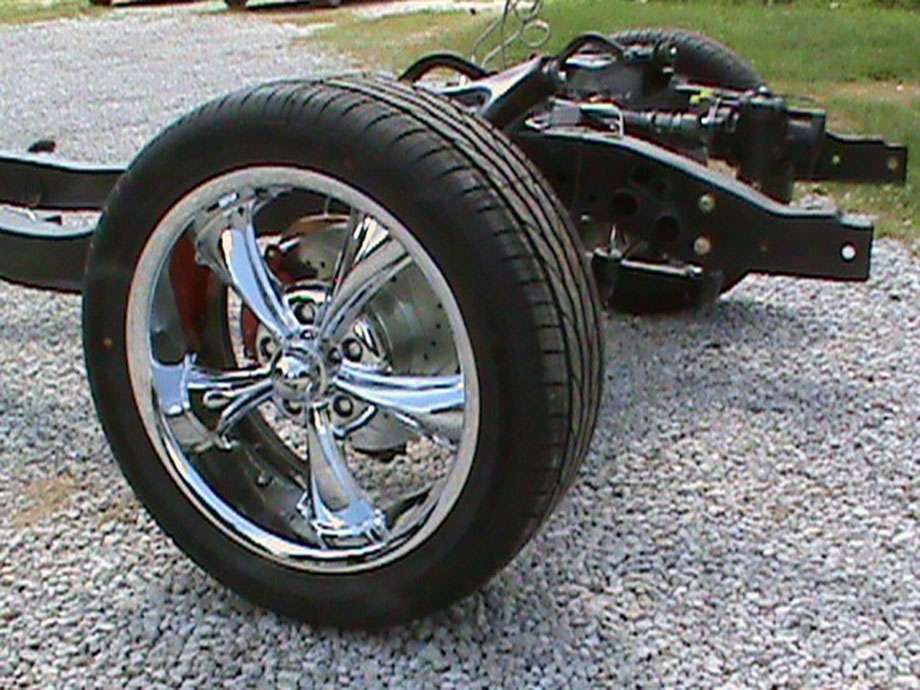
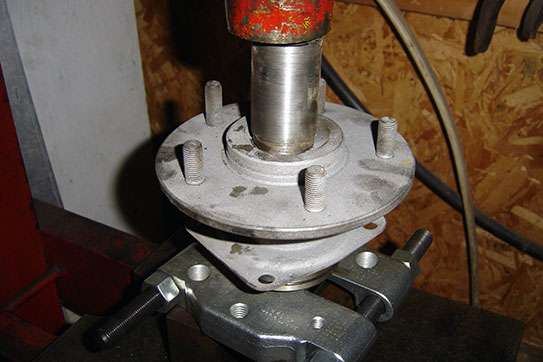
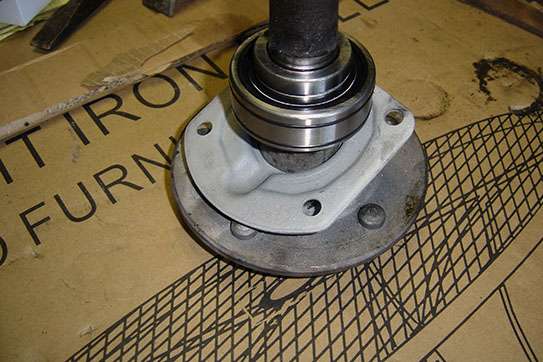
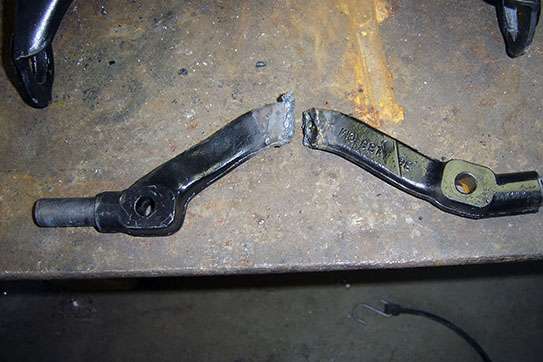
Ready for blasting and a paint job.
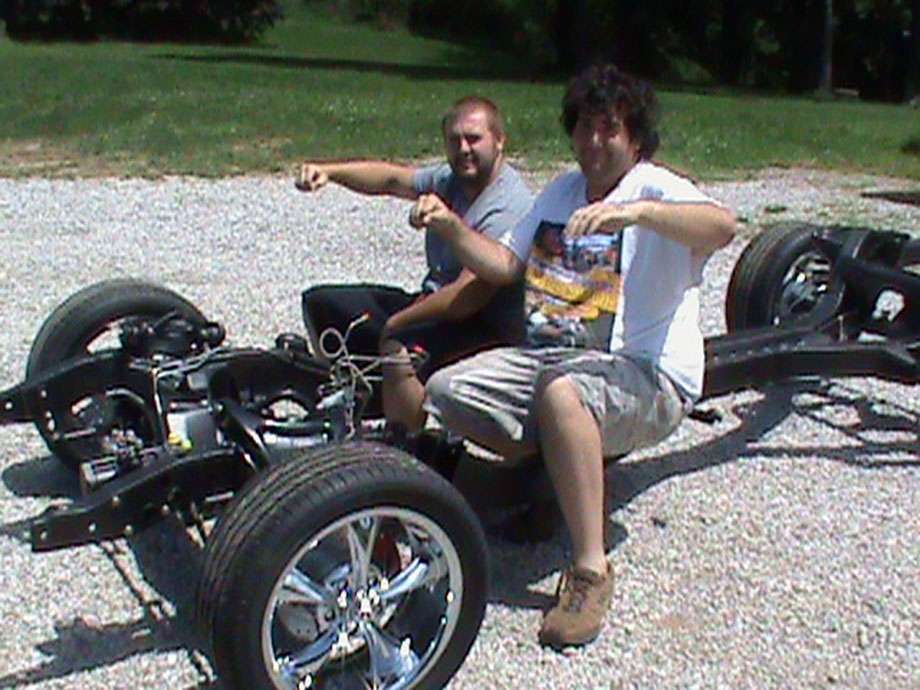
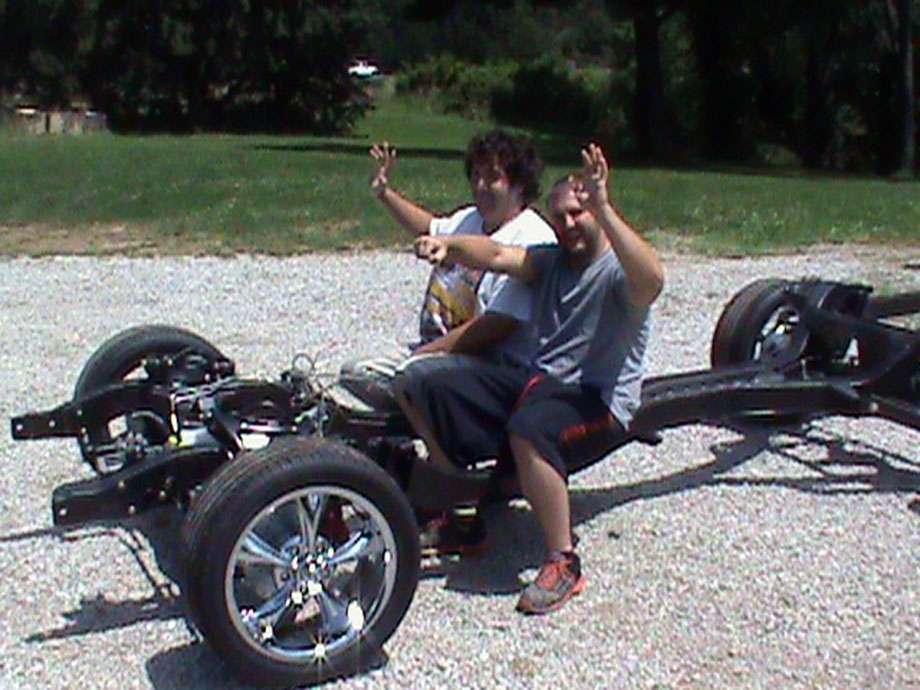
Dennis & Chris
Found out my old rear was a 3:36 and they used that ratio with the higher horse 327/300HP with the aluminum intake which was kinda interesting. Knew it was an old 327 car but wasn't sure which HP it was.
Out with the old,
The new is ready,
Ready for blasting and a paint job.
Dennis & Chris

")