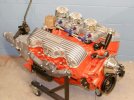
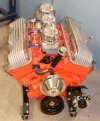
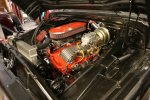
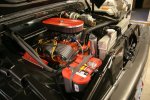
I started this project several years ago and after reading about some projects here I decided to share the story. I picked up the truck locally without a motor. I had a few prospects of what engine I wanted to install. Then a contractor working nearby mentioned he had an old engine in the back of his garage that had those "funny" valve covers. I told him I was interested so he brought it by the following weekend. The story about how he got the motor came from his dad. He was building a boat and bought the engine to power it. For some reason he didn't like the power and wanted to put a blower on but couldn't find a setup that would work on it so out it came and was parked in the garage. Looking at it, it had a 4 barrel carb but I couldn't tell which it was, a 348 or 409. (I've learned since how to tell  ) He wanted a $100 for it so I bought it. NOW I knew what engine to put in the truck.
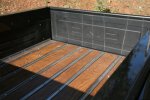
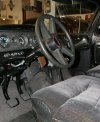
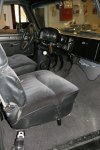
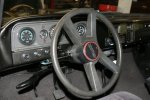
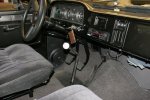
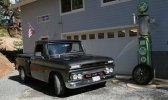
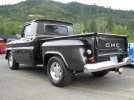
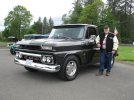
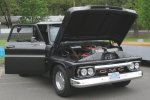 Finished project
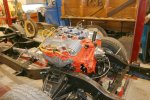
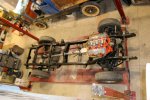
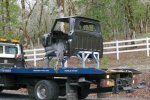
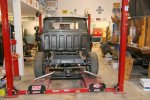
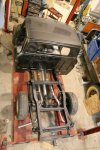
 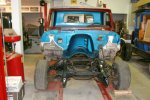 The beginning disassembly
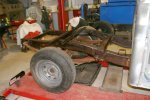
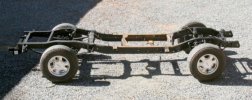
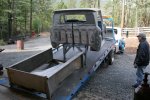
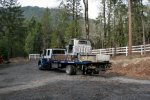
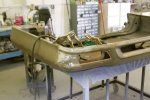
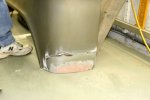
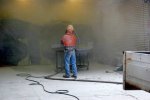
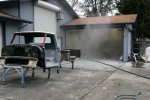
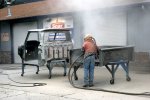
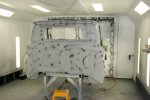
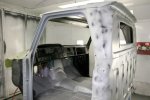
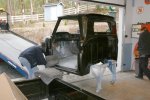
I started to sandblast the body myself but soon realized it was more effective to have a shop do it. I do all my own work except paint and upholstery so off to the shop it went.
 .
.
 ) He wanted a $100 for it so I bought it. NOW I knew what engine to put in the truck.
 Finished project
  The beginning disassembly

I started to sandblast the body myself but soon realized it was more effective to have a shop do it. I do all my own work except paint and upholstery so off to the shop it went.
 .
.

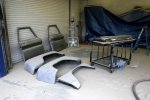
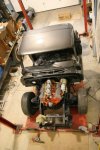
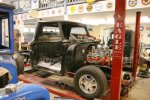
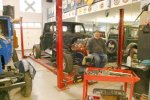
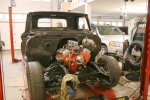
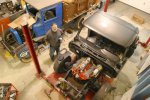

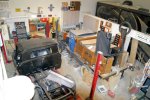
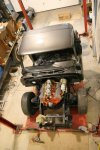
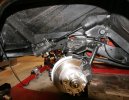



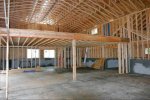
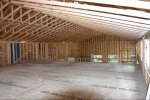
 My shop and all it's contents are what I have dreamed of in retirement - - NOW I'm retired and having a great time
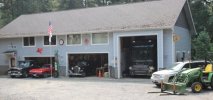
 Our house (separate structure) was only 2200 sq ft. and the wife didn't like that so we had to expand up there. We wanted to down size.