1960 Impala Build

Dougs60Chevy

Active Member
Supporting Member 1
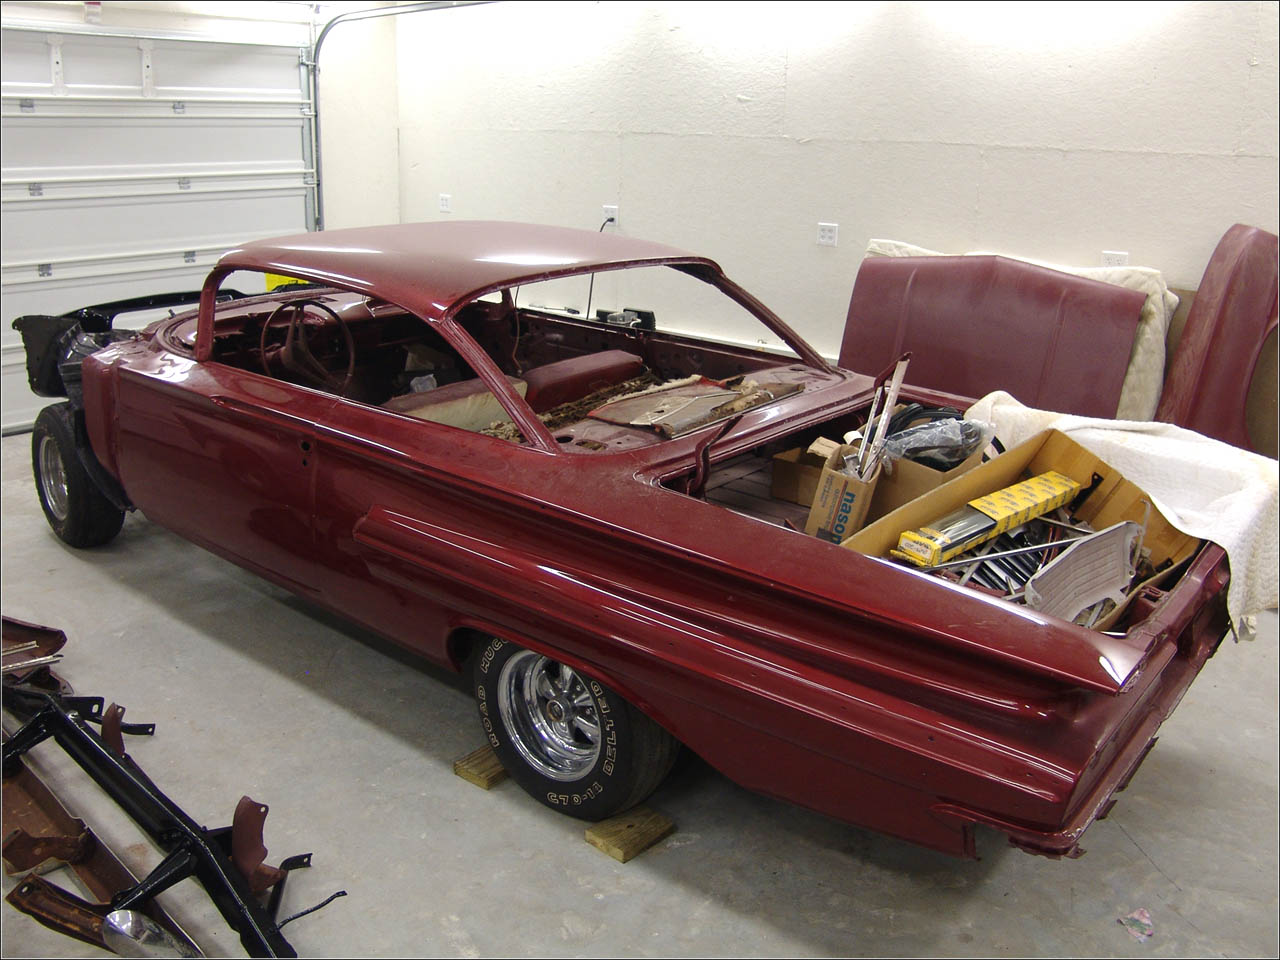
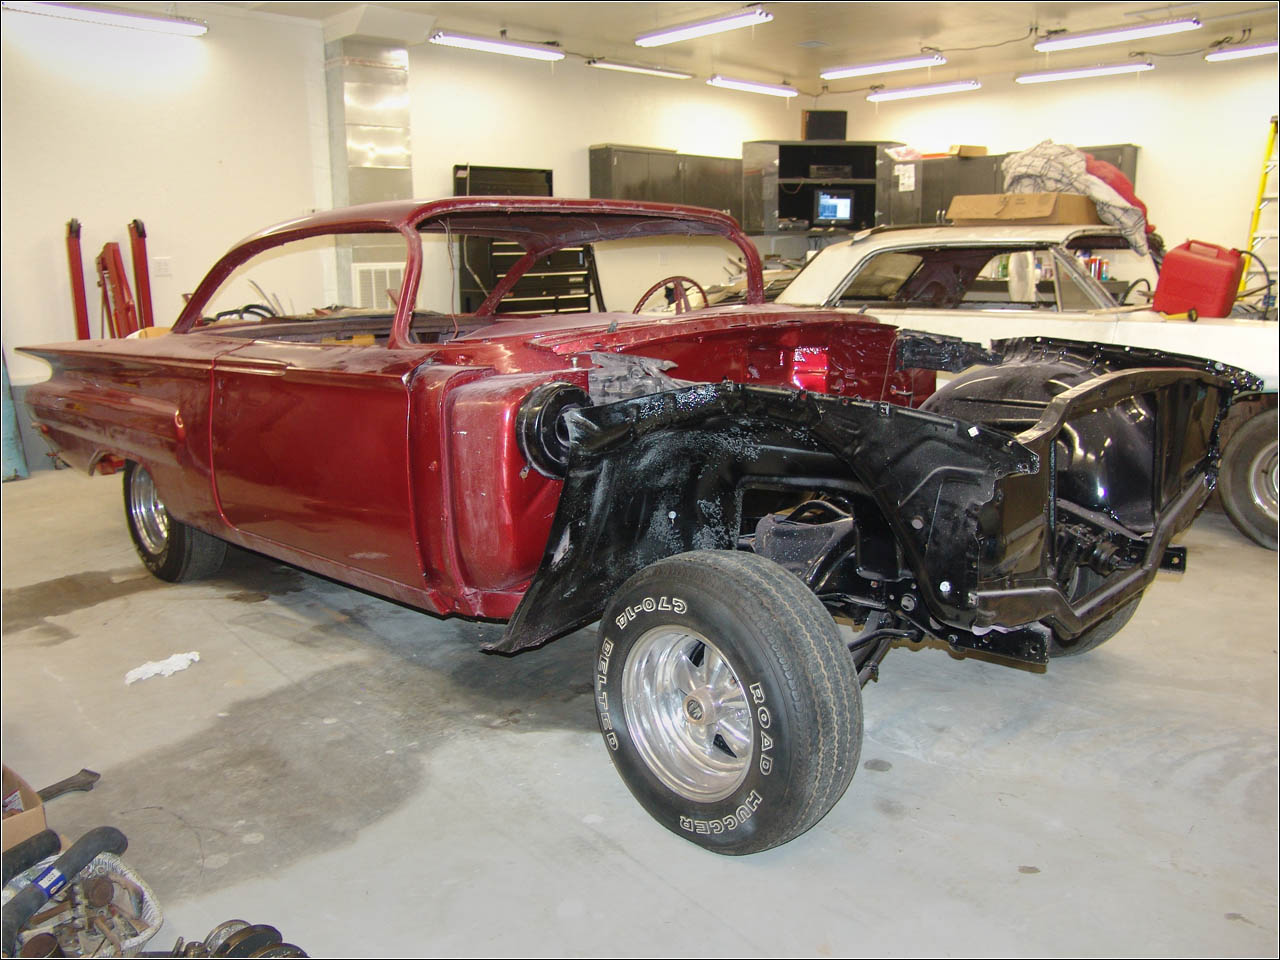
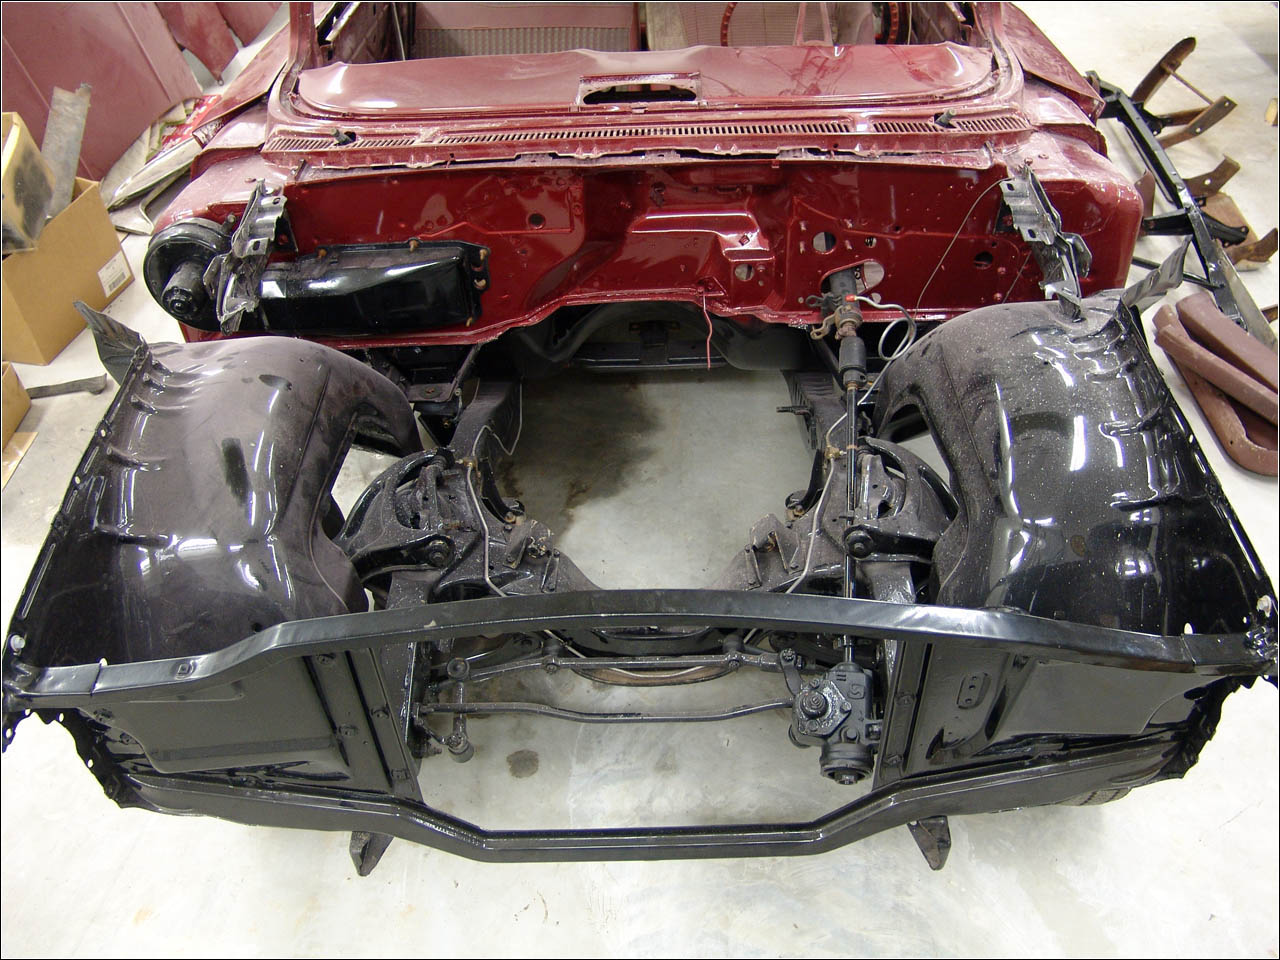
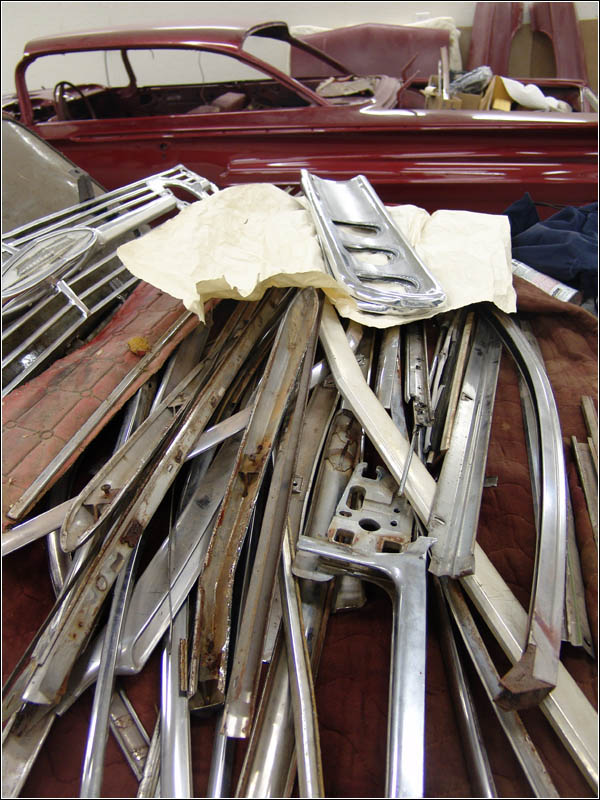
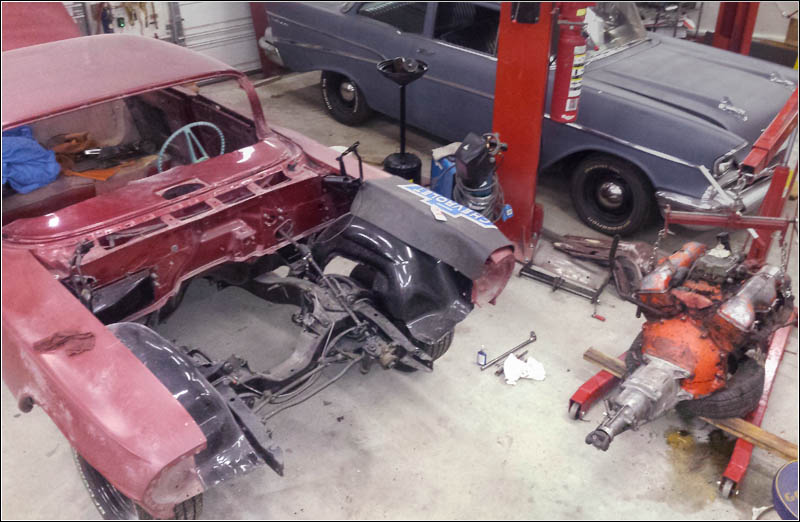
Welcome! My project is a 1960 Chevrolet Impala Sport Coupe. The car was originally a 283/3-speed car in Tuxedo Black with Ermine White top and red/white checked interior. I don't know much history on the car. I do know the previous owner had trouble getting the car back from the body shop that had been hired to work on it.

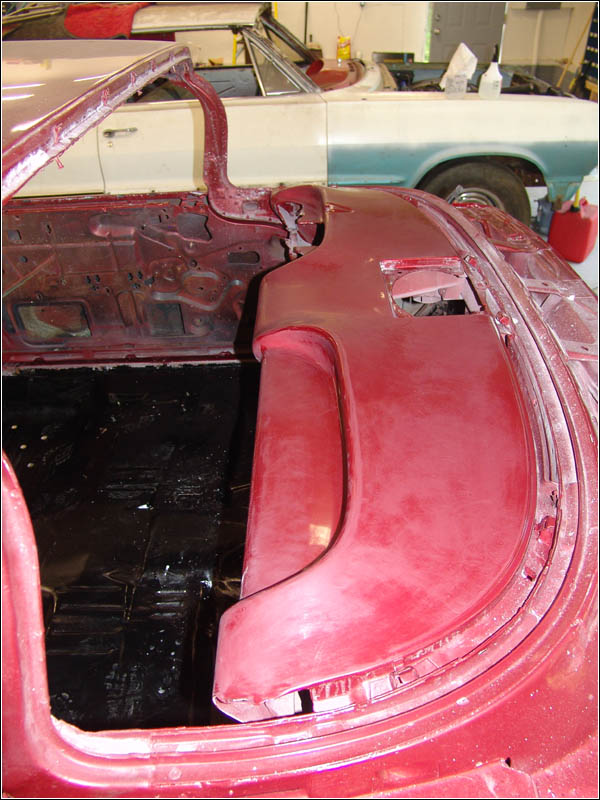
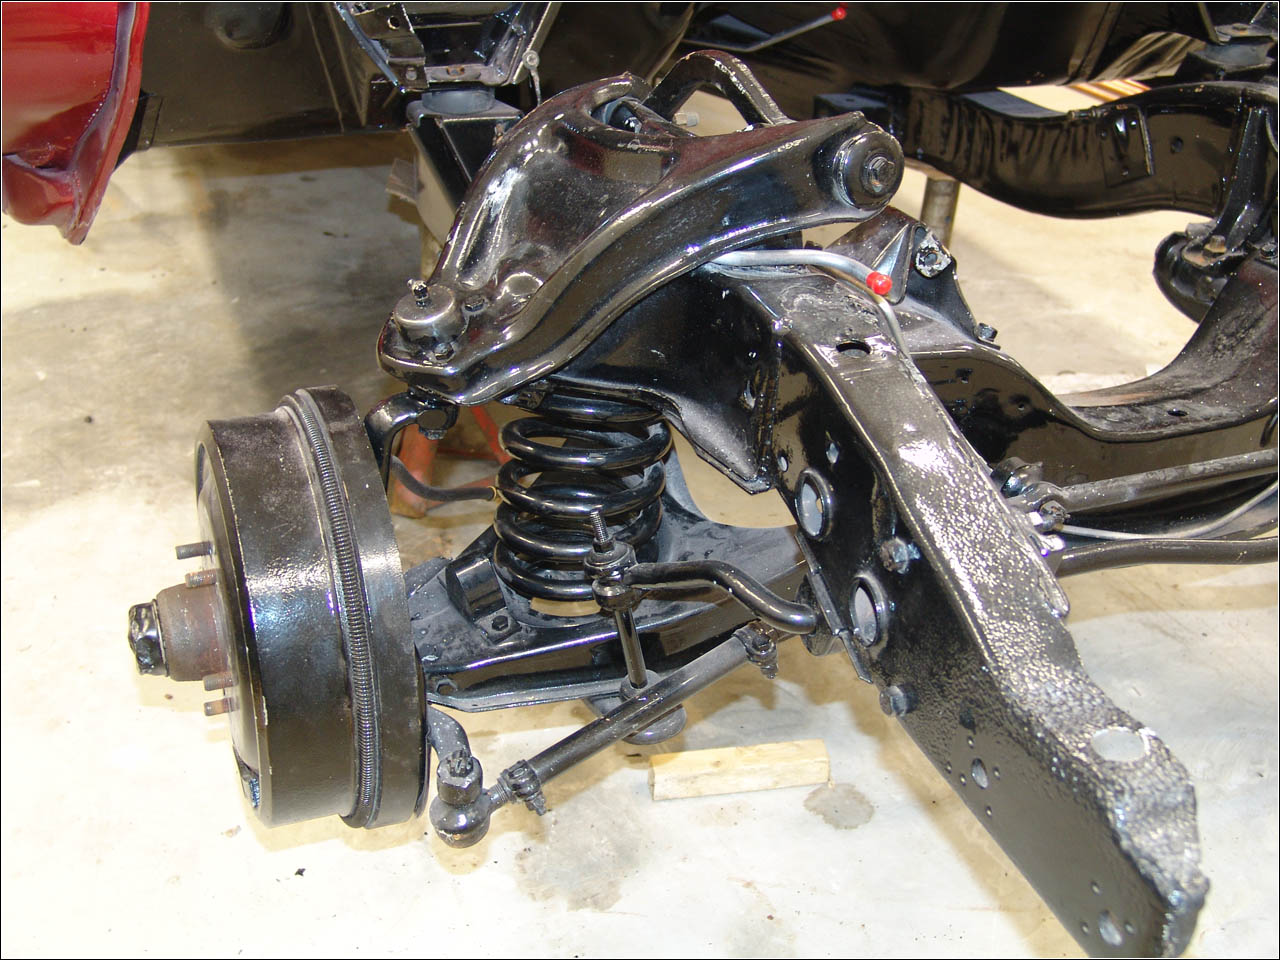
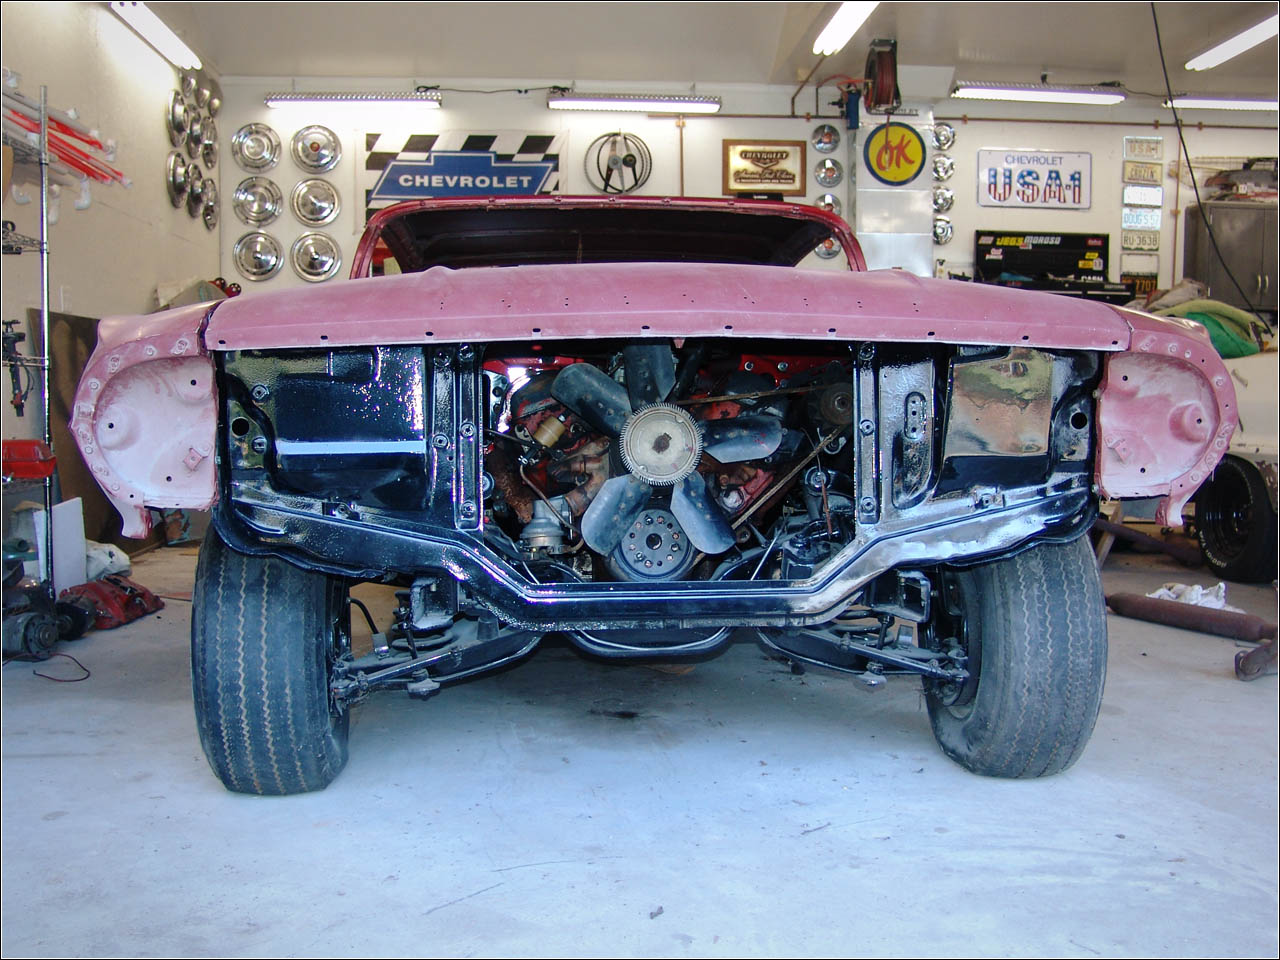
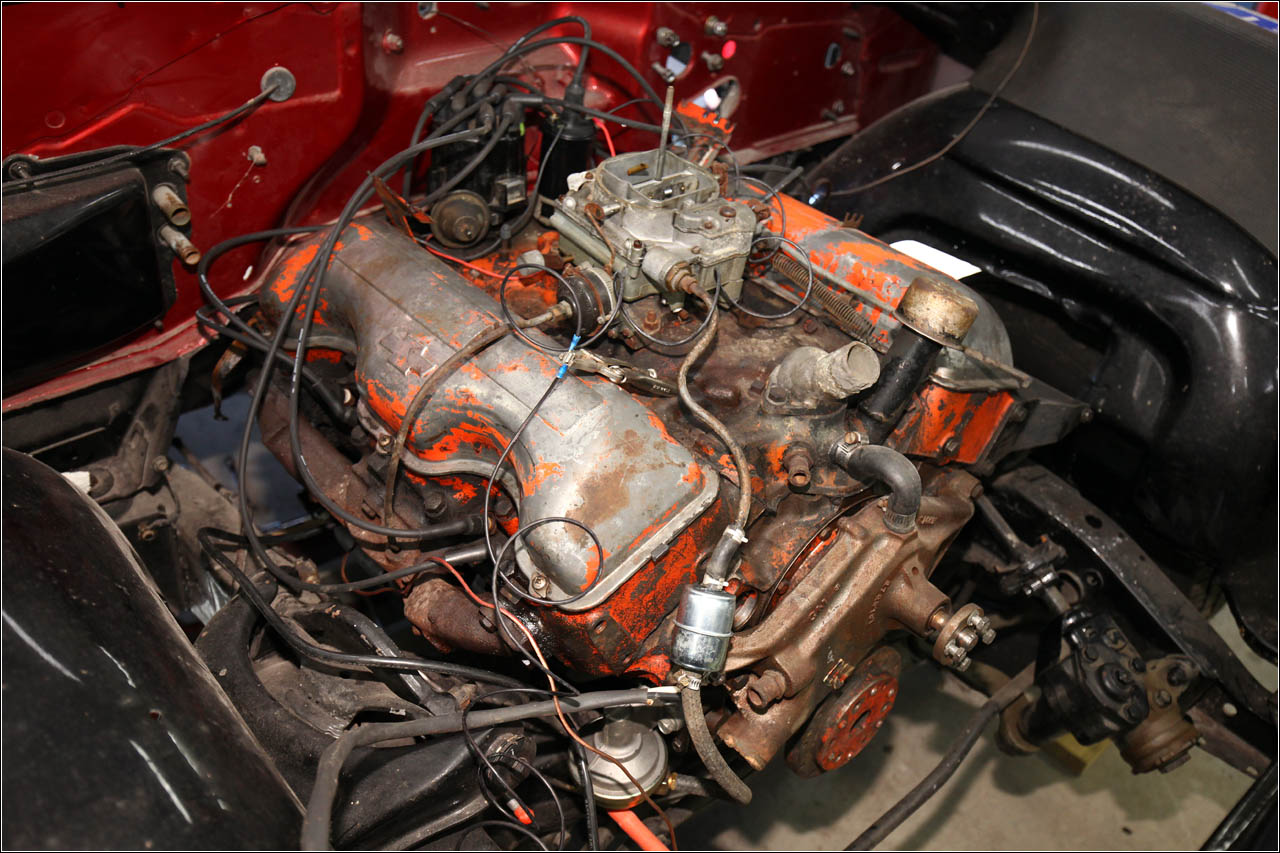
The body has been off the frame, rust fixed, frame painted, suspension rebuilt. The body and doors have been painted, but the hood/trunk/fenders appear to have only basecoat on them.

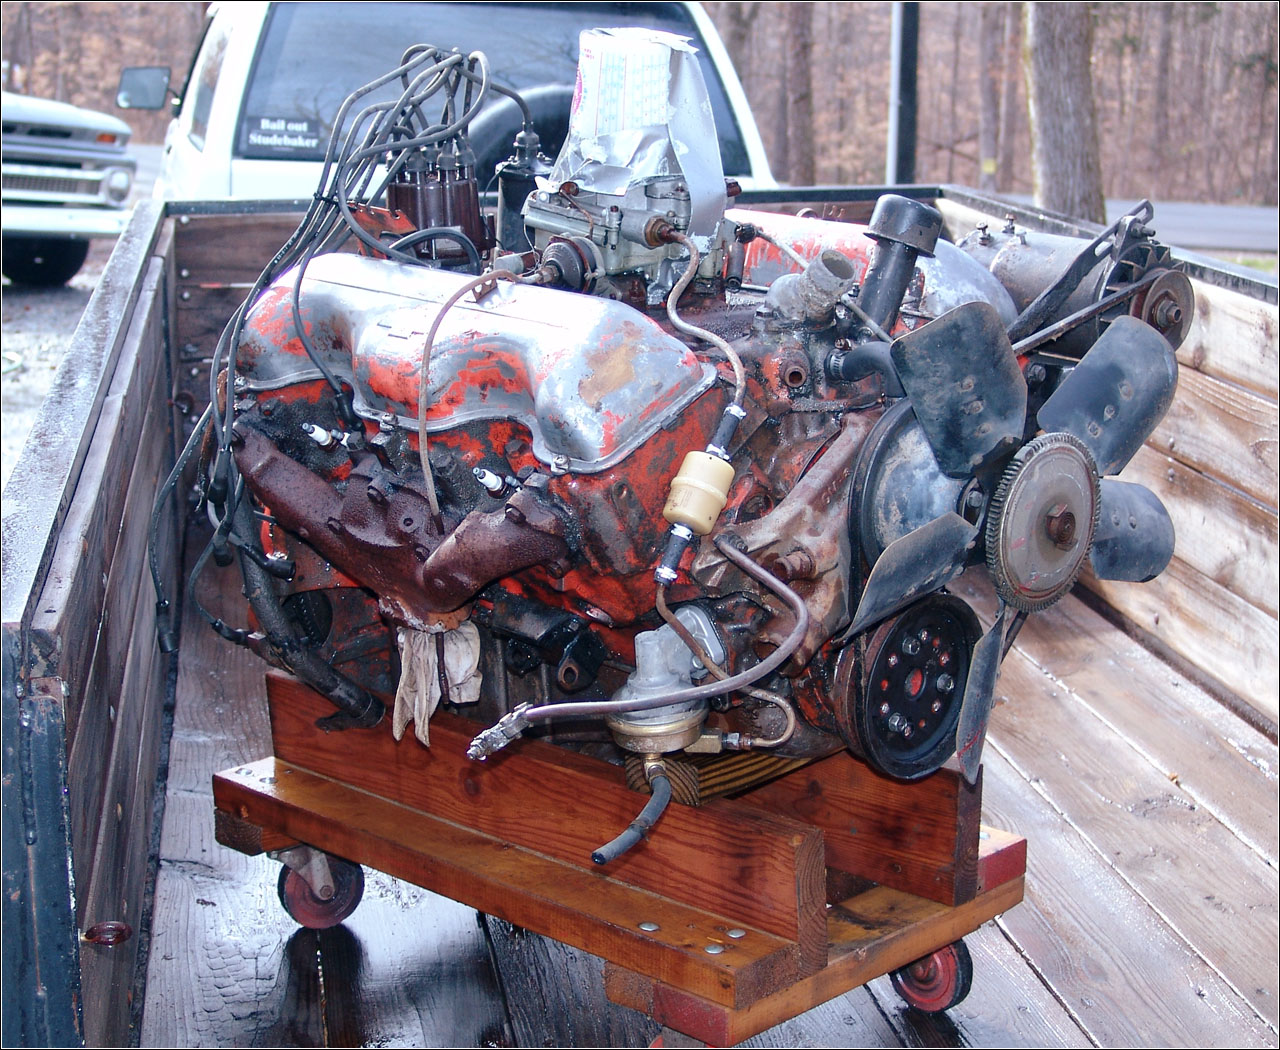
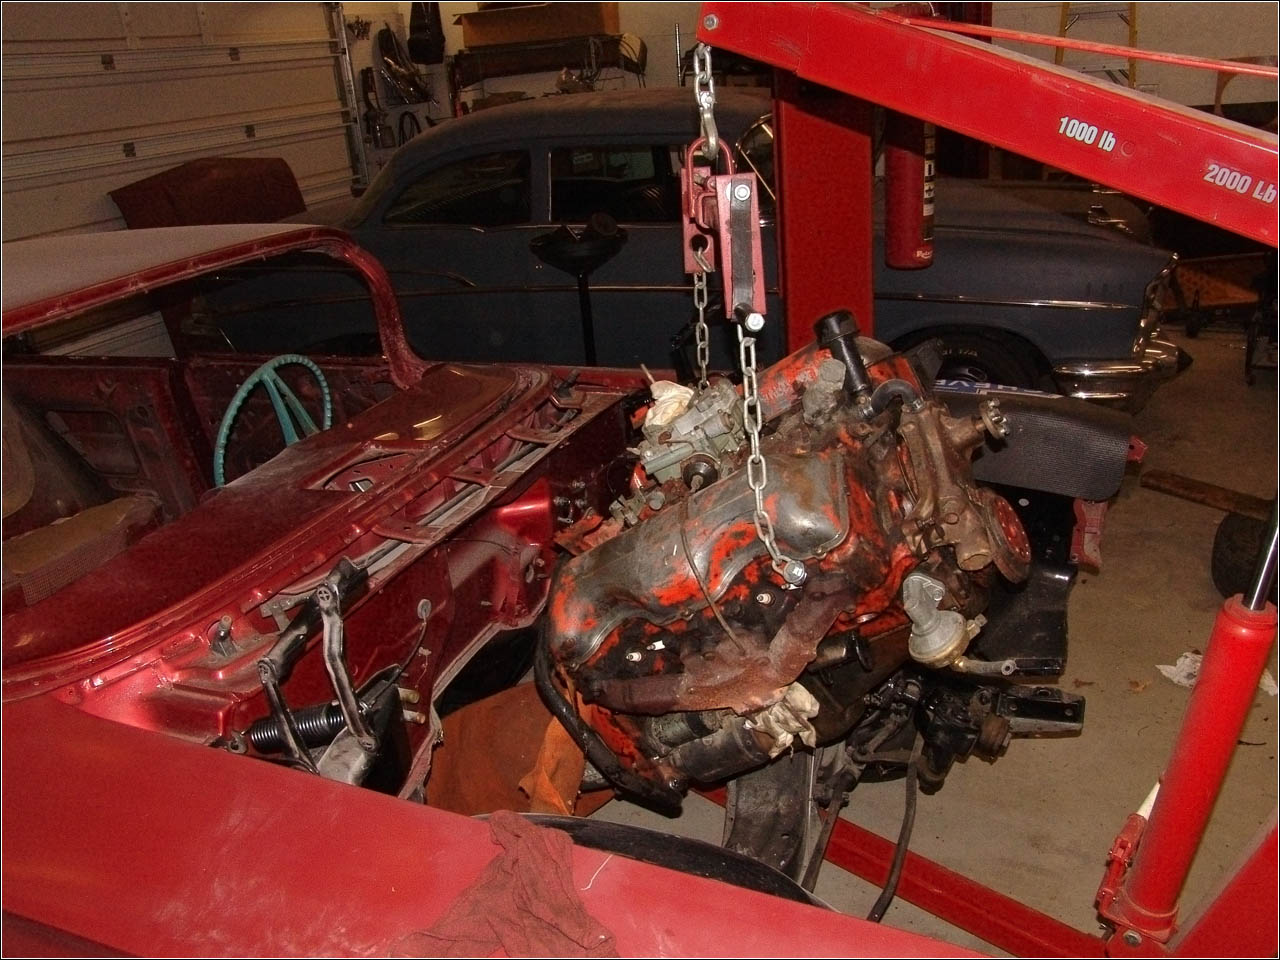
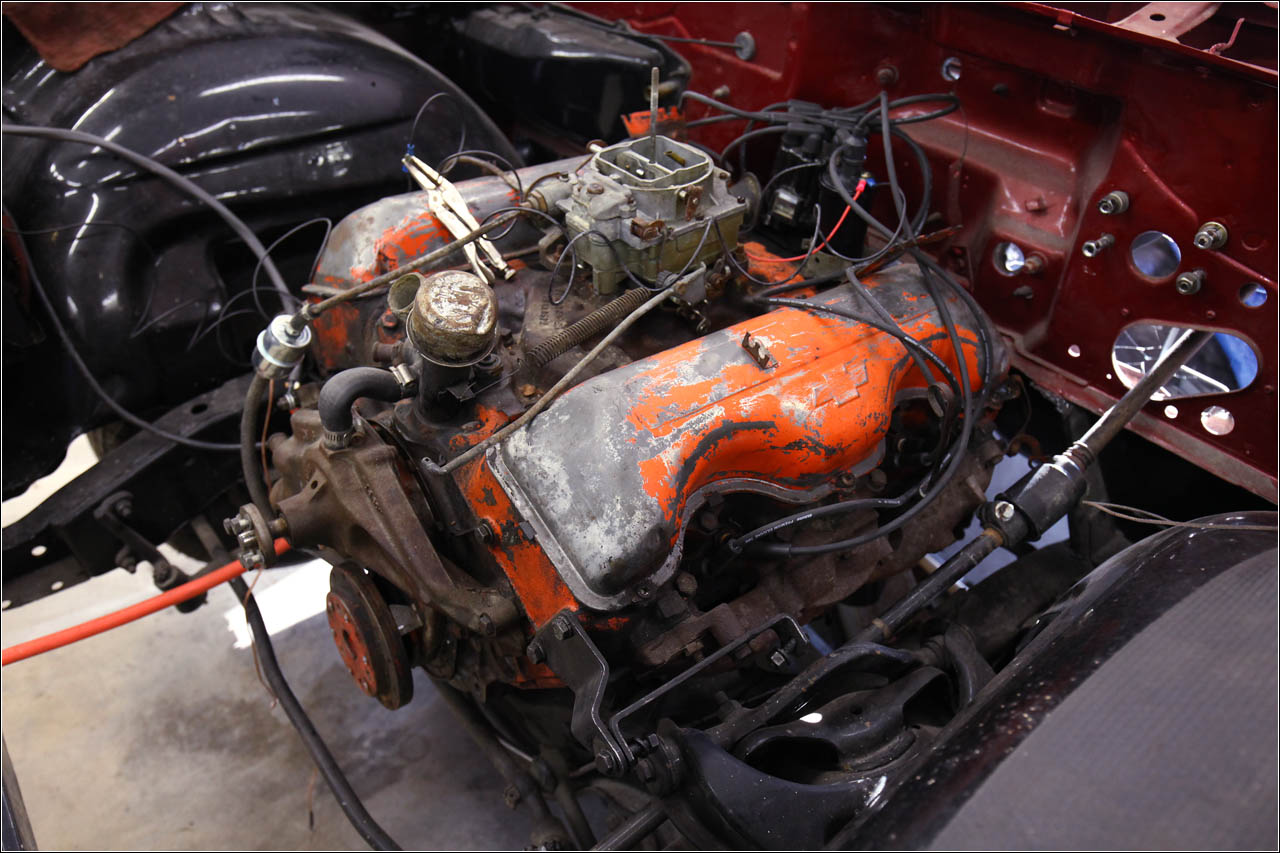
July 27, 2005- The car was purchased and trailered to my shop in pieces. My shop was brand new and not quite finished at the time, I hadn't even done any work in this building as of this date. (The shop was a 3 year project and probably deserves a build page of its own)
Pictures from July 27 2005, this is exactly how I received the car:
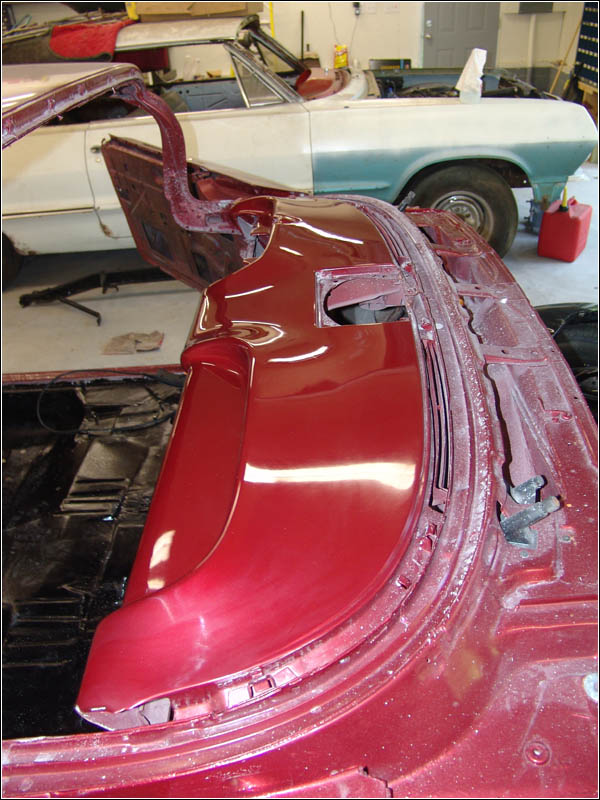
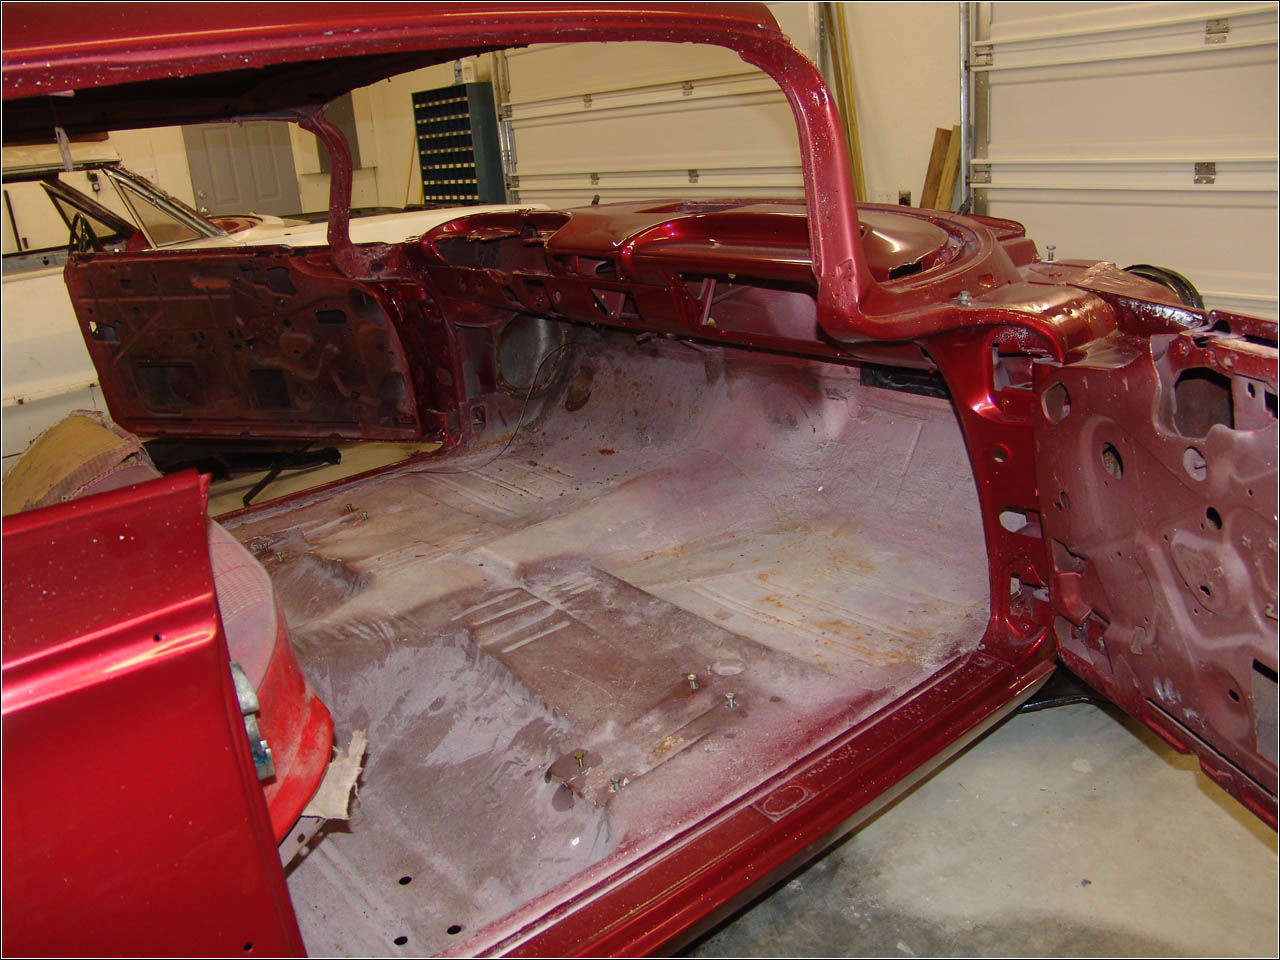
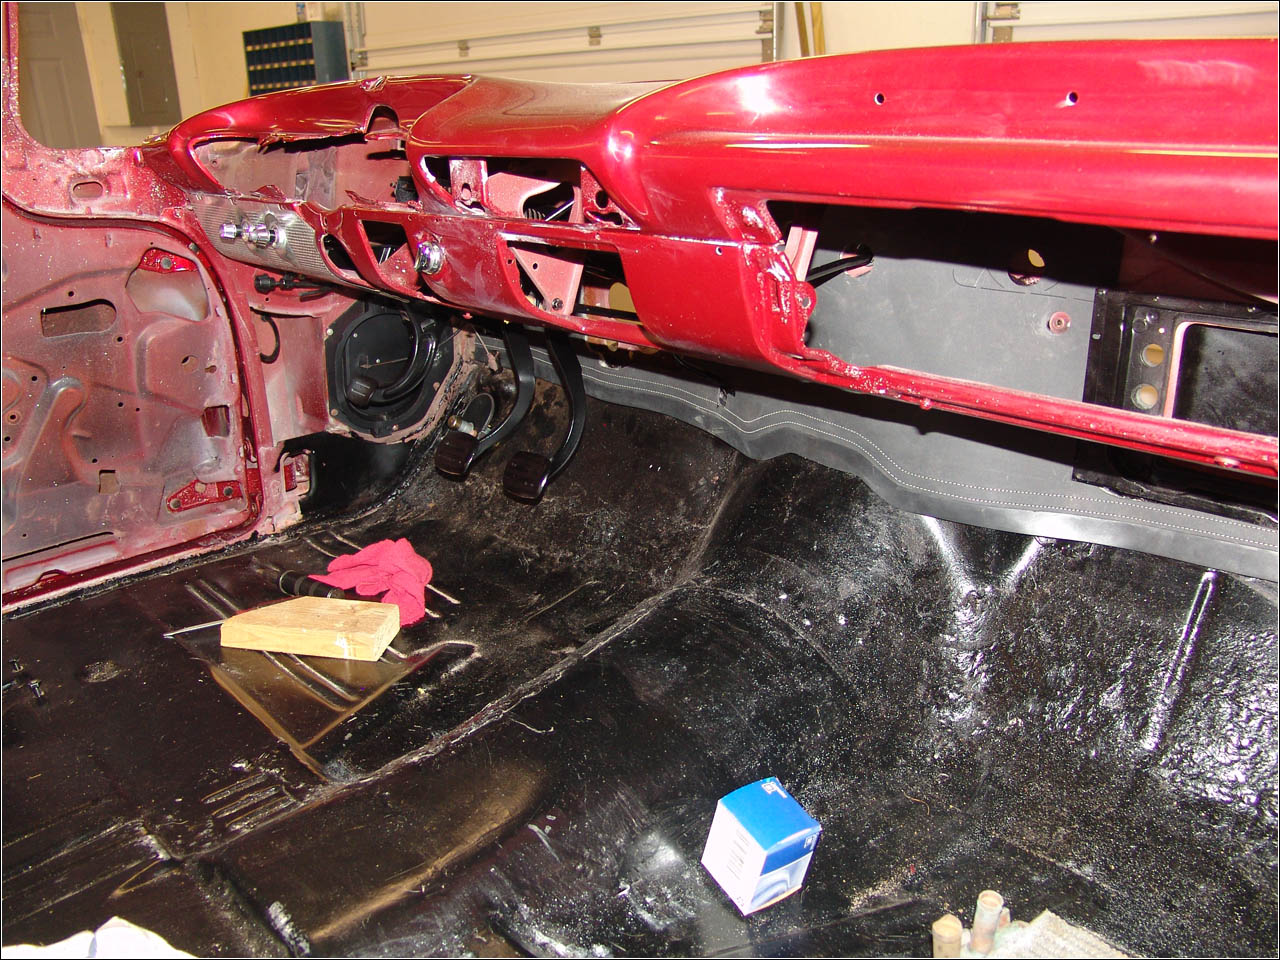
2005_07_27_1.JPG

2005_07_27_2.JPG

2005_07_27_3.JPG

2005_07_27_4.JPG


bobs409

 
Administrator
Nice build! Looks like 2 projects going on. A 64? :) Not to be a downer but you might want to reconsider that shiny paint on the top of the dash. The glare will be horrible on the windshield.
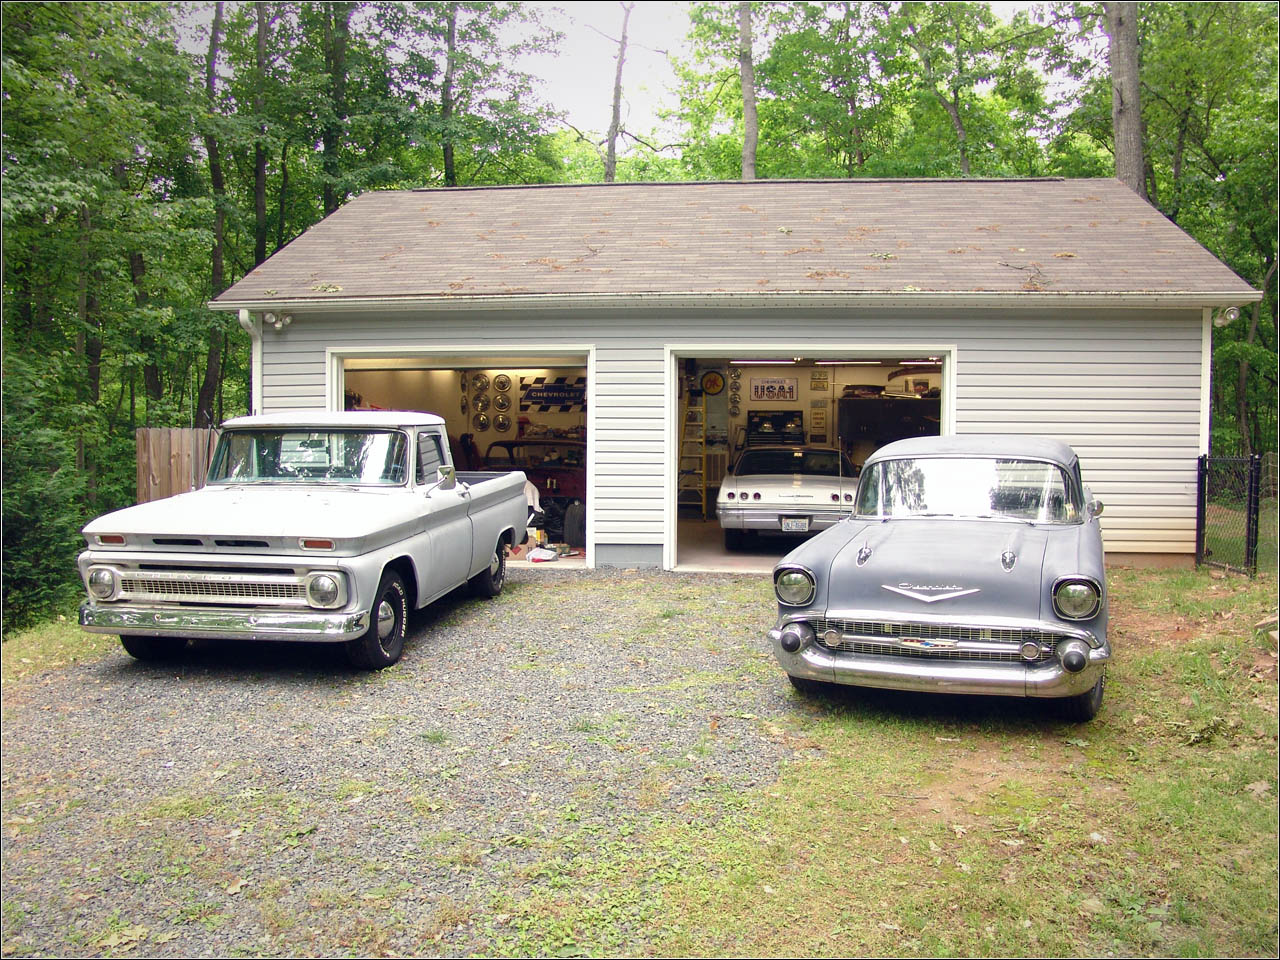
 

Dougs60Chevy

Active Member
Supporting Member 1
March 11 2016- Installed springs in hood hinges. I found a neat way of doing this without he-man stretching the springs- stick one end of the spring in a vise, bend to the side and insert a washer between two coils. Repeat until there are enough washers in the coils to lengthen the spring enough to easily slip over the hinge. Close the hood and the washers fall out.
2016_03_10_1.jpg
 

Dougs60Chevy

Active Member
Supporting Member 1
March 11 2016- 348 turns over after 40+ years of sitting. I had removed the spark plugs and had been squirting Marvel Mystery oil into the cylinders every day or two for a couple of weeks. I stuck a few bolts into the balancer and applied a long screwdriver - voilĂ ! She turned right over quite easily.

VIDEO
 

Dougs60Chevy

Active Member
Supporting Member 1
March 2017 - More work has been done this month than in the previous 12 years I've owned the car. Here the 348 is back out of the car. Back in 2009, the motor was placed in the car but was never worked on in any way. It was in the car just to get it out of the way. The motor was not mounted. No electrical, no plumbing, no linkage, no nothing. So taking it back out was not difficult.
2017_03_11_1.jpg
 

Dougs60Chevy

Active Member
Supporting Member 1
I've gotten the idea in my head that I'd like to get this car moveable under it's own power, regardless of all the other work it still needs before being roadworthy. My shop only has two bays and this car sits there and occupies the main working bay. If I can get it running/moving/stopping, I could move it out of the way when I want to work on something else. Plus, this is work that has to be done anyway if I ever hope to put this car on the road. We'll see if the motor and trans are even good enough to move me around the driveway.

Here's a breakdown of work completed:
-Removed motor. I need to find a better way of attaching hoist chains to the motor. I'm scared to use a carb plate and holes in the intake like I do with small blocks. Using head bolts as I did tended to scratch up my valve covers.
-Drained oil
-Removed old pilot bushing, installed new pilot bushing. I had an old transmission input shaft that came in handy to drive the old bushing out.

-Installed new flywheel/pressure plate/clutch disc/release bearing and mounted ST-10 4 speed onto bellhousing. I had a fine spline clutch disc, 168 tooth flywheel and a pressure plate from another project. One thing I didn't have was a clutch alignment tool. I have a transmission input shaft, but it is coarse spline. Of course, the transmission was being a pain-in-the-arse and didn't want to slip into the bellhousing that last 1/4". I ended up having to use the 4 bolts that hold the trans to the bellhousing to mate the trans. Like everything else on this project, this took way longer than it should have to complete.

2017_03_11_2.jpg

2017_03_12_1.jpg
 

Dougs60Chevy

Active Member
Supporting Member 1
-I also installed a spin-on oil filter adapter. I've done this several times but not recently. I had ordered the wrong adapter and as a result I got confused as to how the thing mounts. I mistakenly removed (and damaged) the bypass valve plate before realizing I had the wrong kind of adapter, and actually needed the bypass plate. So I had to get a new bypass and the correct adapter and install both.

Installed Pertronix, new cap/wires. This seemed like a simple process, but I had to shim the distributor shaft to make the Pertronix happy, it doesn't like the inherent slop these distributors have from the factory. I went to drive the pin out of the shaft and encountered this:

2017_03_13_1.jpg


As dumb as this makes me sound, I'll admit it took hours to get this pin out. The thing wouldn't budge. At first I wasn't even sure this was a pin, I had never seen one that looked like this before. I've also never messed with anything other than small block Chevrolets so what do I know? In the end I had to drill the thing out, a 3.5lb hammer and punch, MAP gas etc wasn't doing the trick. The actual Pertronix install was quite easy after I got it shimmed correctly.

Reinstalled motor and mounted in car. Even with the trans touching the top of the tunnel, the motor looked like it was in there at an uphill angle back-to-front. Made me question whether my mounts were right. I think I'm just not used to looking at a W motor. Duh. It's fine.

2017_03_15_1.jpg

2017_03_23_1.jpg


2017_03_23_2.jpg
 

jdk971

Well Known Member
Supporting Member 6
what caused the spot on the dist anybody know? i hope it is not the engine. jim
 

Dougs60Chevy

Active Member
Supporting Member 1
Hi Jim, I don't think it was caused by anything. I'm guessing it was this way from the factory?
Some have said that very early distributors were like this?
 
Top