You are using an out of date browser. It may not display this or other websites correctly.
You should upgrade or use an alternative browser.
You should upgrade or use an alternative browser.
1961 Chevrolet Parkwood "OLD GOLD" 108k original miles
- Thread starter Mr.1961
- Start date
Mr.1961
Well Known Member
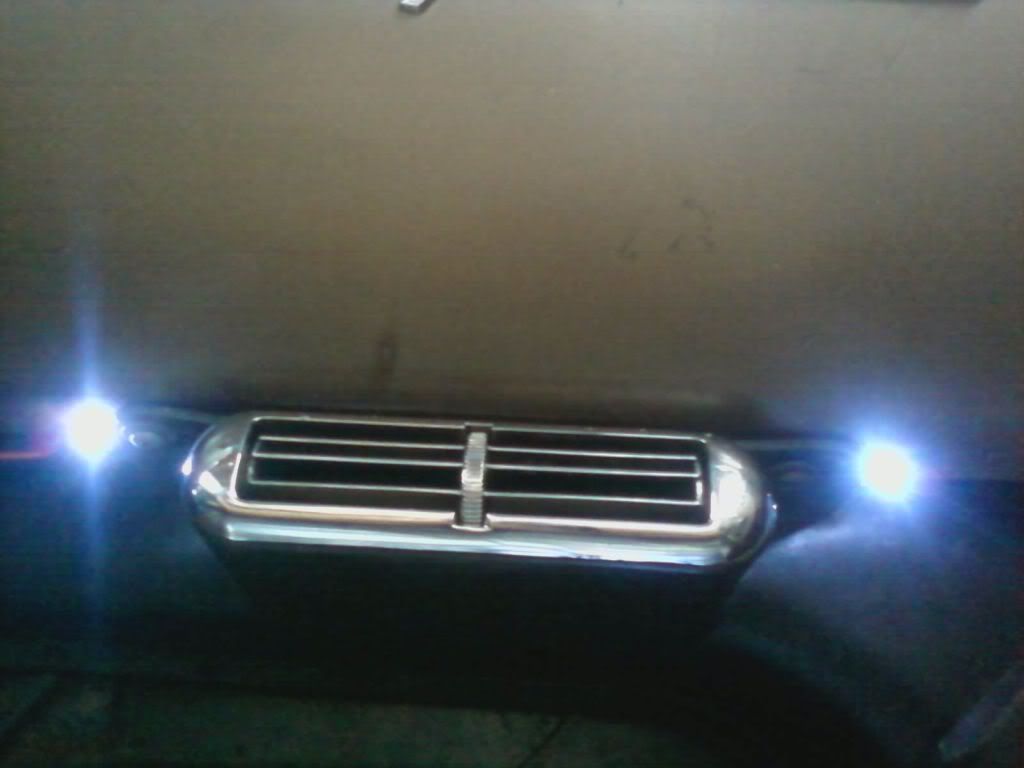
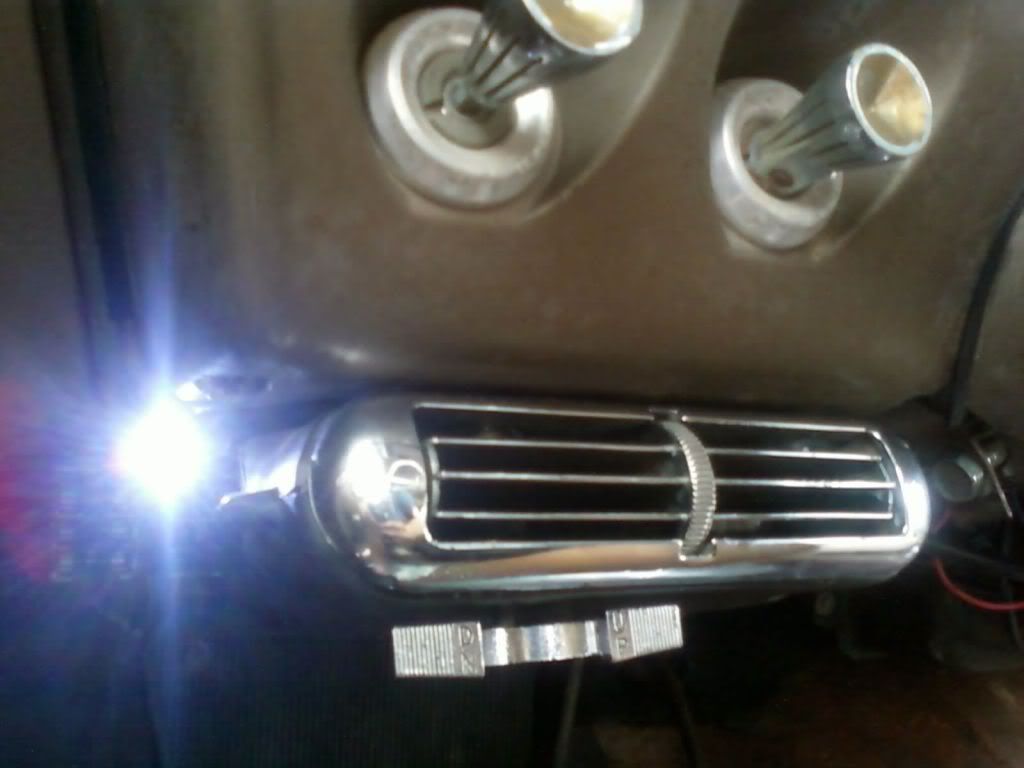
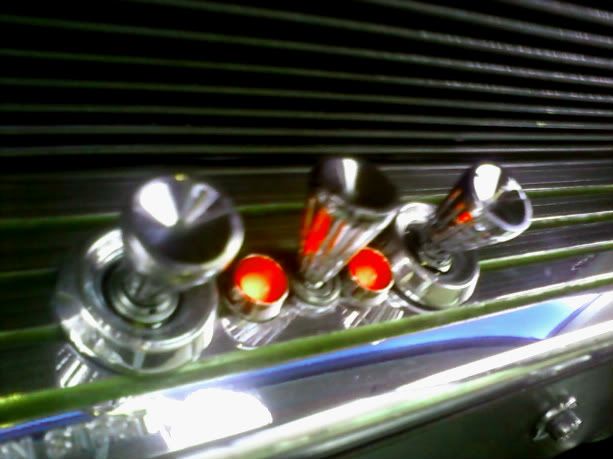
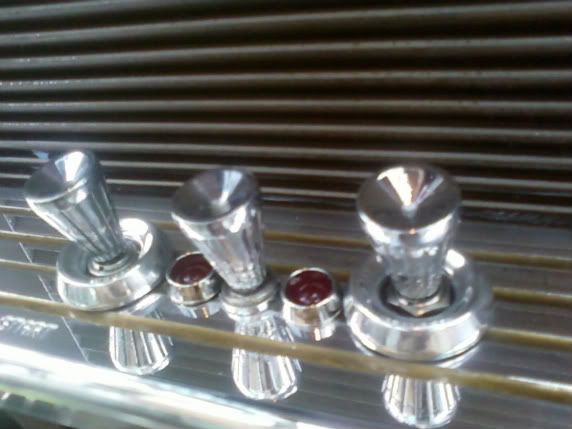
Finished up my "Mood Lights" this morning. Drilled out "5" 1/8" holes underneath the dash to accomodate these single l.e.d. lights. The lights are very subtle and will give a nice effect when driving at night. I had to shoot photos from underside of the dash since they are not seen when sitting in the car.
Passenger Side
Central (Right of A/C controls)
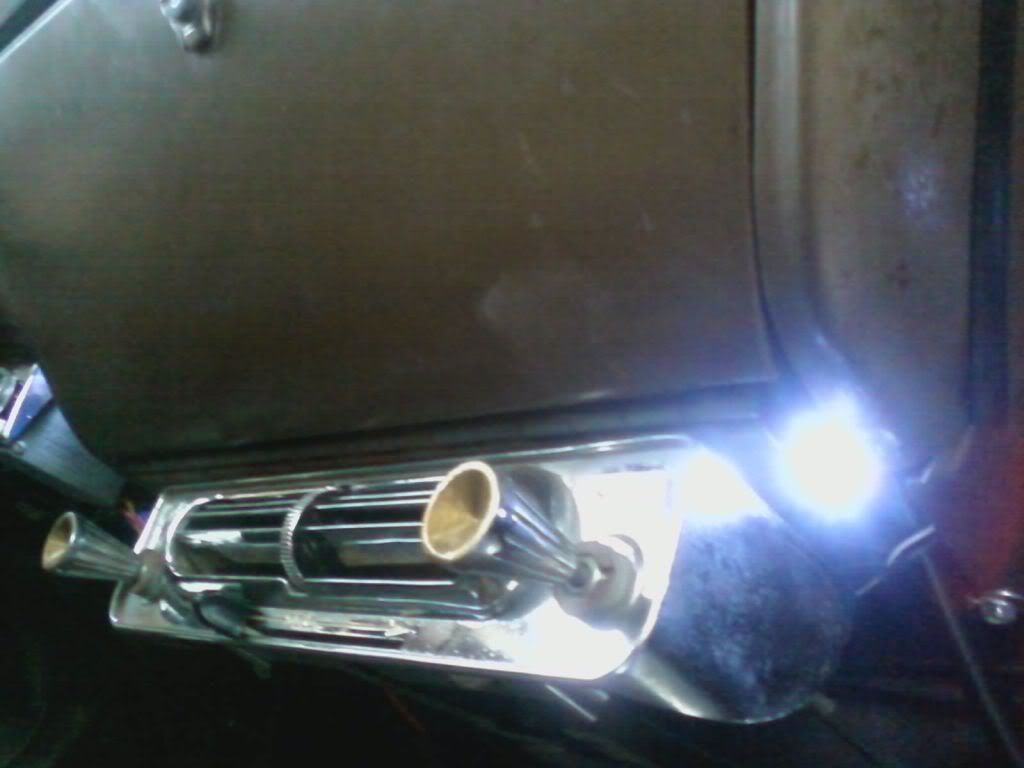
Below ignition (right of hazard flasher)
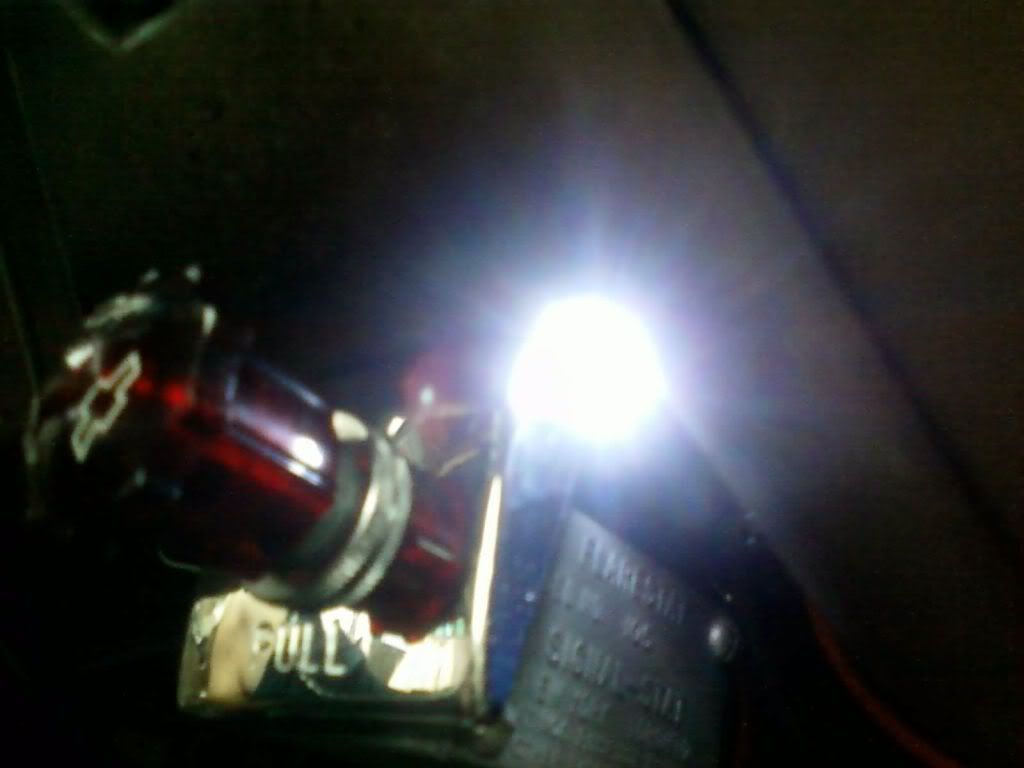
Driver's side
 :
:
Passenger Side
Central (Right of A/C controls)
Below ignition (right of hazard flasher)
Driver's side
:Mr.1961
Well Known Member
Looks good Seth....
Thanks Dan. I went through the rest of my stuff this morning and noticed that the kick panels and material to recover my armrests are the wrong color. They sent me Light Fawn on both and my original kick panels are dark fawn as well as the armrests. O'well, I'll live with it.
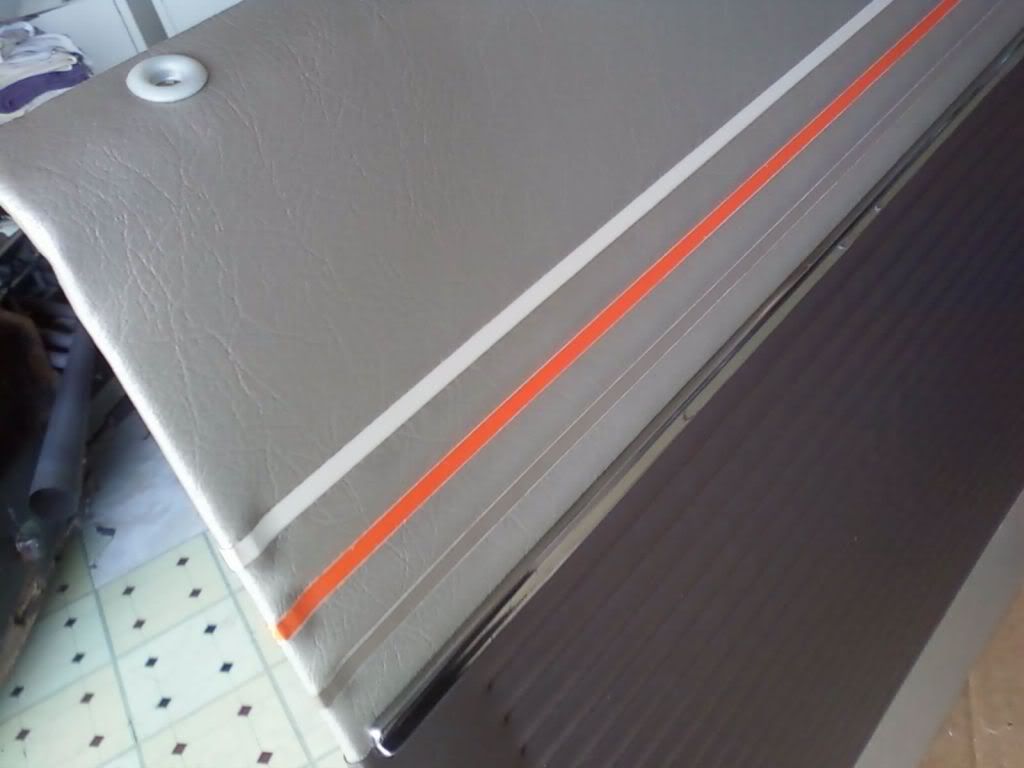
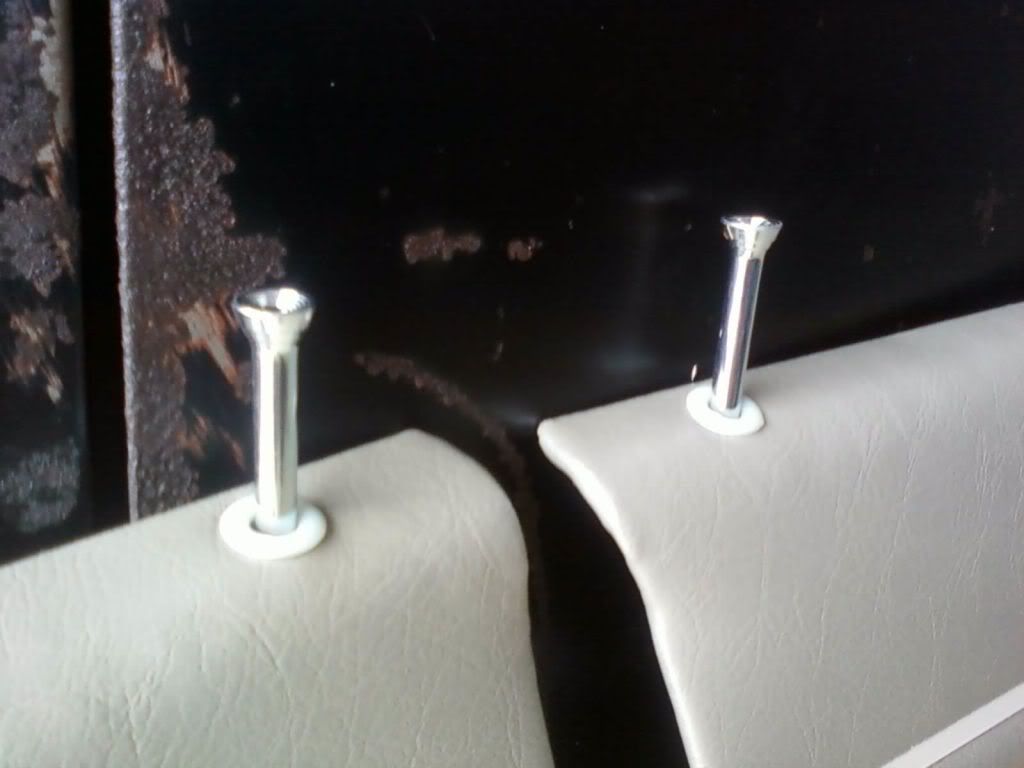
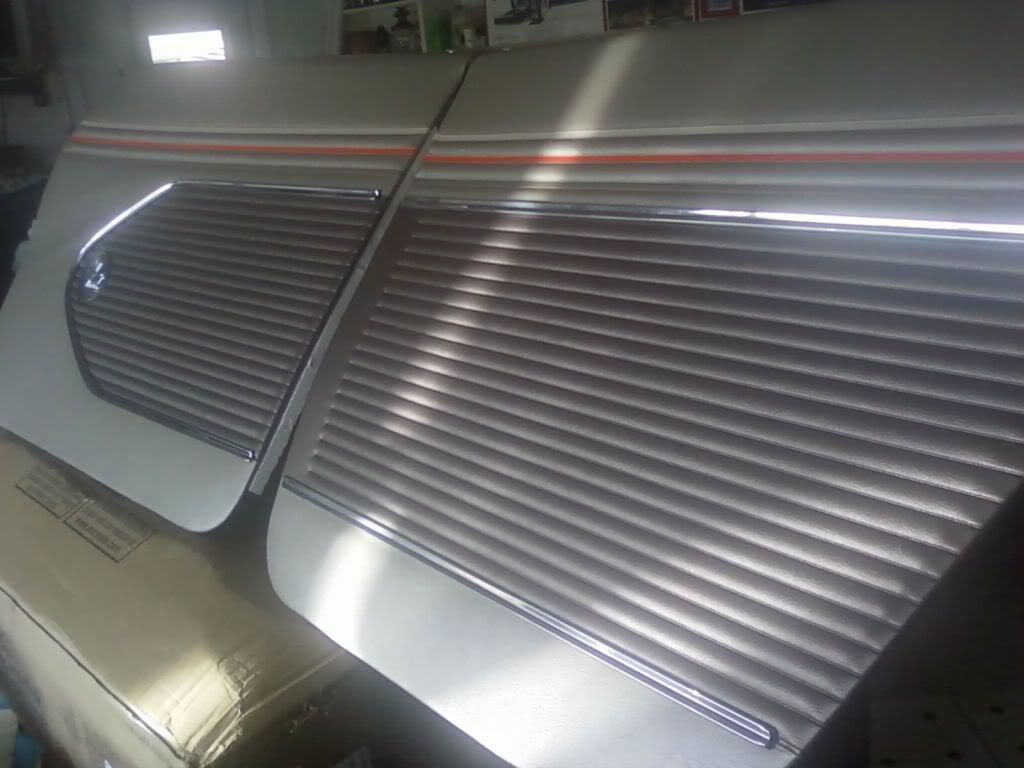
Anyways, I just finished installing my freshly polished door panel mouldings for the front and rear panels. I also punched out holes for new door knob ferruls. All the panels need now, is punchouts for the armrests, cranks and door handle.
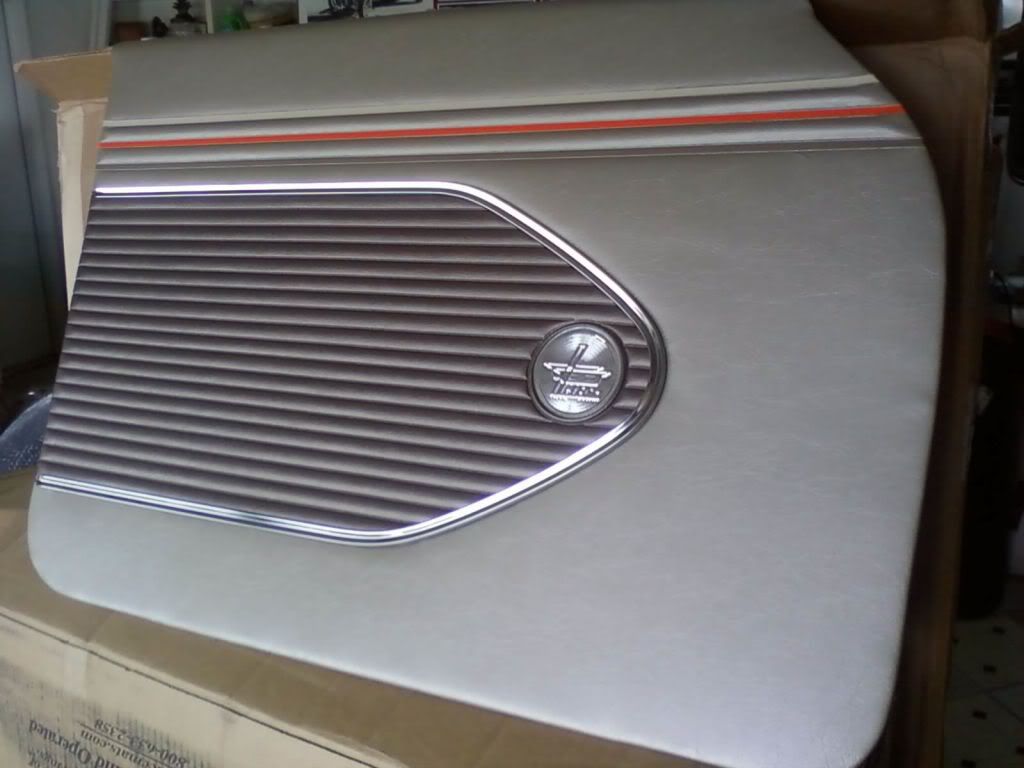
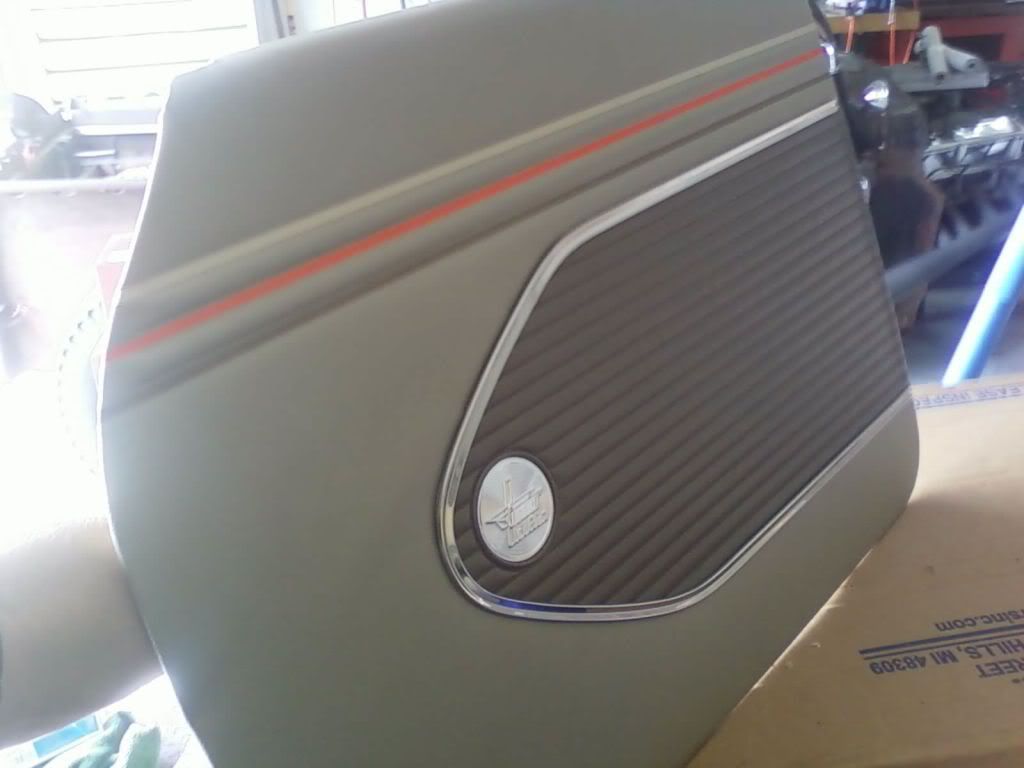
One last time, now I am happy.")
That is slick
anyone looking that wasnt really into these wouldnt know it wasnt factory
Mr.1961
Well Known Member
That is slick
anyone looking that wasnt really into these wouldnt know it wasnt factory
Thanks Steve!
Need some help here fellas,
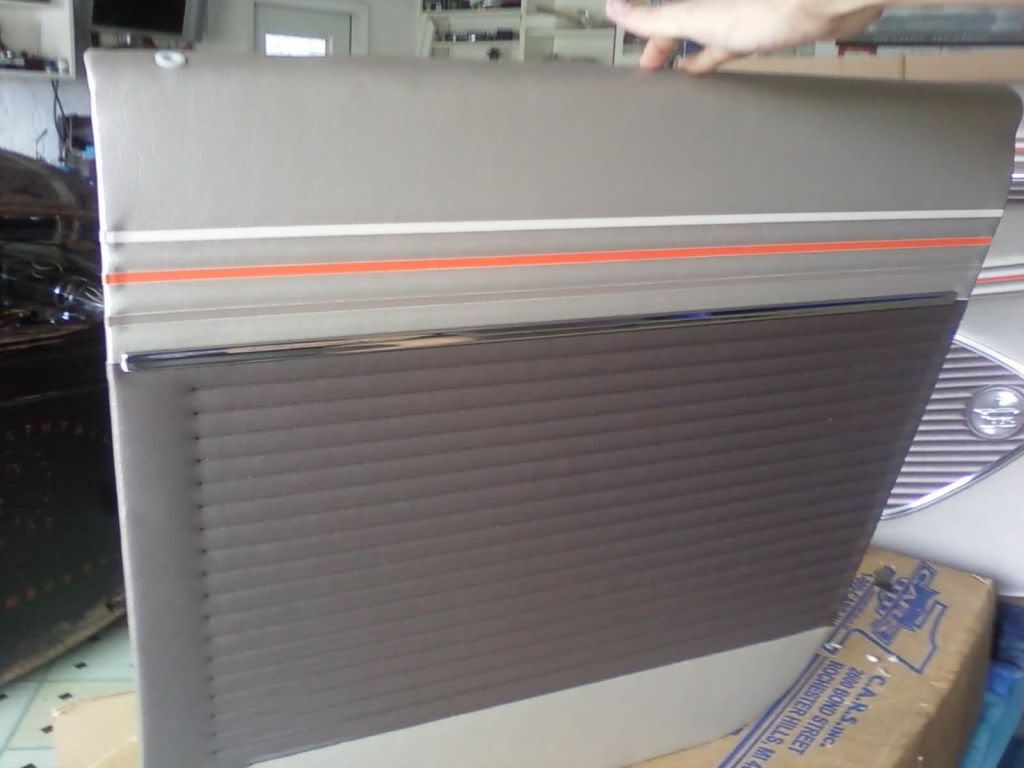
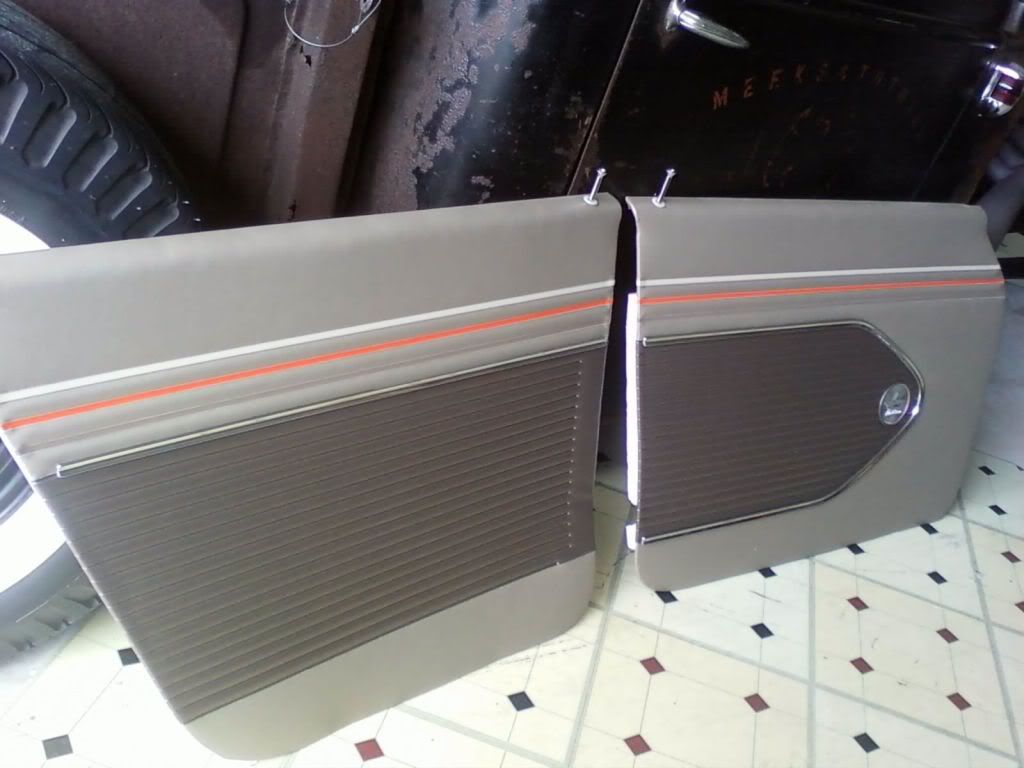
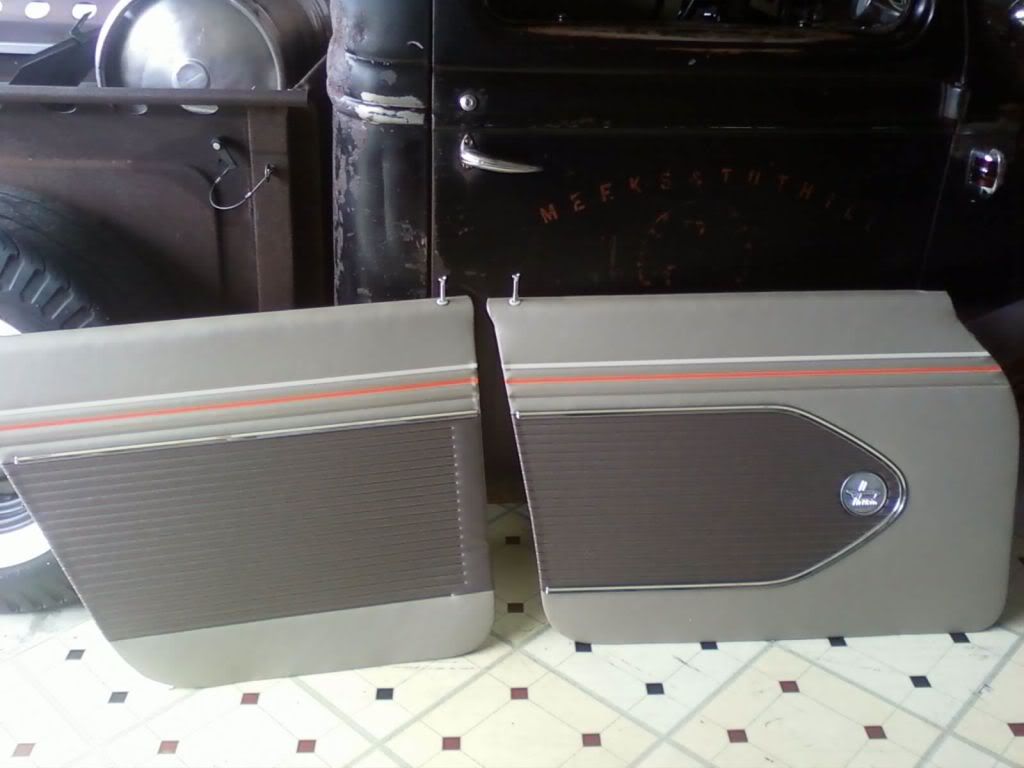
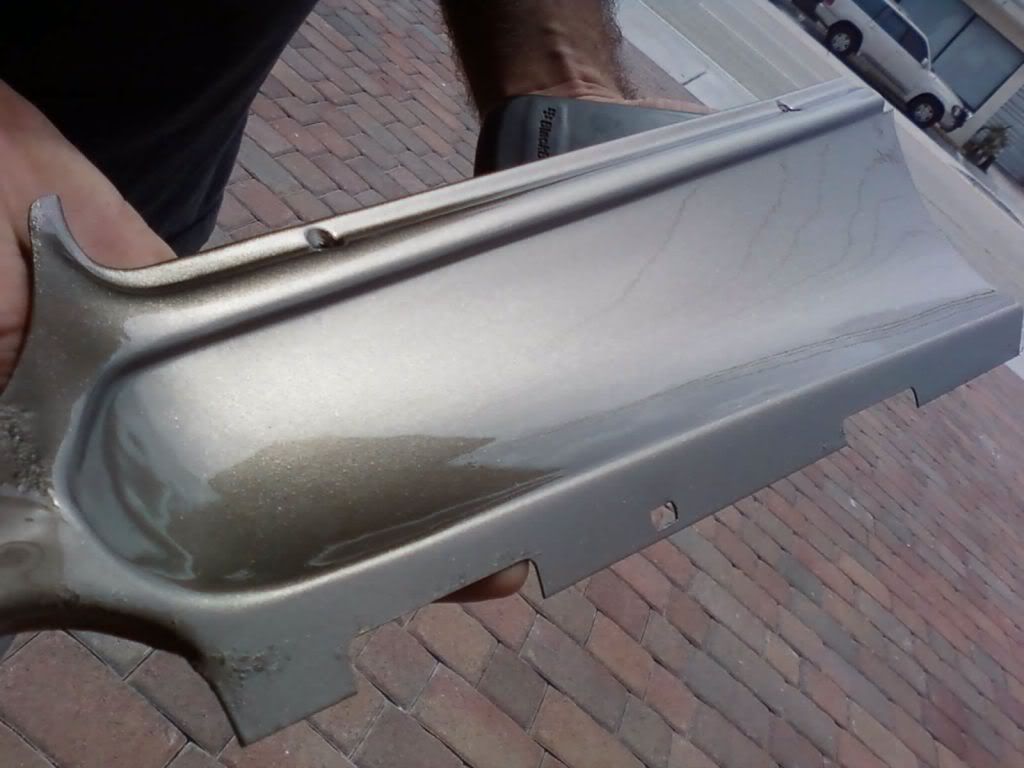
I'm looking for a stainless moulding for the rear door panel (lower strip). It measures 23 and a half inches end to end. Anyone that has a lead to one or is holding, please let me know. I am missing one. You can see it in this photo. I believe Biscayne cars used this type of moulding as well. Although, I am not certain on the length. Thanks.
Thank you Dan for resolving my stainless interior moulding issue. Decided to use a pair of stainless mouldings that are 1" longer than the one that I have and will work out on my panels fine.
Seth, got your moldings packaged up and will go out in the morning mail....
 Question.....:? Why are those door panels so short.....
Mr.1961
Well Known Member
Seth, got your moldings packaged up and will go out in the morning mail....
 Please don't tell me that... Oh god, now I have to go and check tomorrow morning.
Skim
Well Known Member
Thanks Steve!
Need some help here fellas,
I'm looking for a stainless moulding for the rear door panel (lower strip). It measures 23 and a half inches end to end. Anyone that has a lead to one or is holding, please let me know. I am missing one. You can see it in this photo. I believe Biscayne cars used this type of moulding as well. Although, I am not certain on the length. Thanks.
i think i have these from the first white 4 door i parted out
I think he was giving you a hard time cuz your panels are for a 4-door and his are for a 2-door

Mr.1961
Well Known Member
I think he was giving you a hard time cuz your panels are for a 4-door and his are for a 2-door
I know Dan was, I had already mocked them up last week and knew they were good to go.


Mr.1961
Well Known Member
i think i have these from the first white 4 door i parted out
Dan (Tri Power) sent a pair to me last week, and they;re already installed.
Mr.1961
Well Known Member
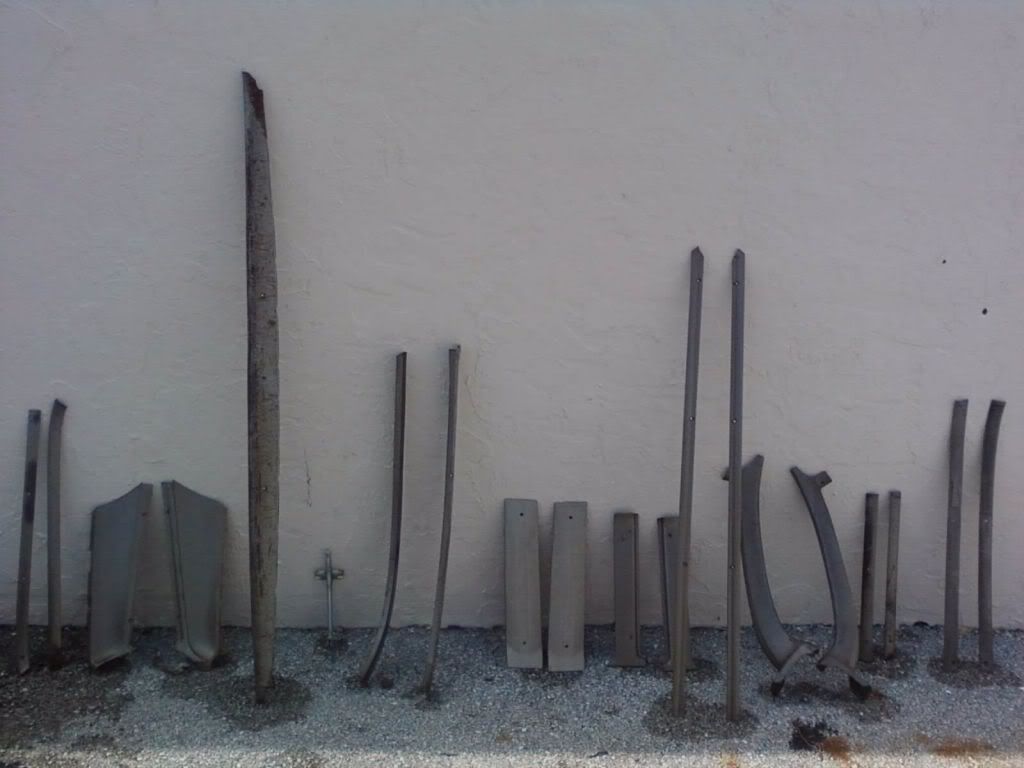
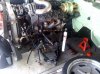
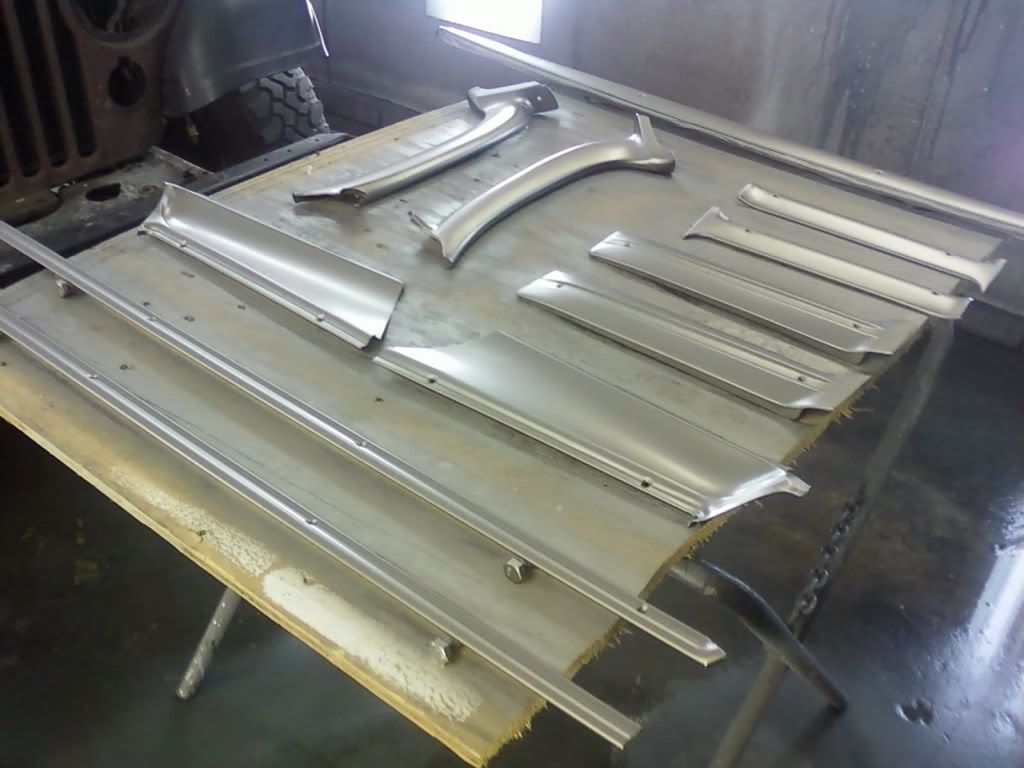
20 piece chicken mcnuggets about to get color treatment Saturday.
Nearing the home stretch. However, a lot of hours to go. Planning on refinishing the entire dash next weekend and cut and weld in the new floor pans. Lastly, the beautiful upholstery will be getting wrapped on the seats while the floors are getting done. Big change coming to the interior!
Mr.1961
Well Known Member
Lookin Good....
Thanks Dan. I've got the big rear panels to prep and spray base/clear on as well. that's another 8 cumbersome panels to attend to as well.
Mr.1961
Well Known Member
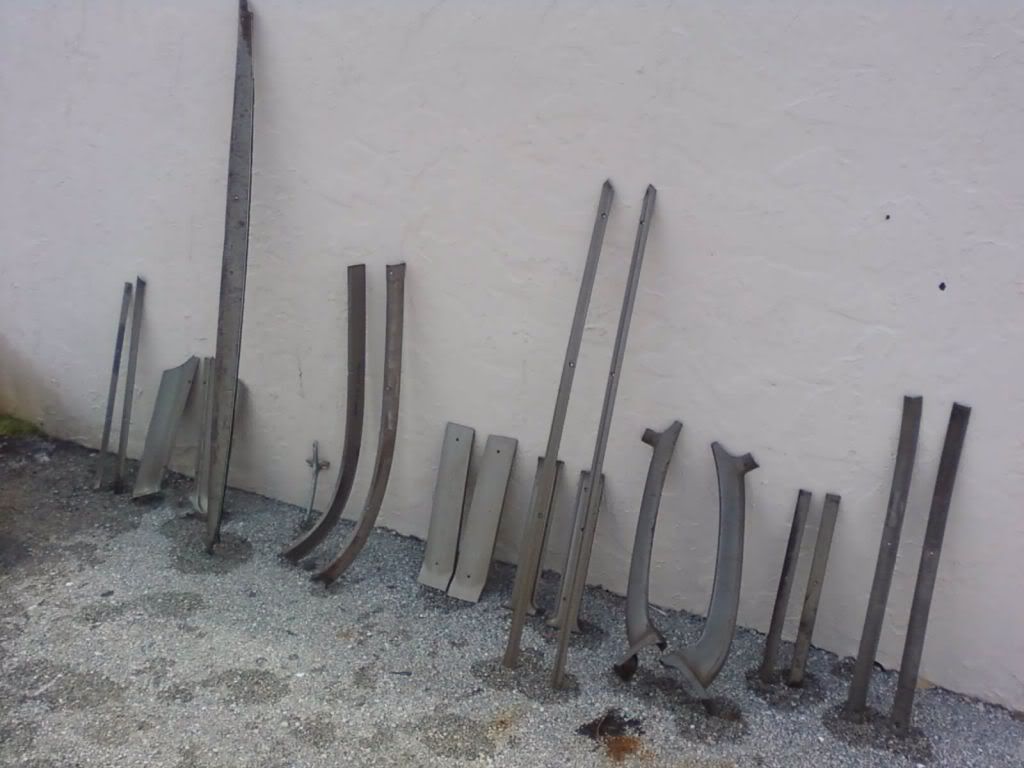
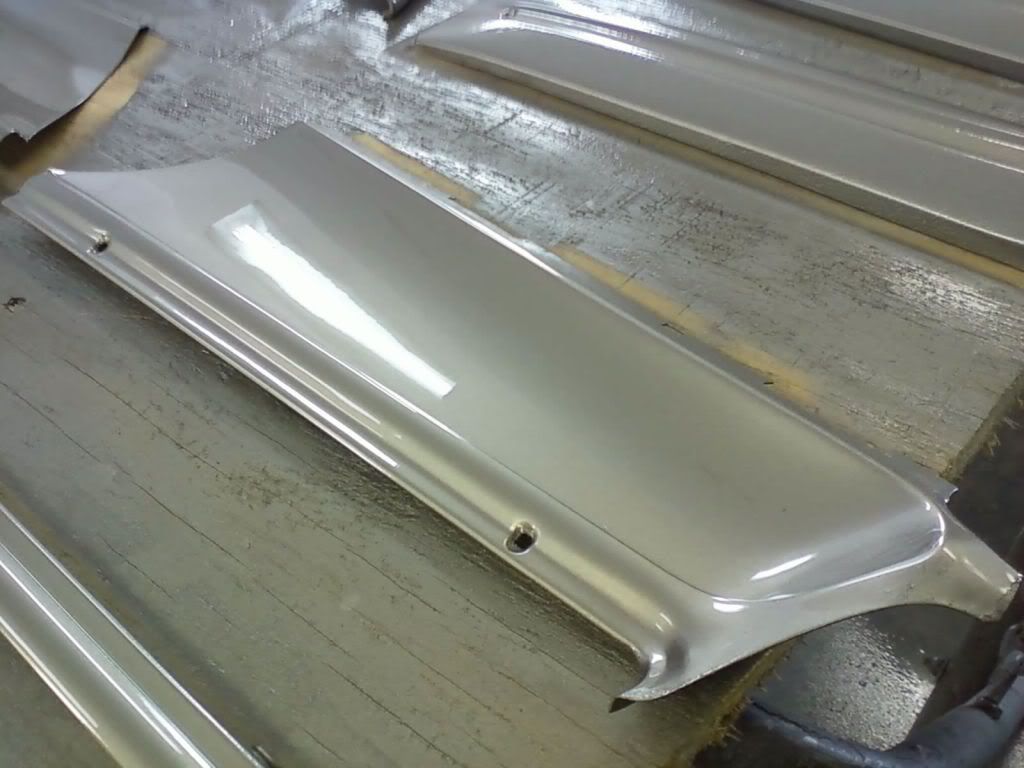
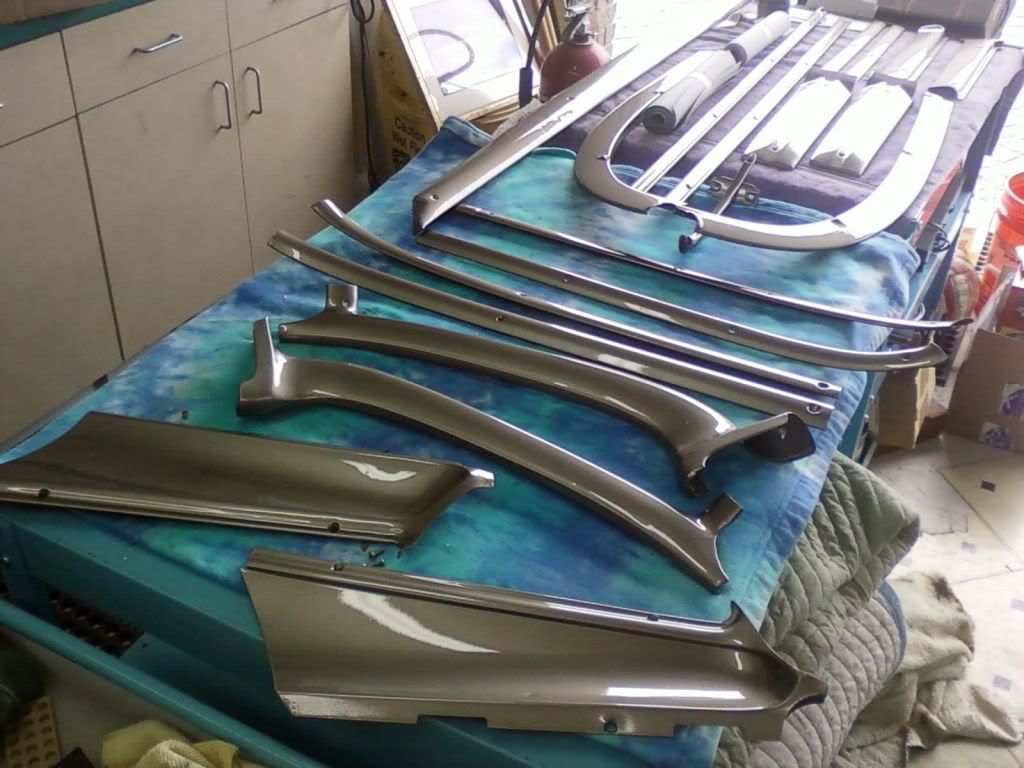
After prepping was finished it was time to lay two coats of base followed by three coats of high solid clear.
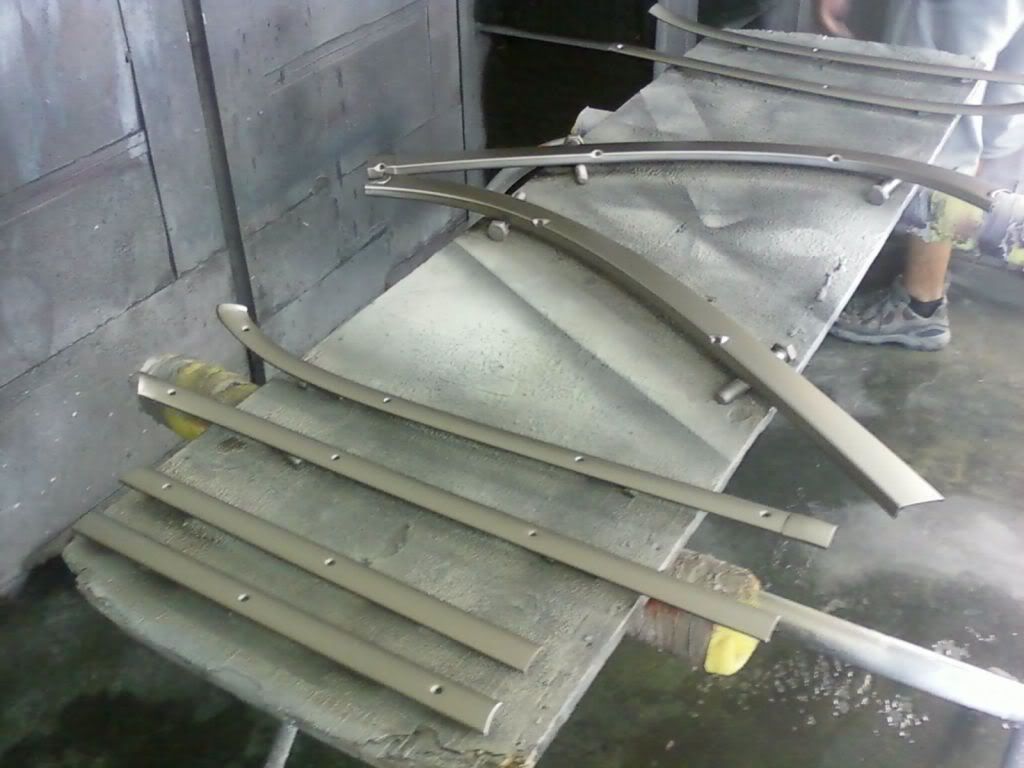
After the second pass of clear, one more to go....
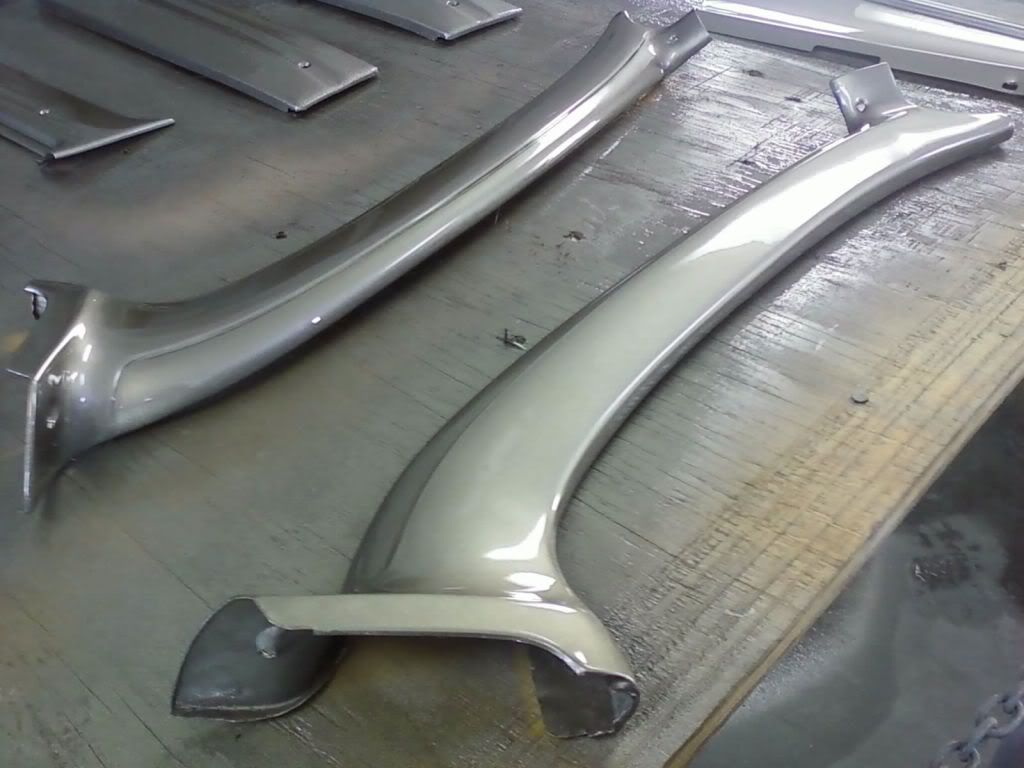

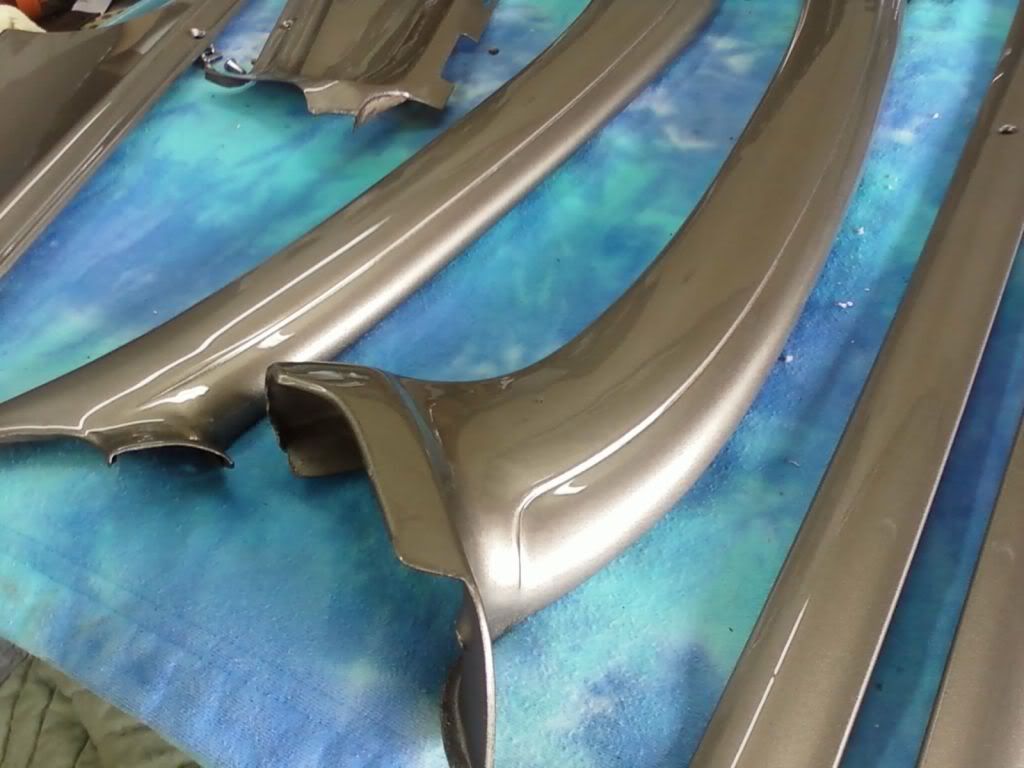
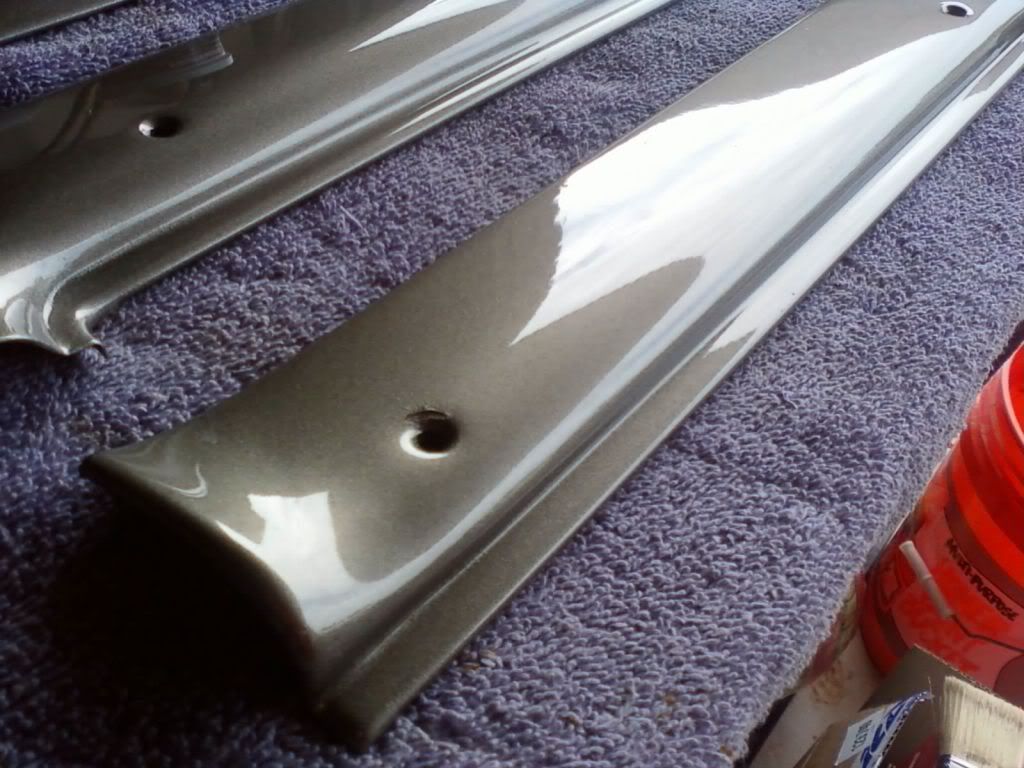
Finally baked after three coats of clear. Truly, a dazzling color in the sunlight. I will definitely keep this color in mind for another project.
After the second pass of clear, one more to go....
Finally baked after three coats of clear. Truly, a dazzling color in the sunlight. I will definitely keep this color in mind for another project.
ls1wagon
Active Member
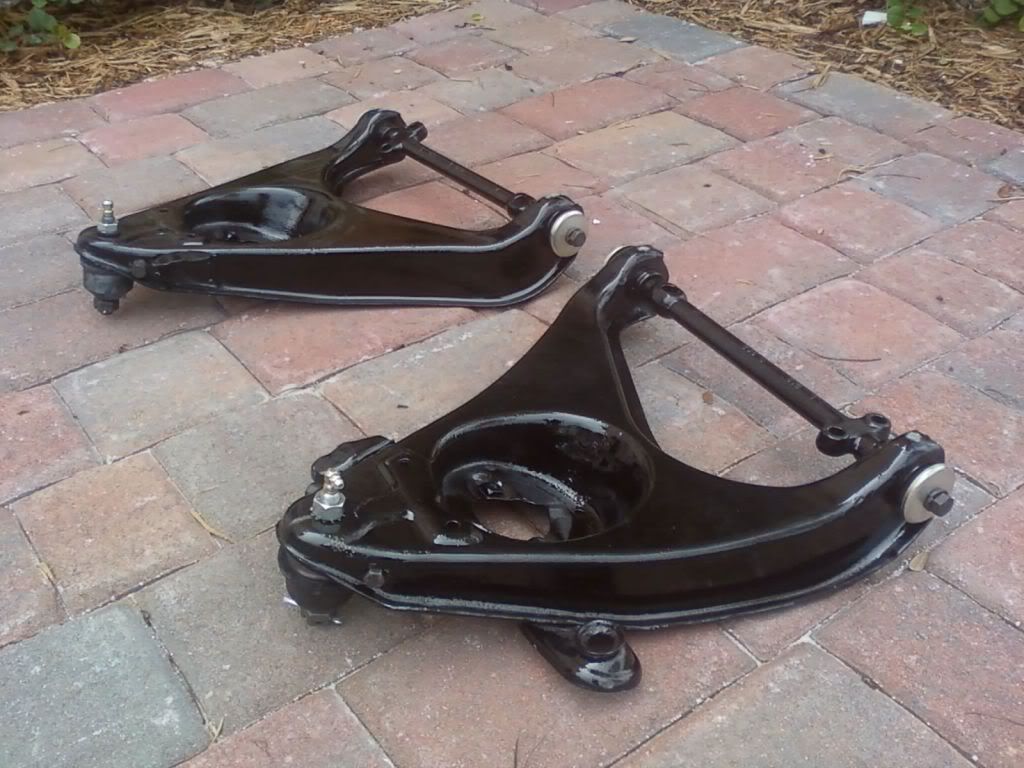
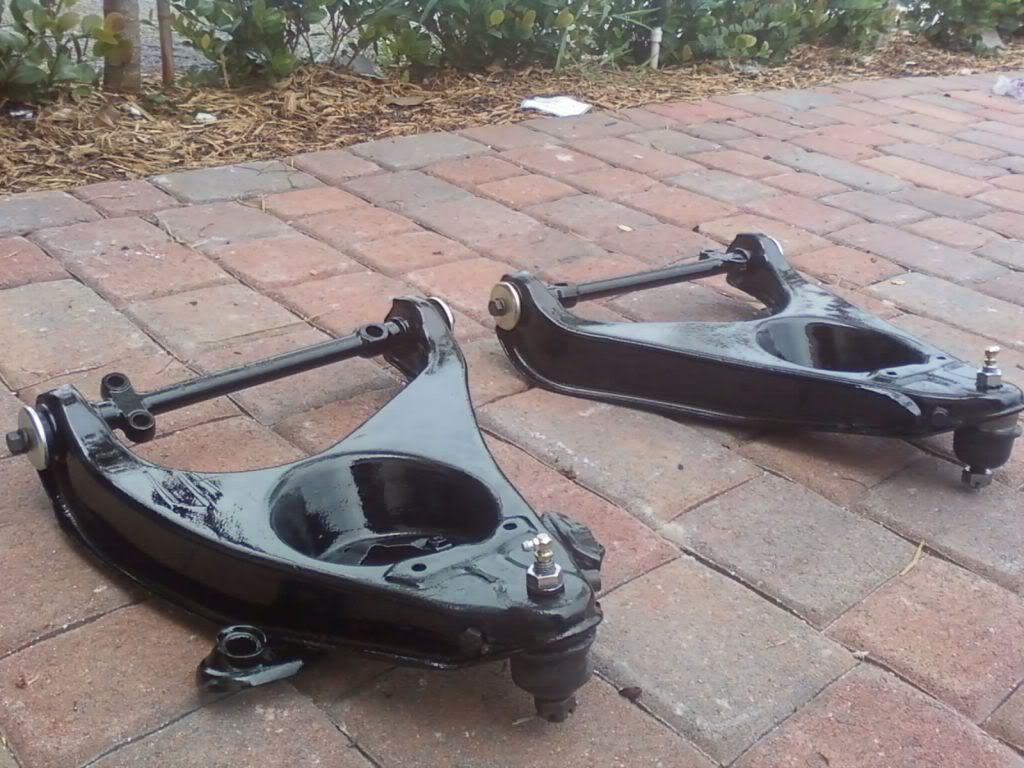
My replacement lower control arms rebuilt with new moog ball joints, cross shafts and bushings. Lowers were stripped and painted single stage gloss black.
Remember leave those bump stops off so it will set on down when you lower it.