
Sunday and wood
Models Registration will start about 8- 8:30 Lunch at noon what trophies we do about 2:00 or so.
Skydog:
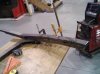
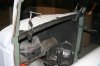
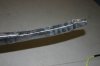
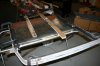
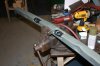
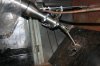
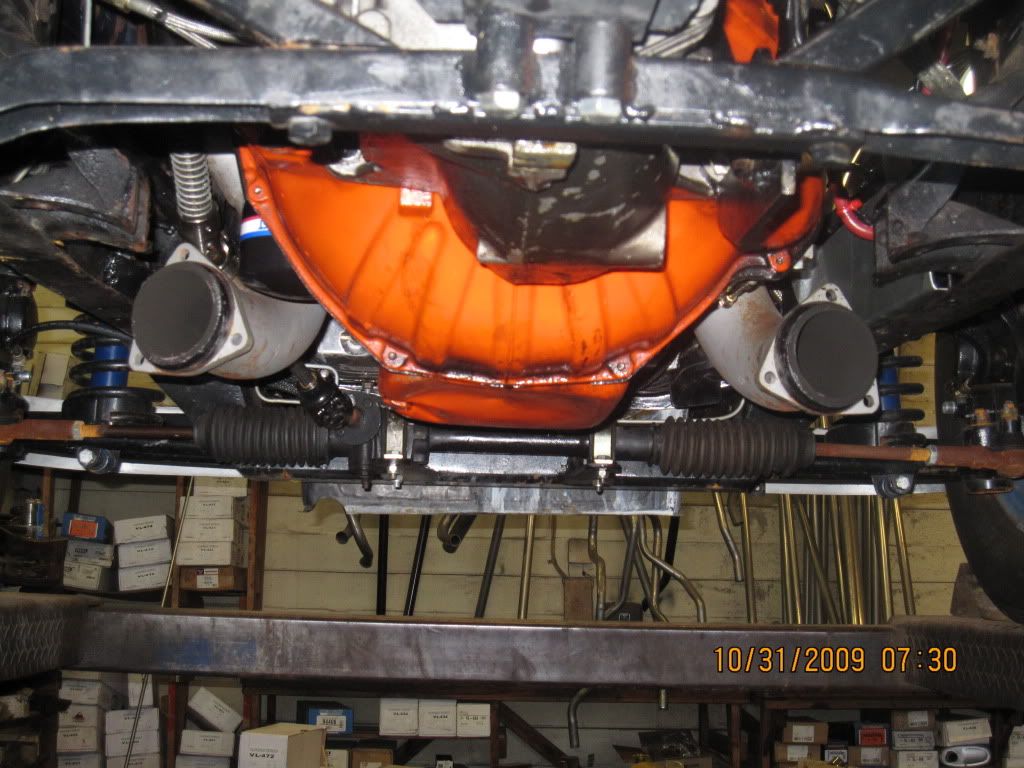
I also own a 34 chevy 5 window coupe that has been my driver for 30 years and about 230,000 miles, we're old friends. In 1984 the doors were sagging and popping open on hard turns as the old wedge latches will tend to do. So, I stripped the rotten hinge and lock pillars (oak & ash) out of the body and the wood frames from the doors and replaced them with steel tubing just like Im doing with this car only with this one we went all the way down to the floor sills and are replacing them also. The coupe we used a 76 nova roof to close it in, this car is going to get an 84 volvo station wagon roof that fits perfectly , very low crown no ribs, and we will probably trim off about 1-1/2" per side when we trim the car and roof together to butt weld them. I have been shaping the tubing to semi match the old wood framing and tig stitch welding the skin to the tubing. It is not for the faint of heart, but if you take your time it is not too difficult. The absolute WORST part is getting the wood out of the doors. 4 primary screws on both sides are covered up by wrapping steel over them and there is NO GOOD way to get them out. I will be posting more pictures as we get beyond the run season and things slow down a little.
Oh, the rib thing and the roof--- I think the only reason to put ribs in a sedan roof is to hide sloppy body work. I like the look of a smooth unbroken roof surface and there is no reason not to have it if you are careful and patient.
Anyway, I am happy to help however I can.
Big Jim
Models Registration will start about 8- 8:30 Lunch at noon what trophies we do about 2:00 or so.
Skydog:
I also own a 34 chevy 5 window coupe that has been my driver for 30 years and about 230,000 miles, we're old friends. In 1984 the doors were sagging and popping open on hard turns as the old wedge latches will tend to do. So, I stripped the rotten hinge and lock pillars (oak & ash) out of the body and the wood frames from the doors and replaced them with steel tubing just like Im doing with this car only with this one we went all the way down to the floor sills and are replacing them also. The coupe we used a 76 nova roof to close it in, this car is going to get an 84 volvo station wagon roof that fits perfectly , very low crown no ribs, and we will probably trim off about 1-1/2" per side when we trim the car and roof together to butt weld them. I have been shaping the tubing to semi match the old wood framing and tig stitch welding the skin to the tubing. It is not for the faint of heart, but if you take your time it is not too difficult. The absolute WORST part is getting the wood out of the doors. 4 primary screws on both sides are covered up by wrapping steel over them and there is NO GOOD way to get them out. I will be posting more pictures as we get beyond the run season and things slow down a little.
Oh, the rib thing and the roof--- I think the only reason to put ribs in a sedan roof is to hide sloppy body work. I like the look of a smooth unbroken roof surface and there is no reason not to have it if you are careful and patient.
Anyway, I am happy to help however I can.
Big Jim


 :
:
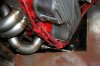
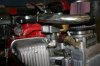


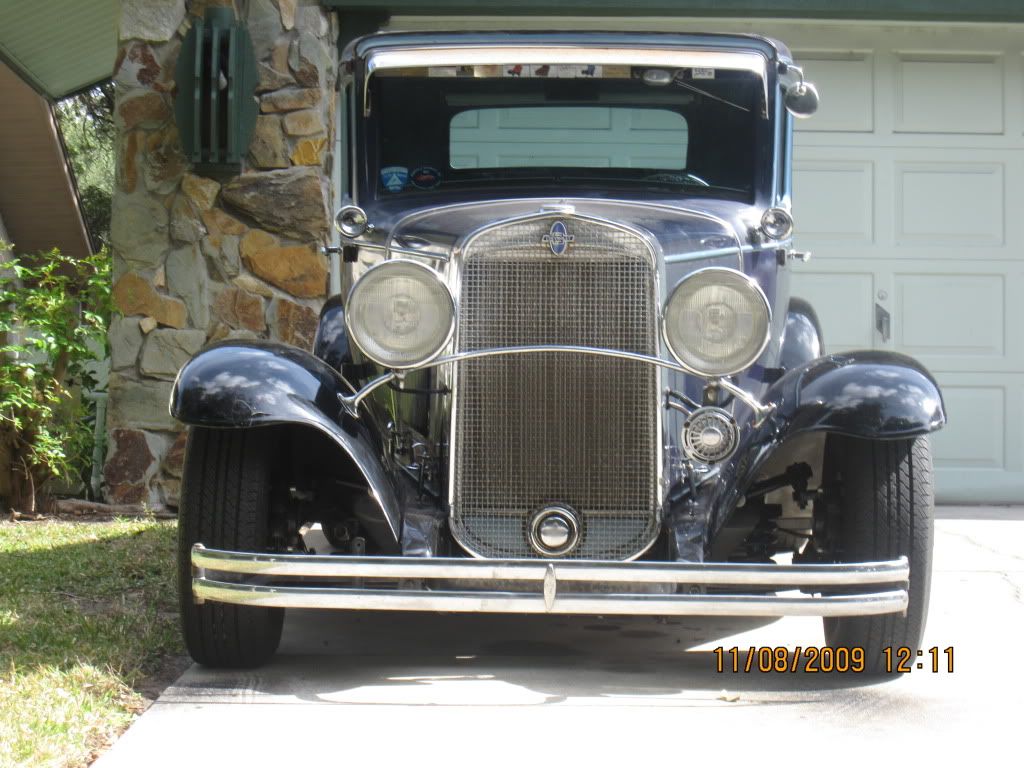
 Now that's a fine looking sleeper. Very clean machine.
 WOW,What a sweet car.By the way,J.W'S car is fuel injected,so I doubt "vapor lock'will be a problem.