My 2nd Gen F-body

Sera

Active Member
Sorry, not an Impala....

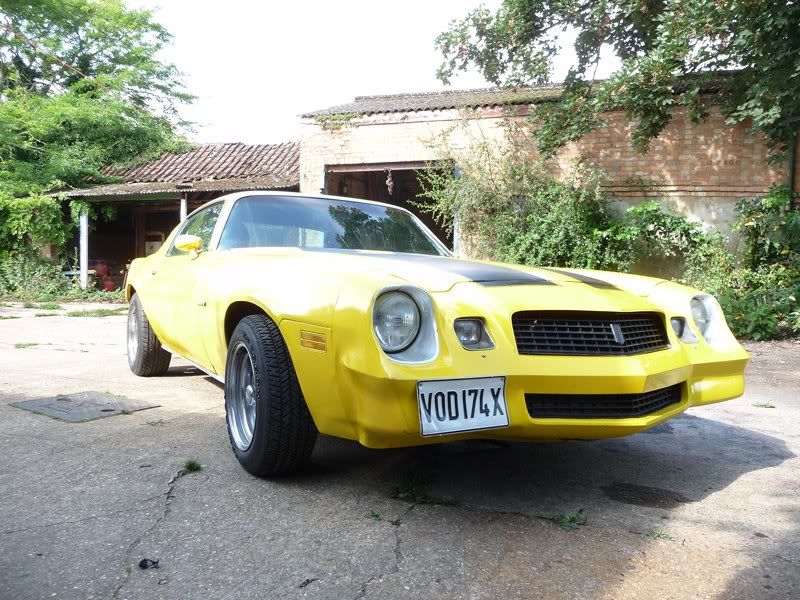
I bought this car back in 2011, having always hankered after a 2nd gen F-body. The intention was to keep it on the road and do little bits and pieces to it over the course of a few years and slowly get it upgraded into an everyday car.

That idea didn't last very long...

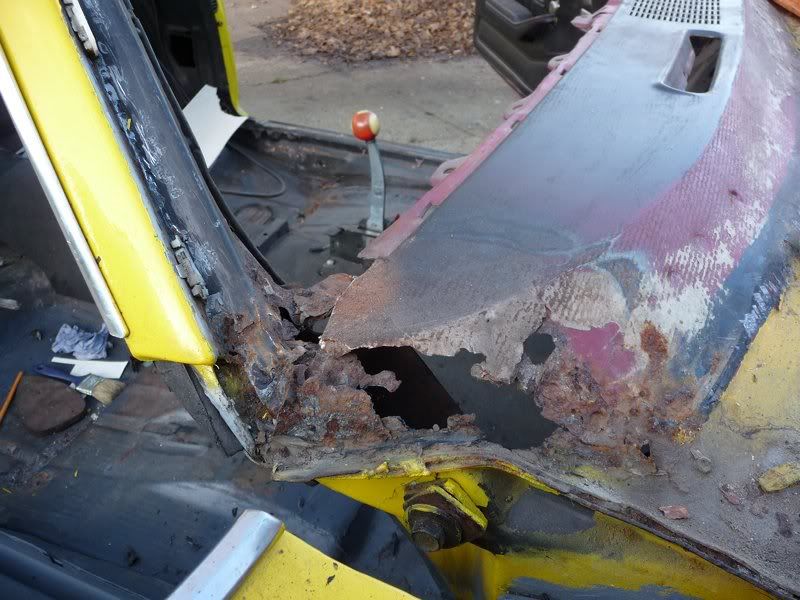
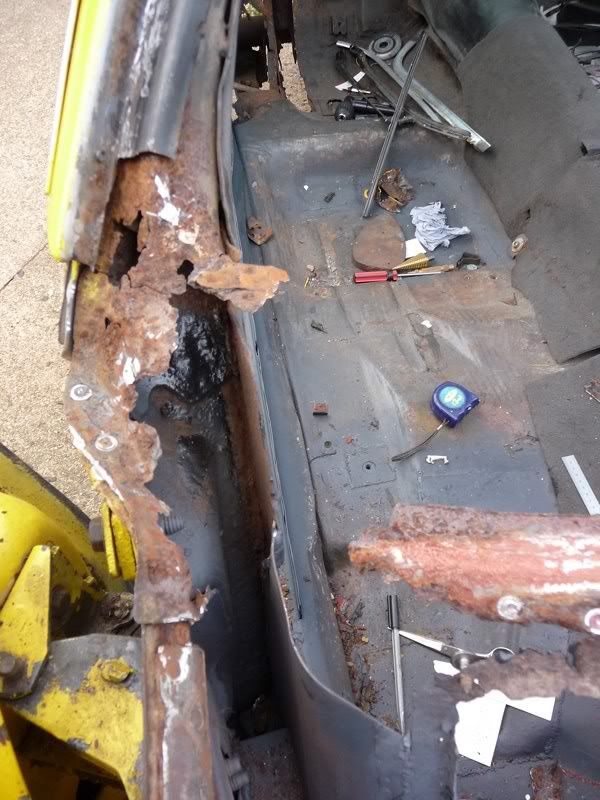
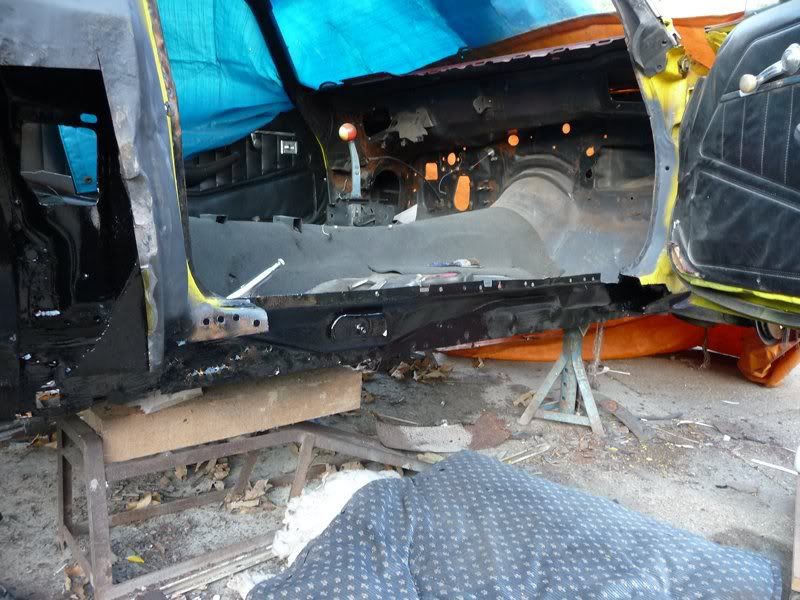
As soon as I dug into the car I discovered a lot of rust - perhaps unsurprising after finding out the car has been in the UK since 1982, with no rust protection whatsoever.

So I took it off the road and started what turned into 2 years of repairs.

When I bought the car, some bright spark had decided it would be a good idea to paint it like bumblebee... with a roller. Possibly the worst paint job I've seen. But the car was cheap.

It had a completely gutless 305 SBC fitted, which smoked a bit from the right bank. Other than that it drive OK, so I ran around in it for a couple of months.
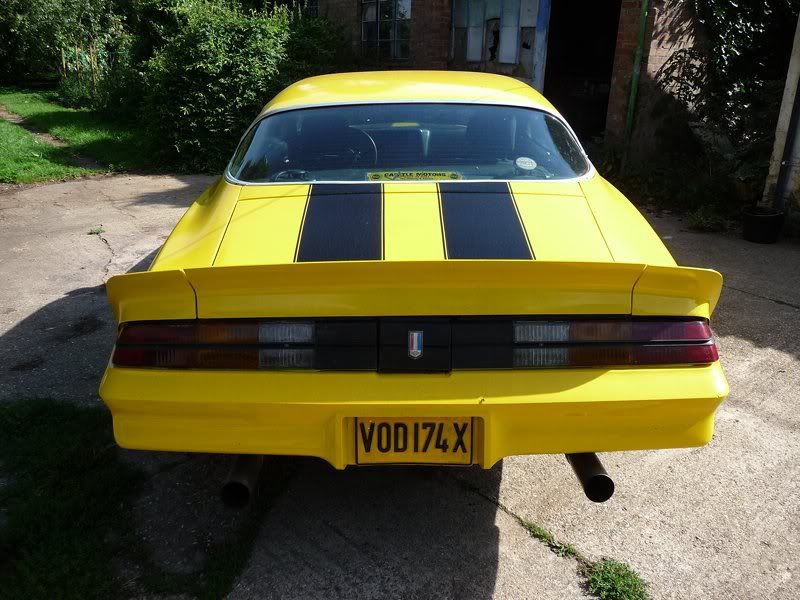
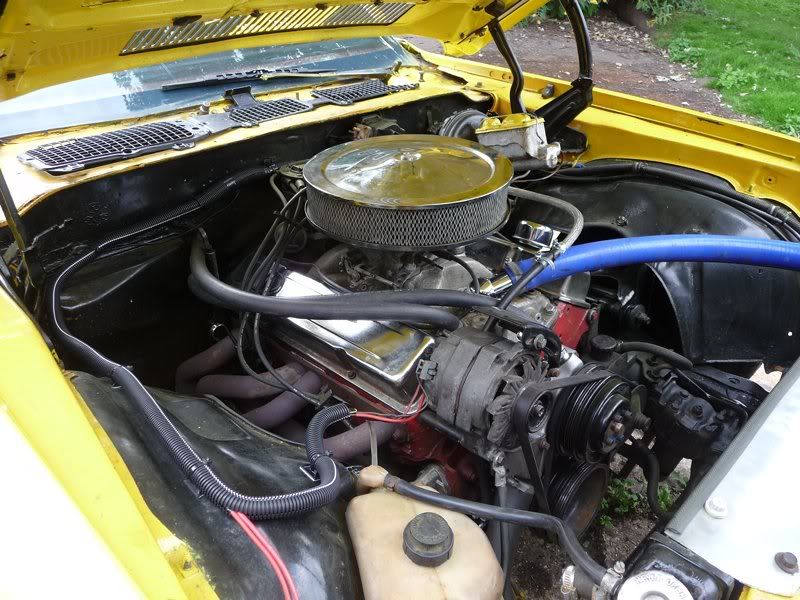
m_P1020498.jpg


m_P1020494.jpg


m_P1020485.jpg


After digging around in it for a while I started to realise just how badly bodged it had been. It had 11 months MOT on it when I bought it... possibly given by someone with a labrador and white stick...

It turned out to be rotten, really rotten. But I'd paid so little for it, and I had the time on my hands and a welder... to just patch it up.
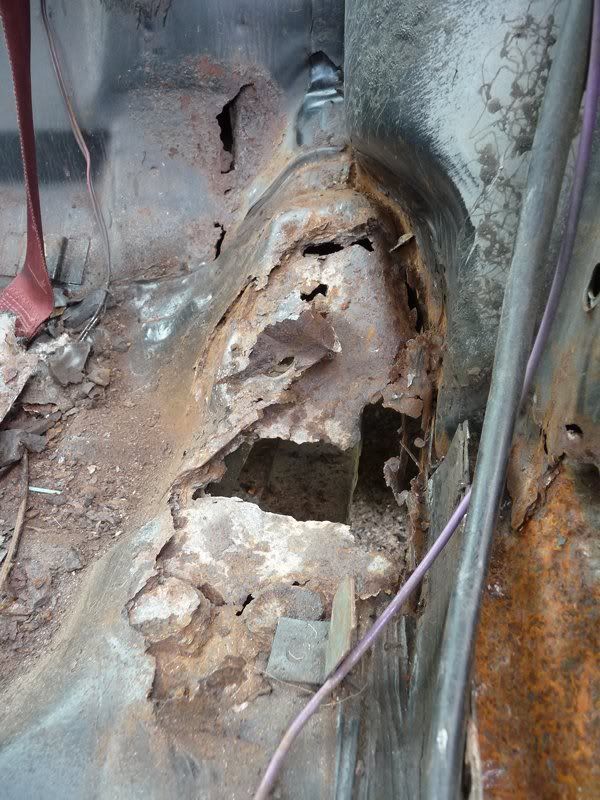
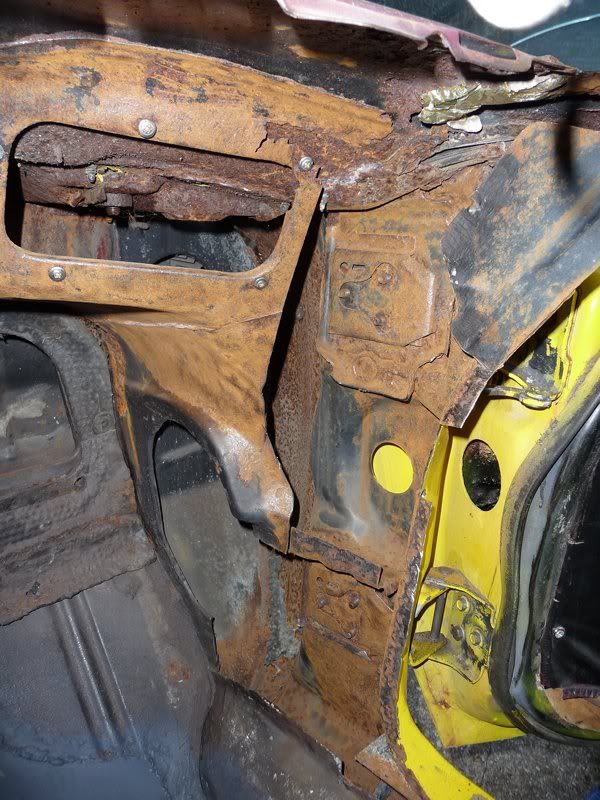
m_P1020625.jpg


m_P1020704.jpg


m_P1020774.jpg


m_P1020790.jpg


m_P1020817.jpg


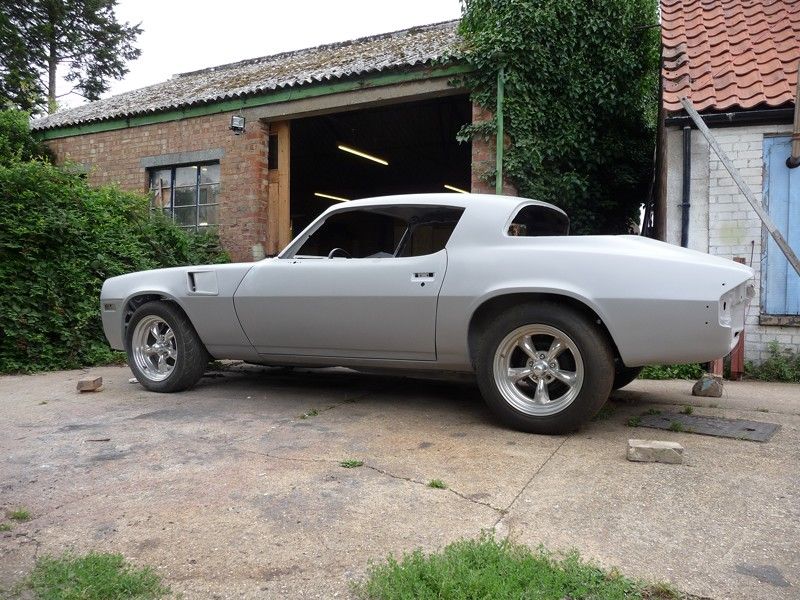
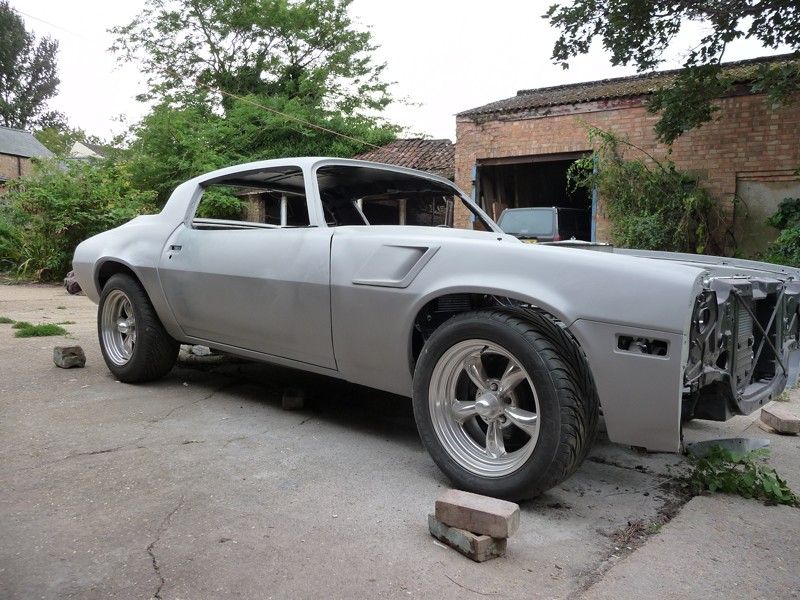
I ended up stripping the whole shell back to bare metal and cutting out every piece of rot I could find. The only panel that I didn't end up having to repair or replace was the roof.

After that the underside of the car was treated with Jotamastic, and the rest of the bodywork with 2k epoxy primer.
m_P1030957_zps707f915b.jpg


m_P1030961_zps3150b87d.jpg


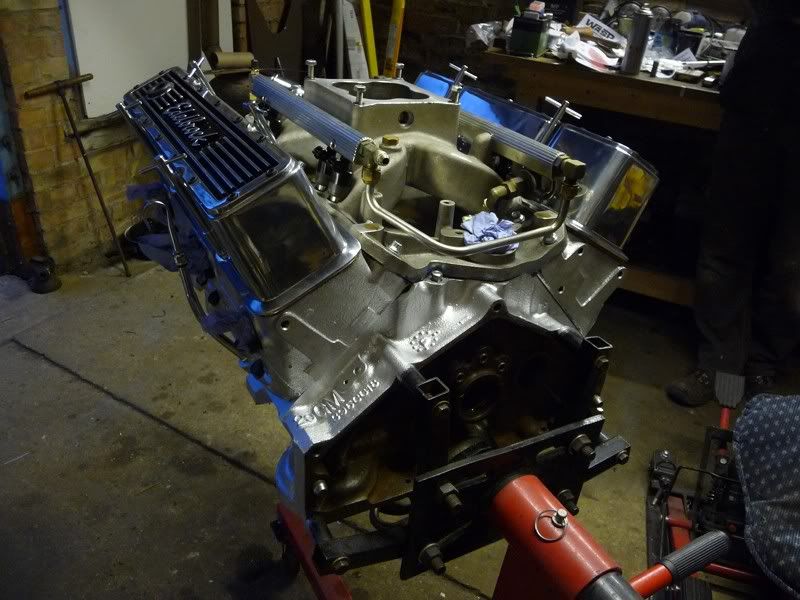
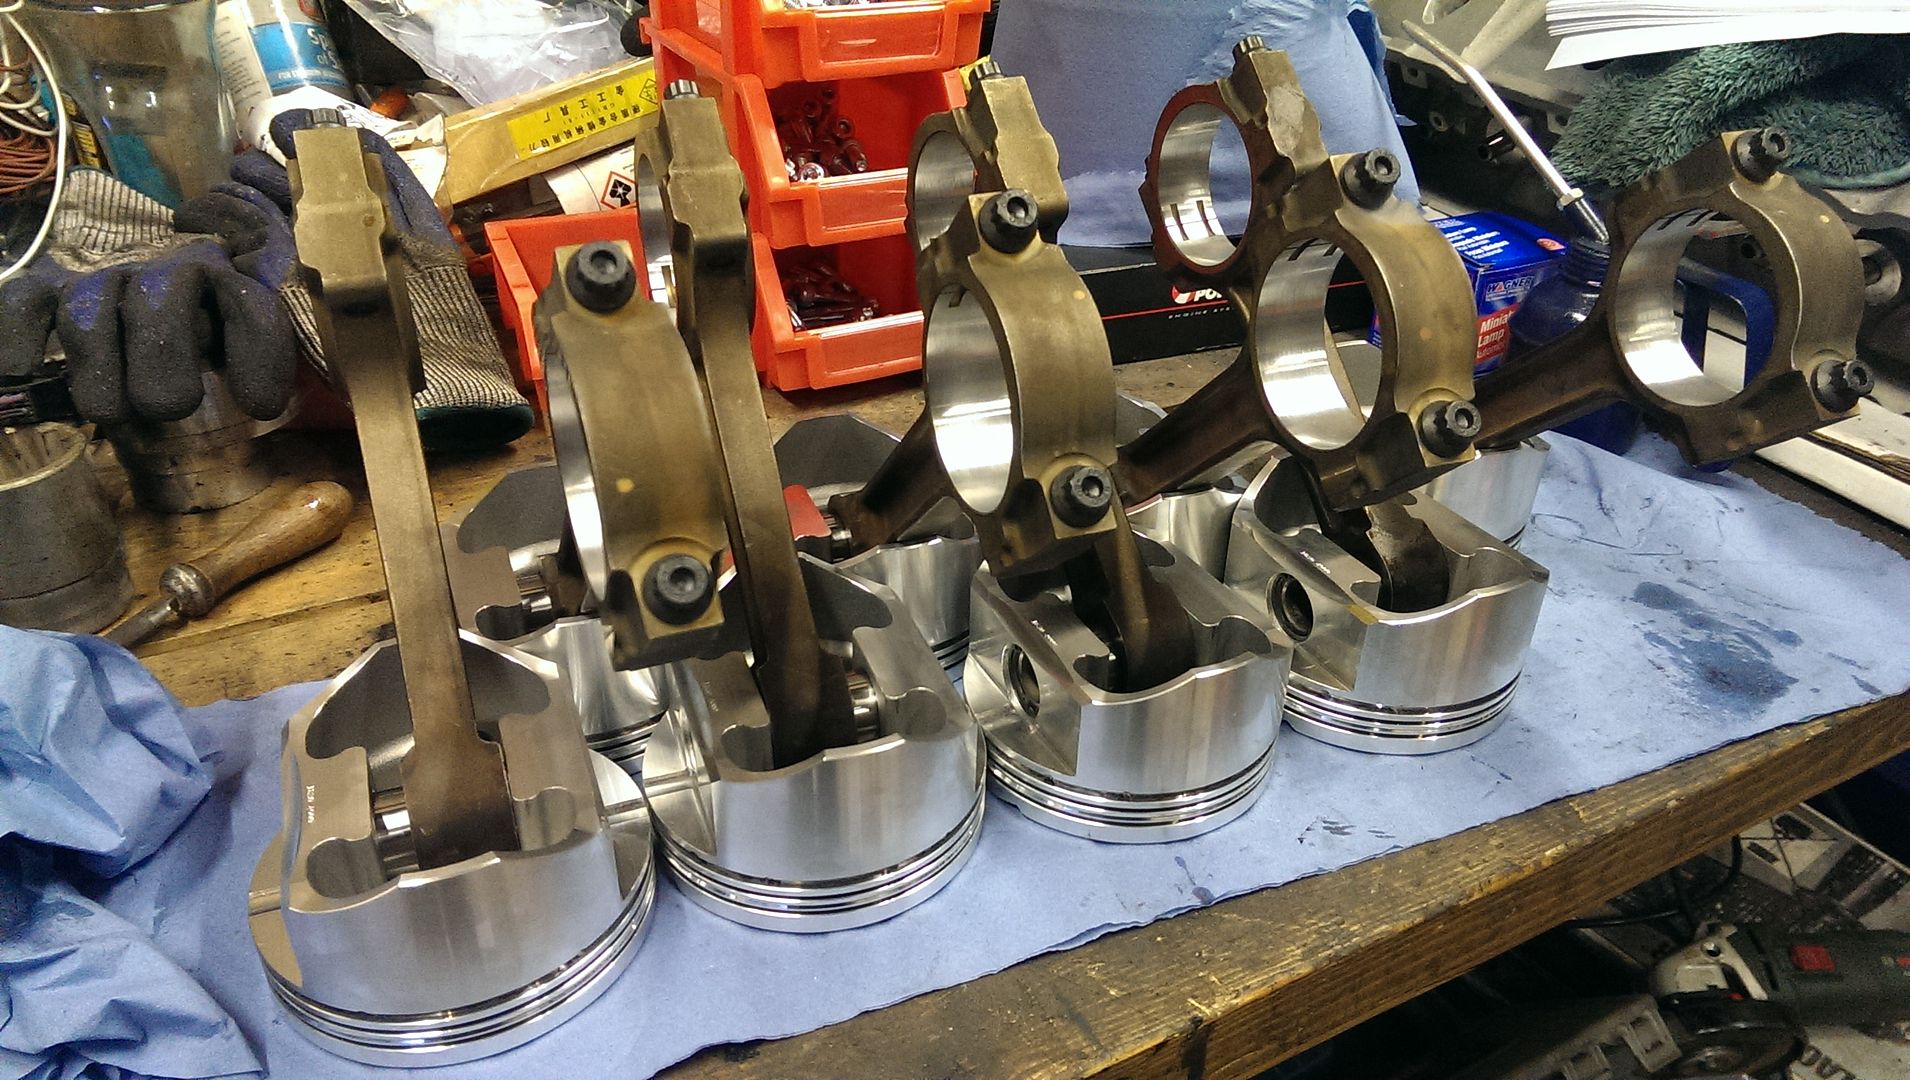
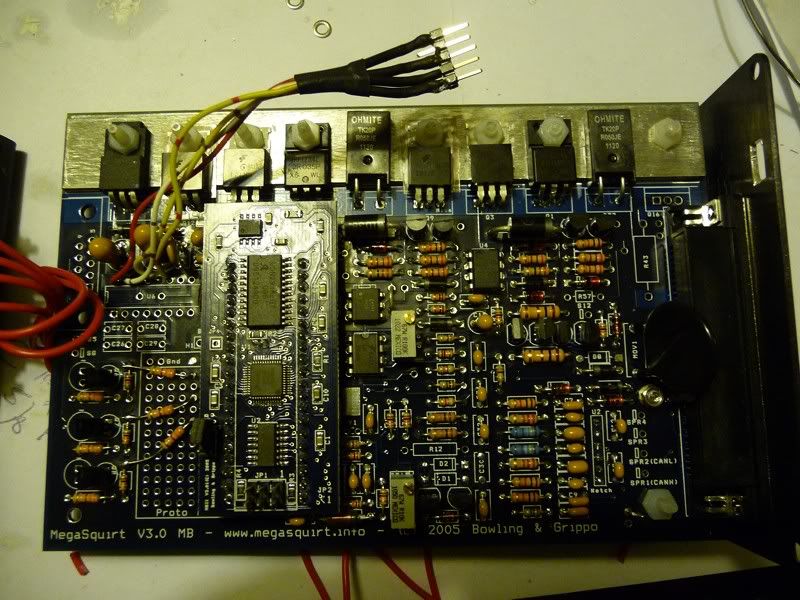
In the mean time I collected the parts to build myself a pretty hot 350 SBC, bored it out .060 and fitted forged pistons and rods, good heads which I ported myself and a moderate cam. I dropped a Holley multi port injection manifold and throttle body on it and built an MS2 ecu for it
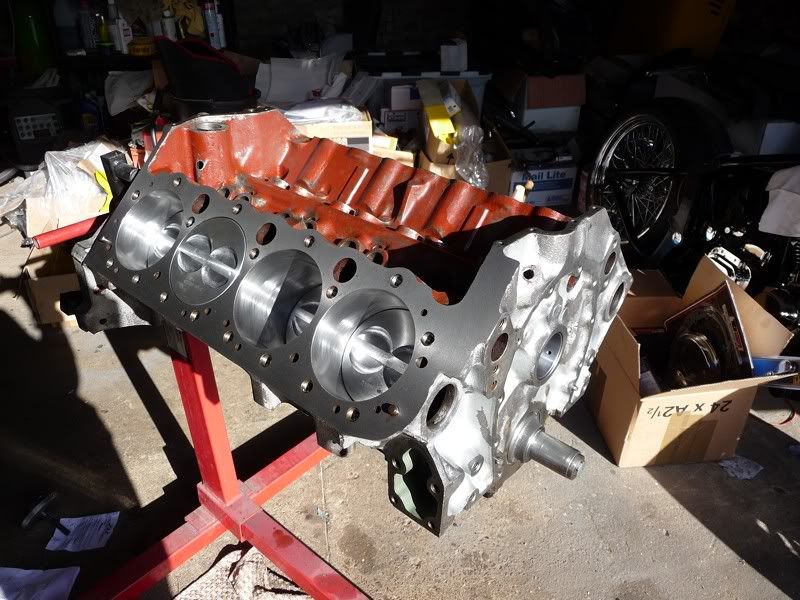
m_P1030205.jpg


m_P1030121.jpg


m_P1030184.jpg


m_P1040020_zps6b813fbb.jpg


I also did a few handling and structural upgrades while I was there. Including making some sub frame connectors, solid body mounts and some g-braces for the subframe to firewall. I also replaced the standard spindles and discs with A-body ones, 1" bigger for a bit more stopping power. Poly bushes, large anti roll bars and lowering springs were also fitted.

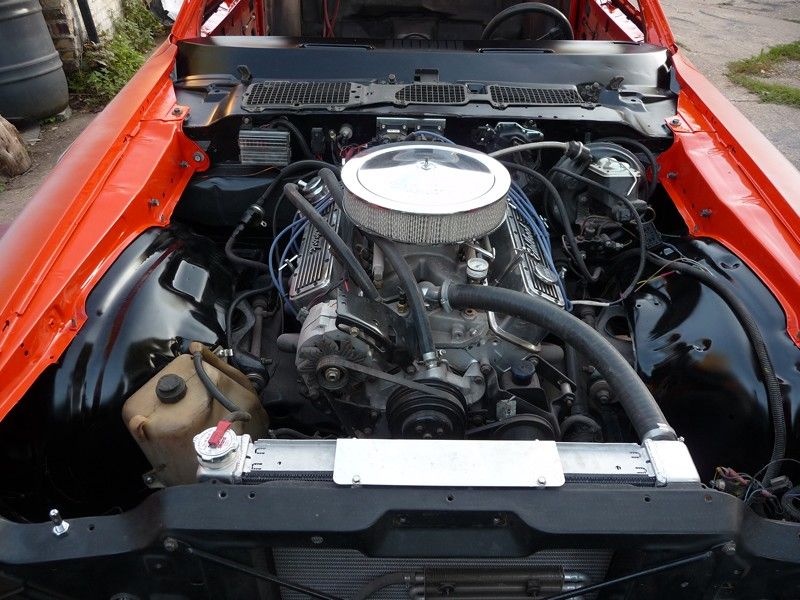
After a lot of hours I finally has something ready to paint. And I chose hugger orange. Nothing like a subtle colour....!
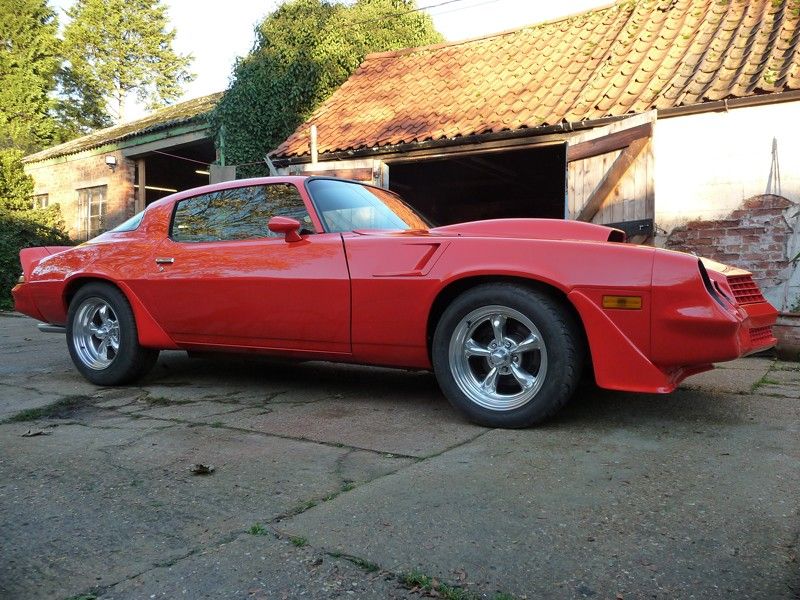
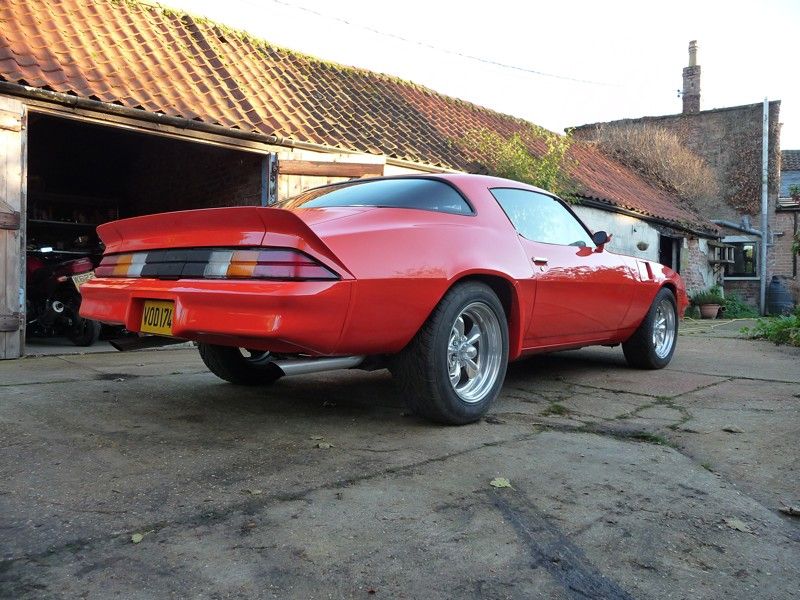
m_P1040112_zps22e029f1.jpg


m_P1040114_zpsb4add96e.jpg
 

1958 delivery

Well Known Member
Supporting Member 2
Looks much better in orange. From the looks(height) of the rust I would think it was in a flood.
 

Sera

Active Member
Thanks guys.... you are all very kind!

The car wasn't flooded, it had a leaking windscreen, which is really common and leads to the sort of rust mine had. It had also been subjected to 30 years of British winters and salted roads. Poor old thing!

Here's part 2 :)

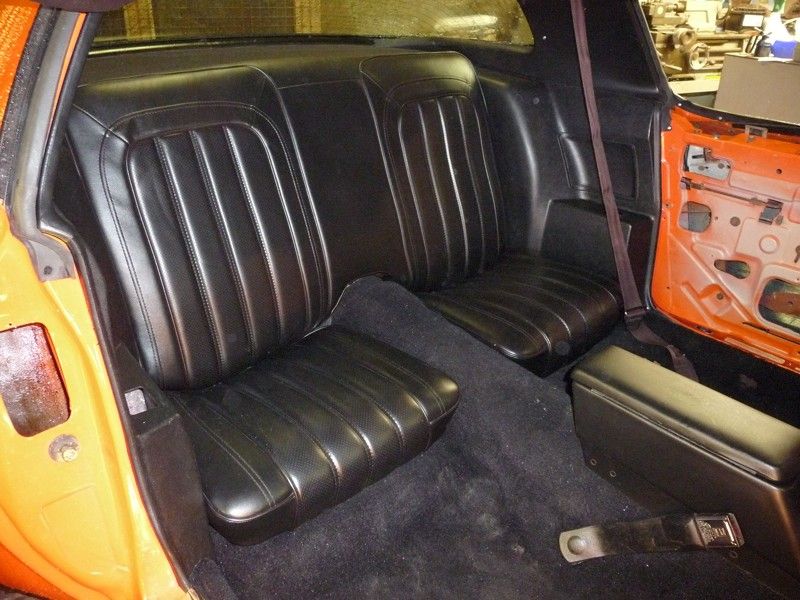
I also fitted a completely new interior, retrimmed the seats and made custom door cards.

m_P1040102_zpse5d932d4.jpg


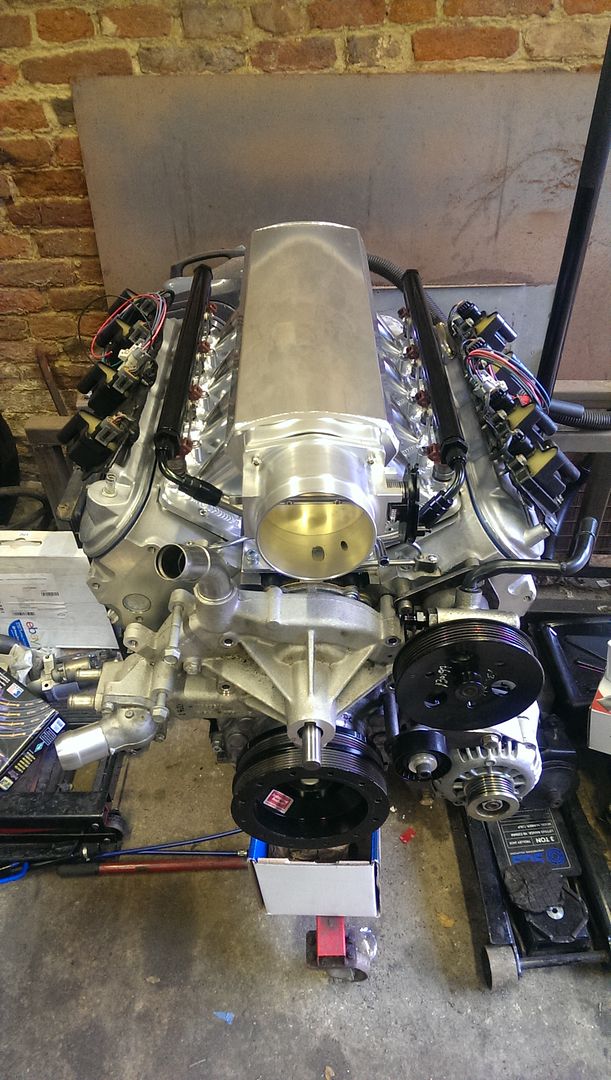
After a while I got bored with the SBC and decided an engine upgrade was in order - so I chose to go down the LS route, using an LQ9 as a base.

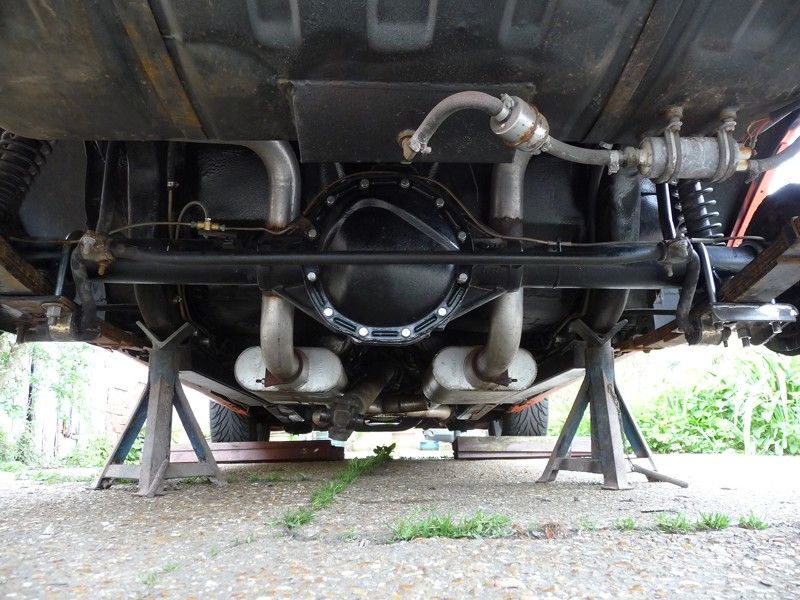
Before getting too far into that I thought I better upgrade the axle and transmission. I chose a 12 bolt with 4.11 gears, steel shafts and Moroso brute strength posi

m_P1040367_zpsf8475a01.jpg


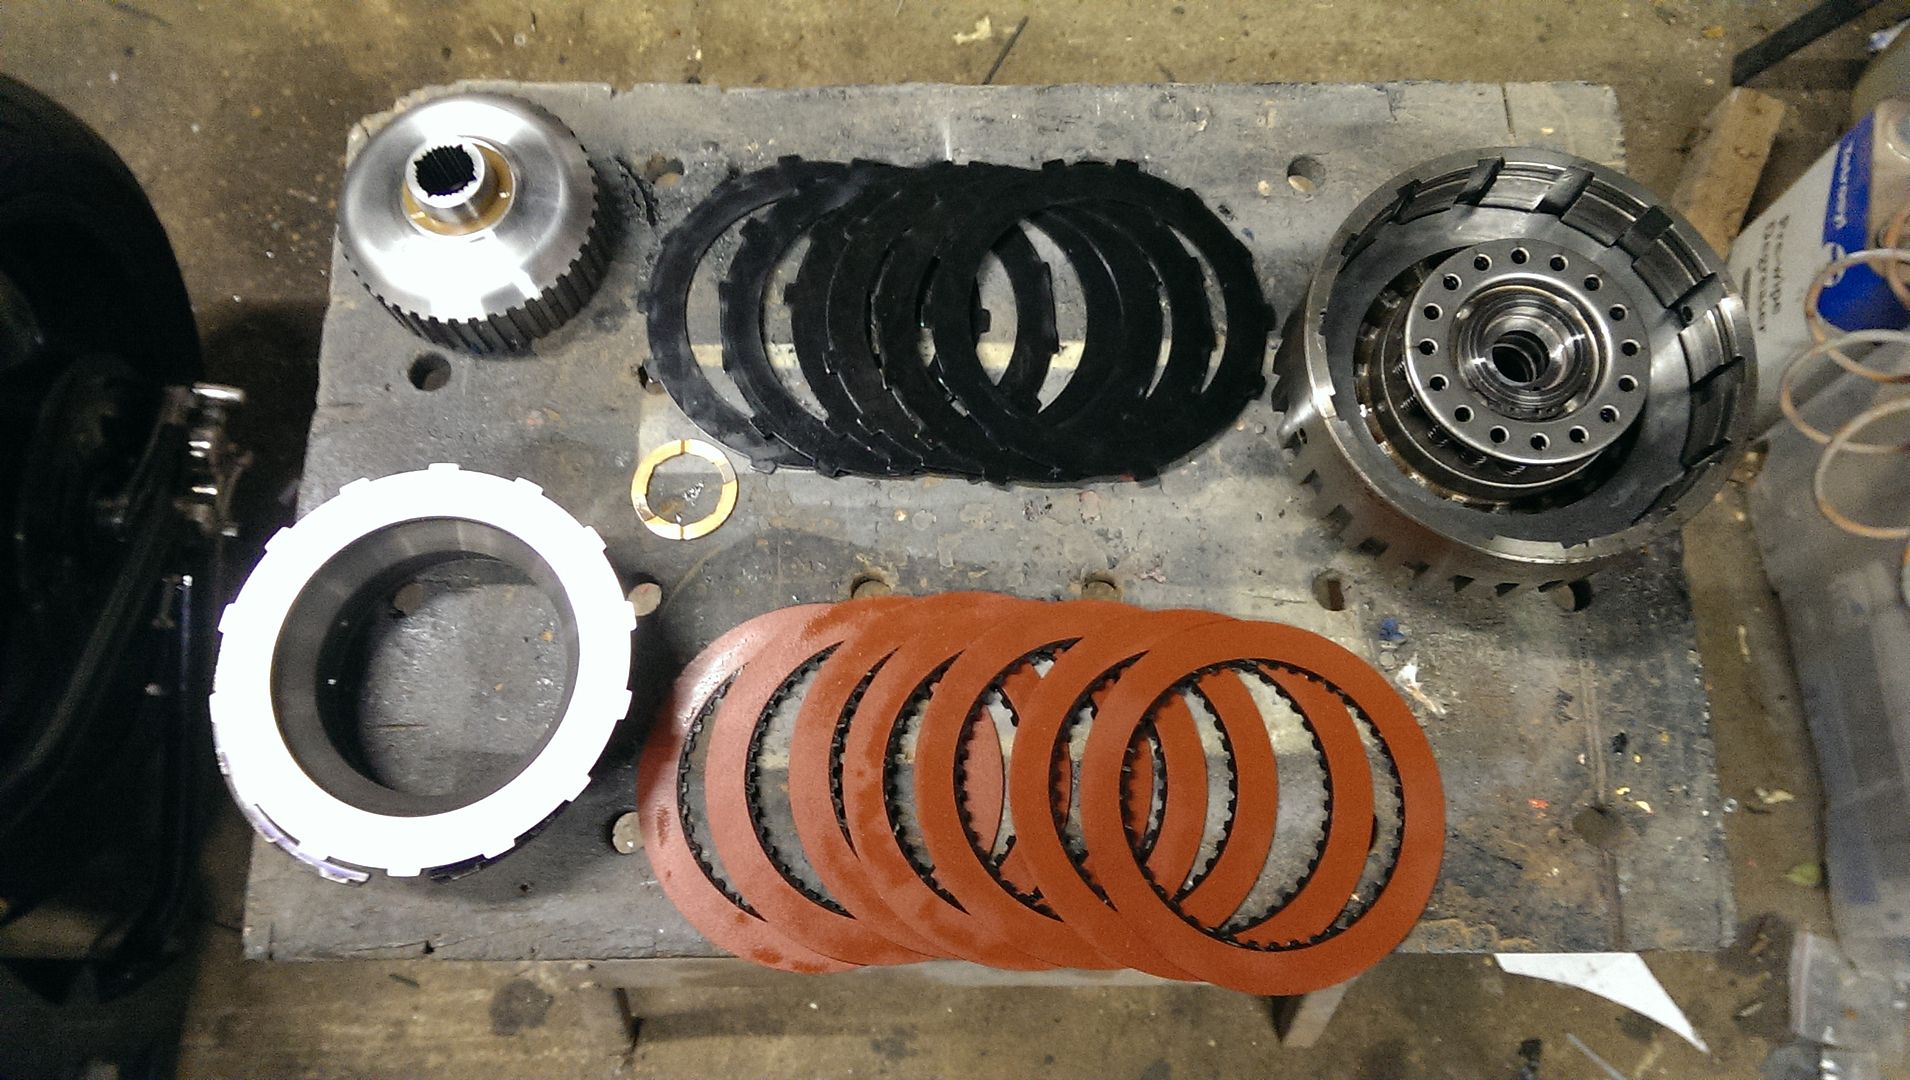
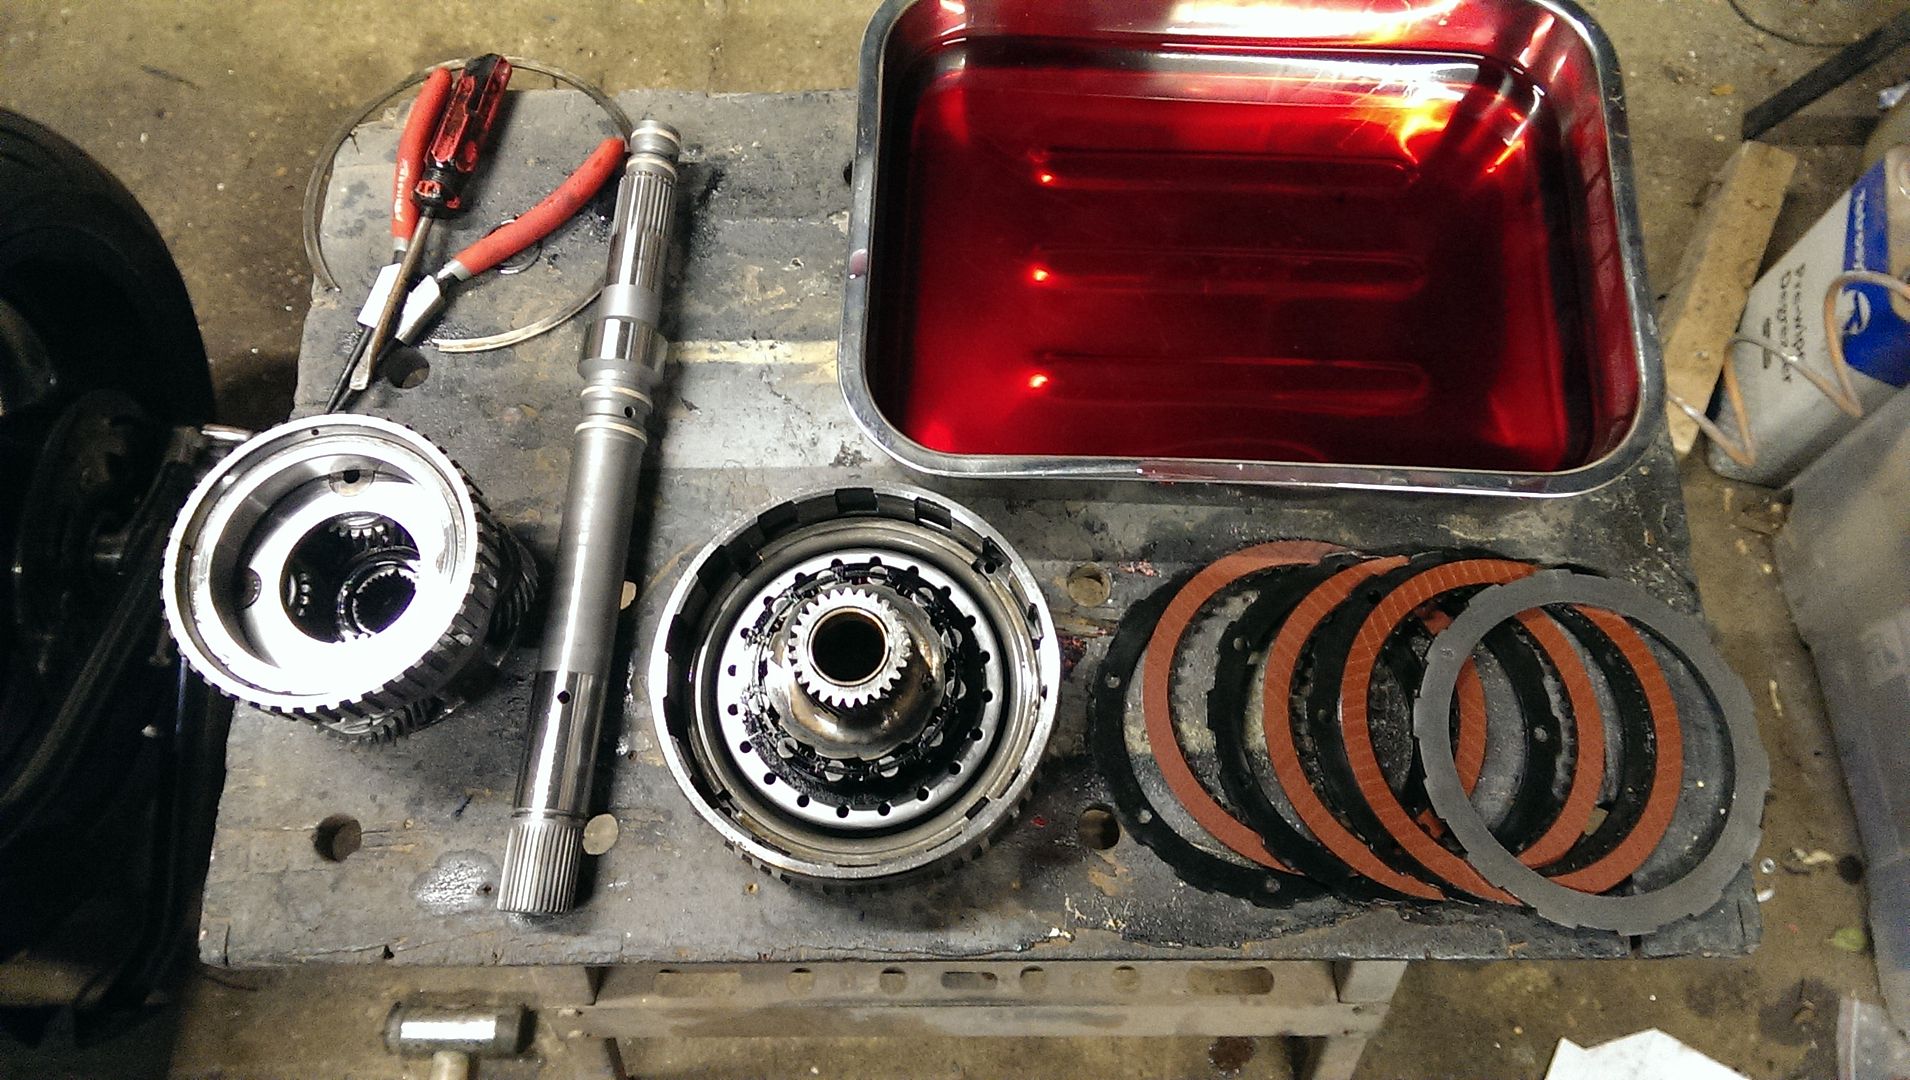
And a 4L80E with some serious internal upgrades to handle all the power I could throw at it. Clutch pack upgrade, billet input shaft and clutch hub and lot of other mods.

IMAG1454_zpsslagrs7t.jpg


IMAG1455_zpsukld7chs.jpg


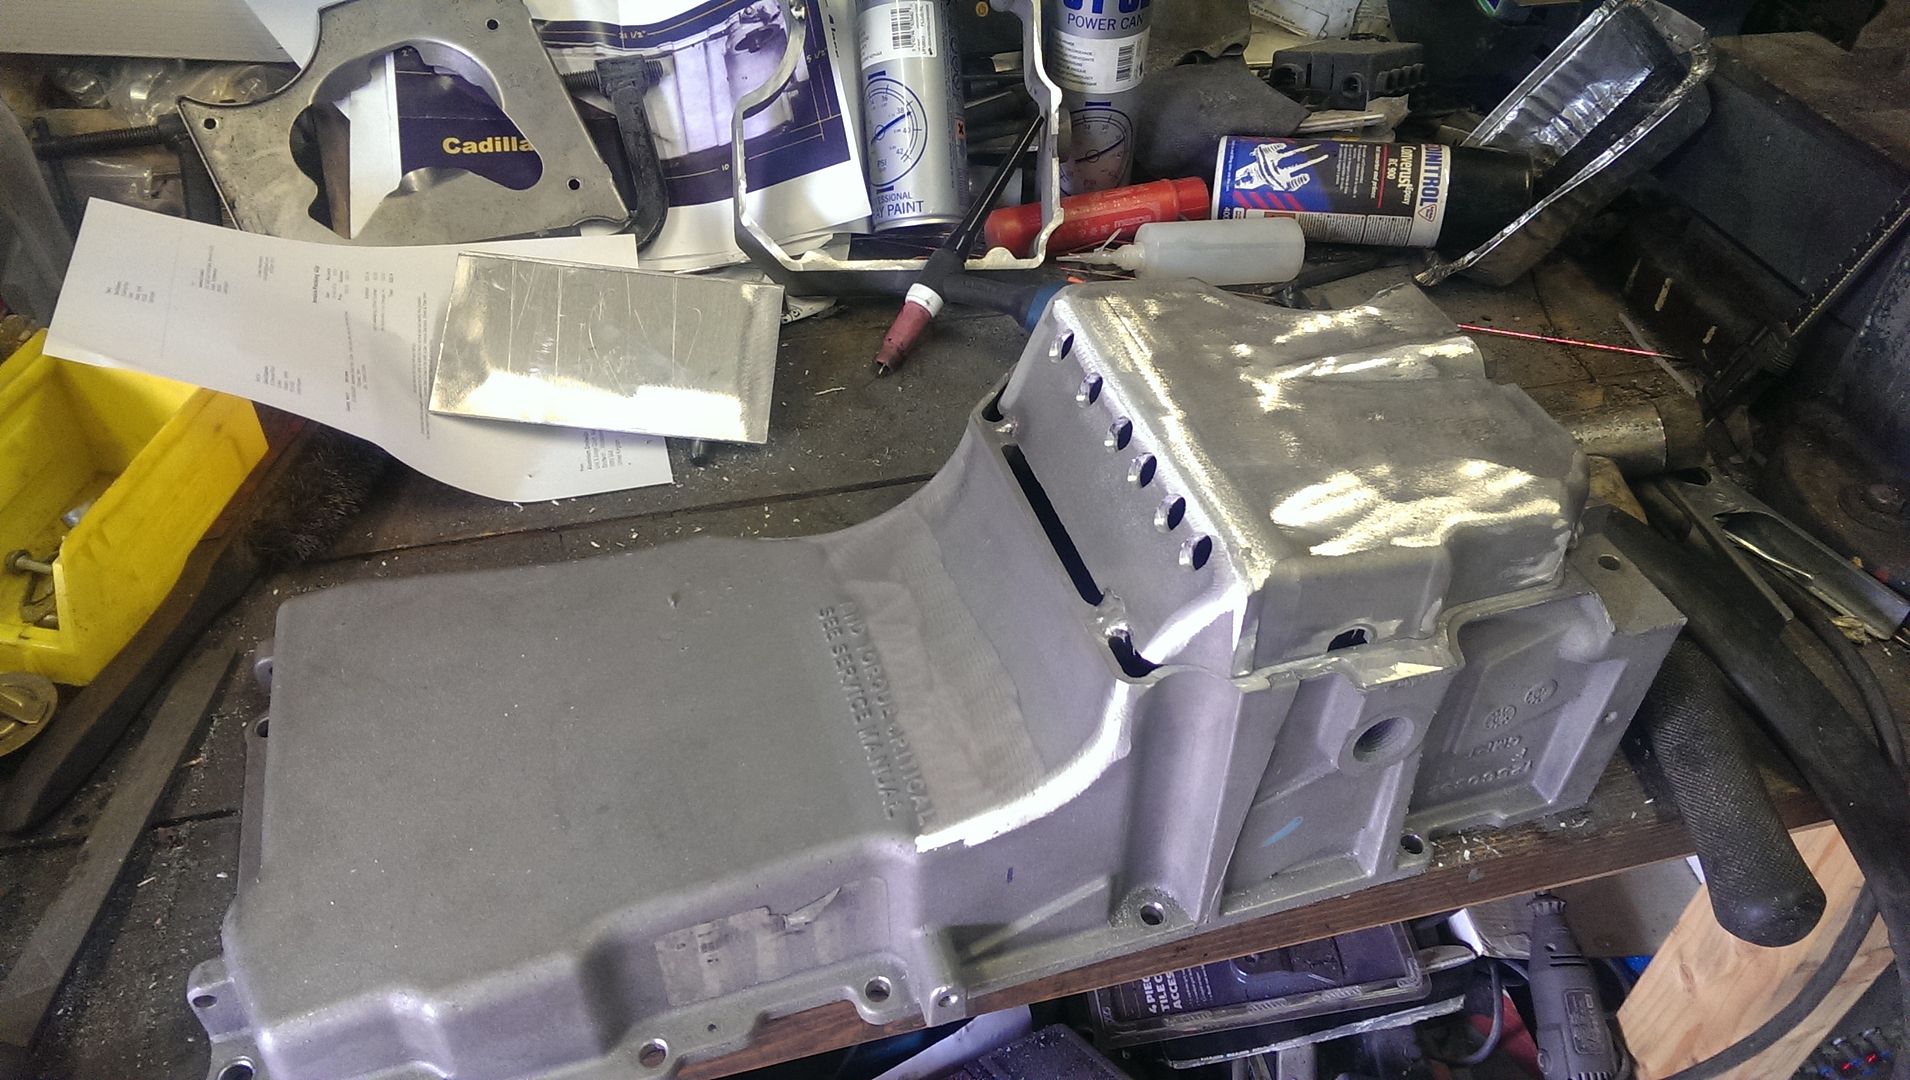
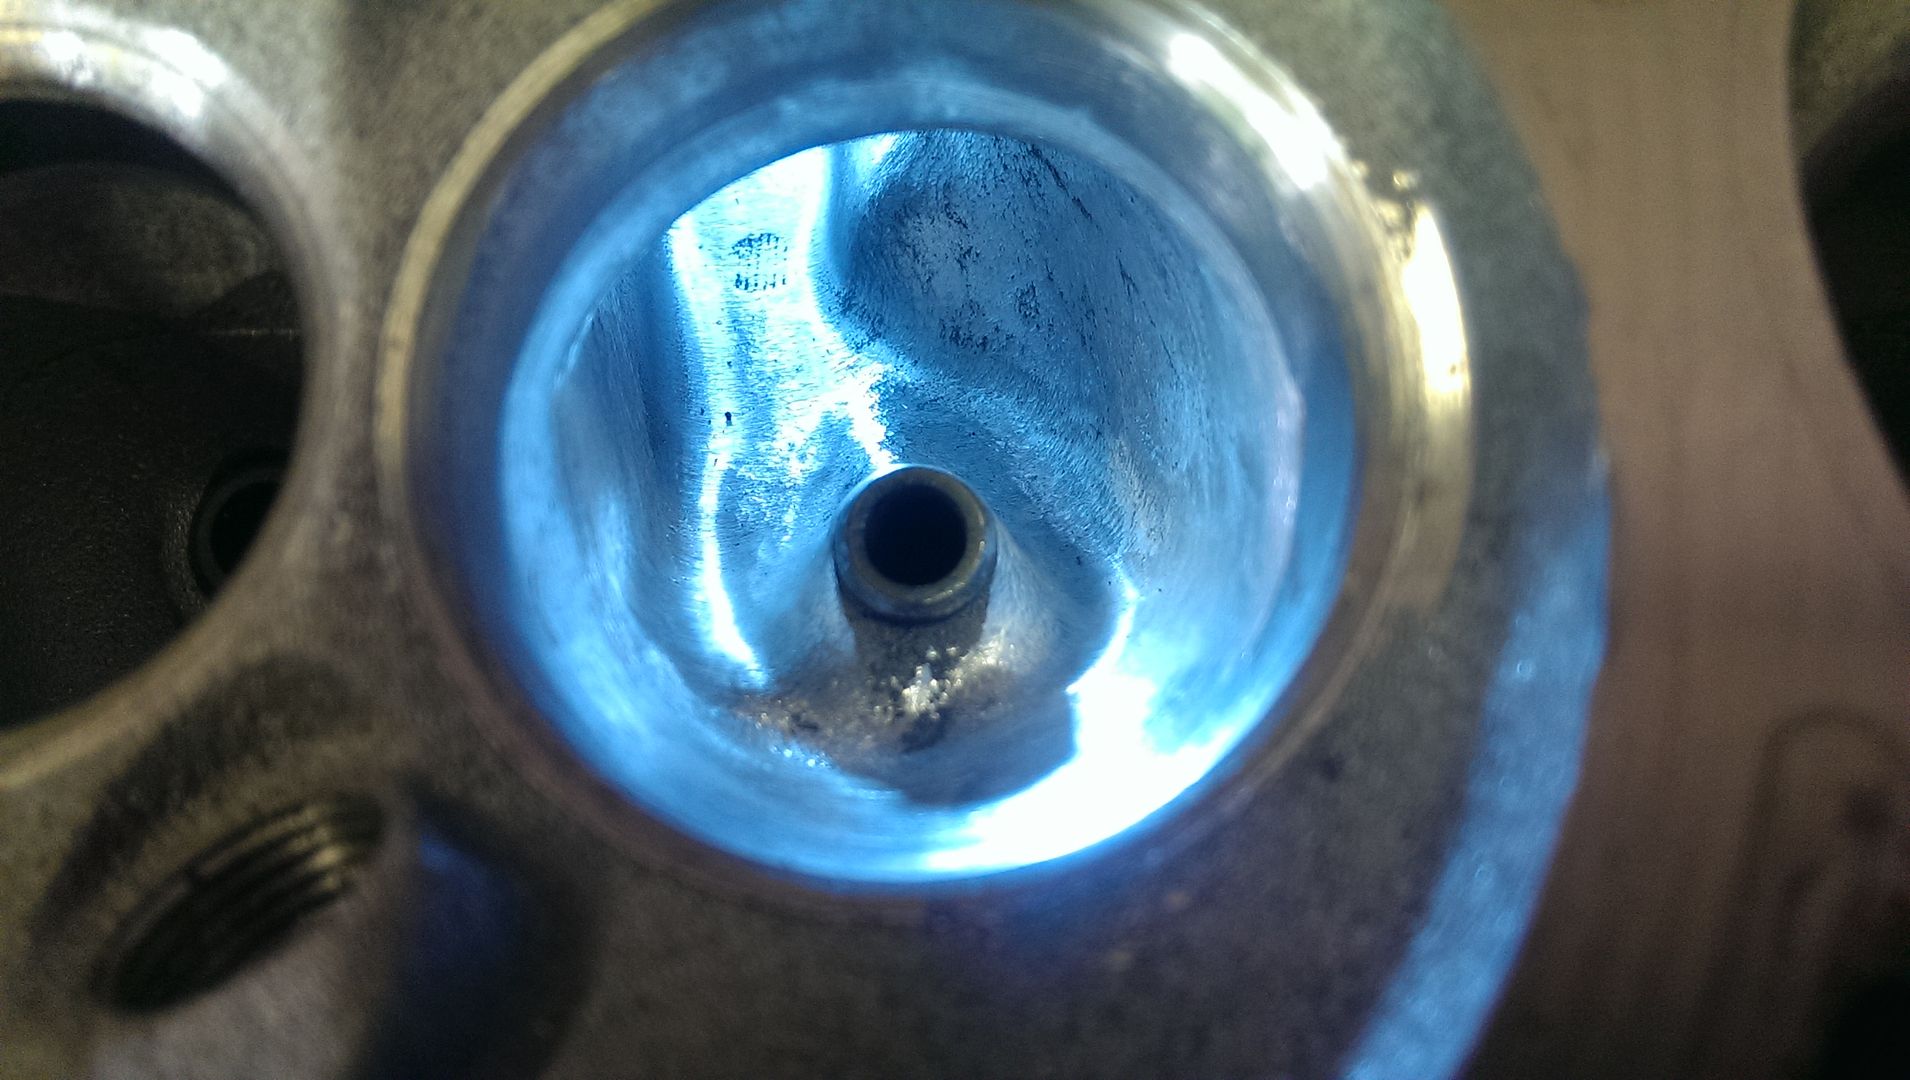
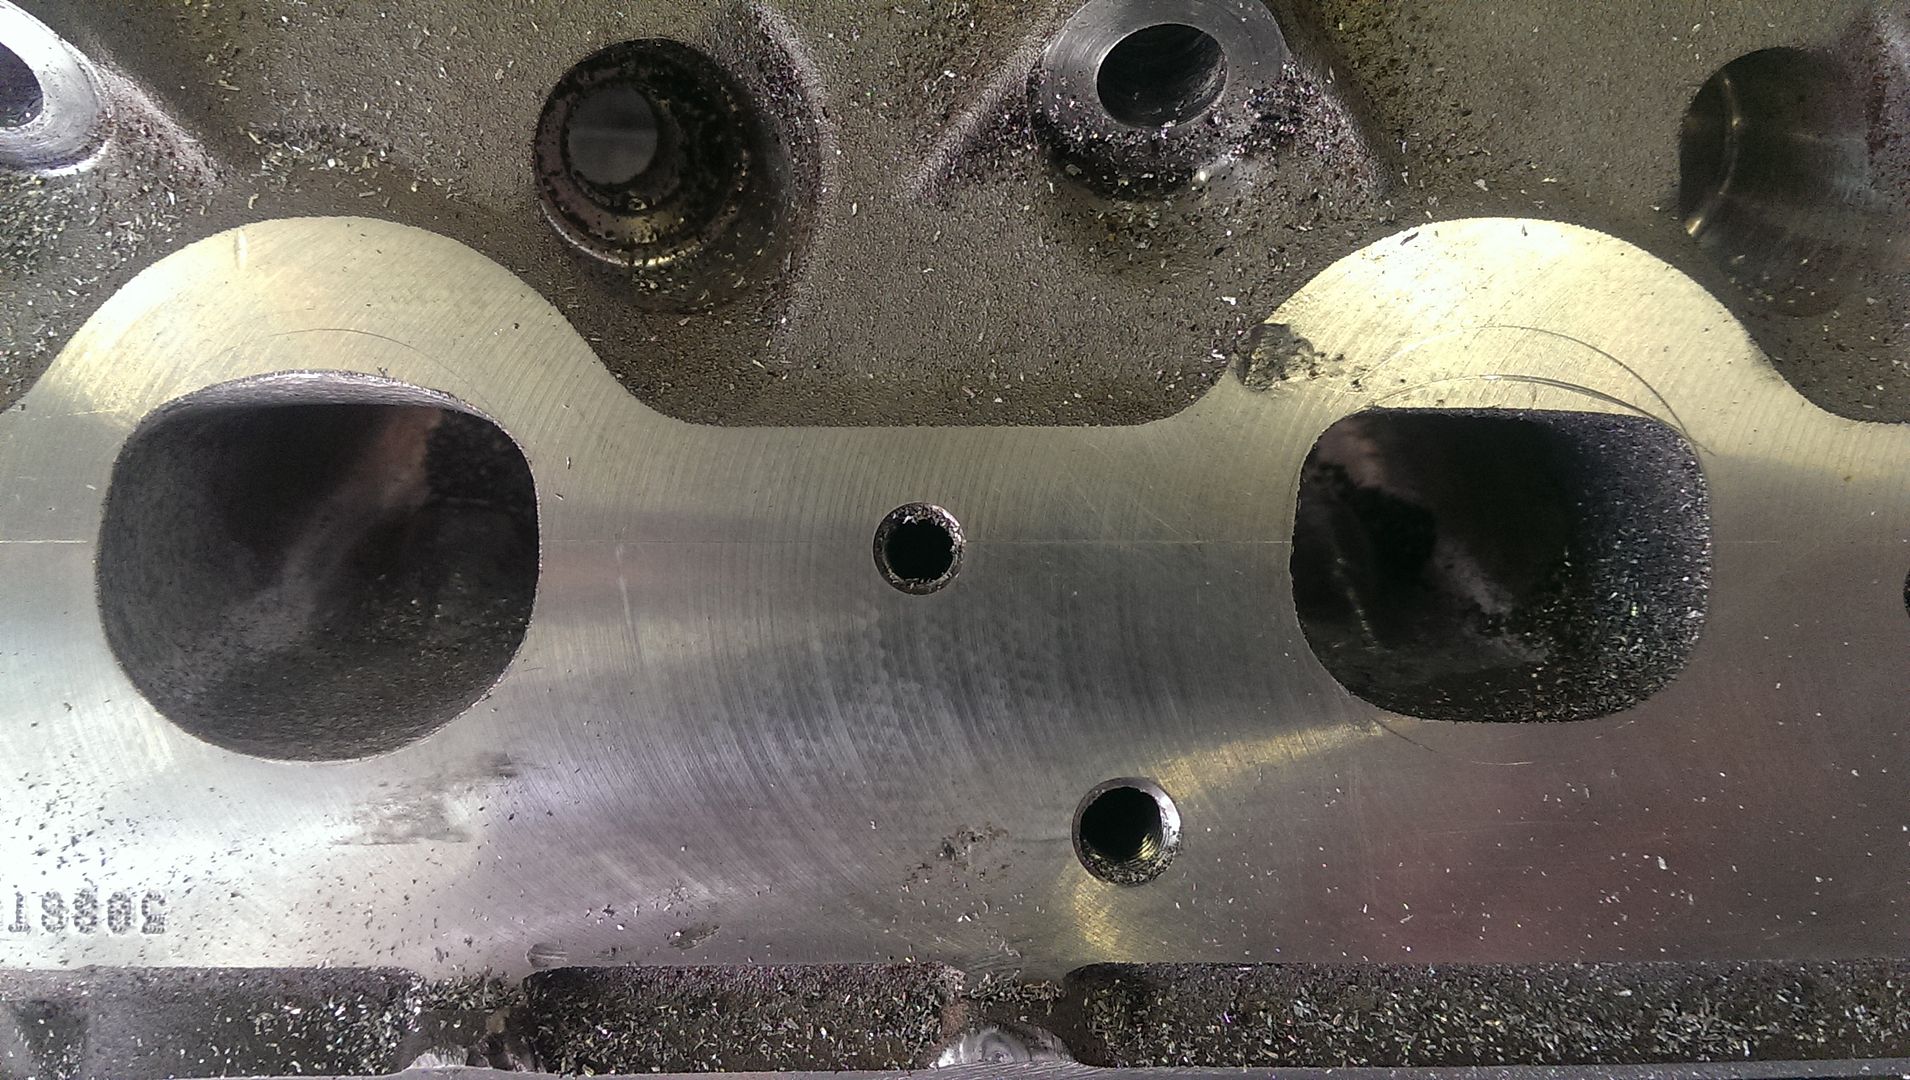
I picked up the LQ9 at the NSRA swap meet in 2015 and set about piecing it together. Inlcuing porting the heads, skimming 0.050 off them, fitting a custom cam from Camotion, shortening the sump and lots of other stuff.

IMAG0864_zpsq5ulxgwh.jpg


IMAG0986_zpsbgb7lpxc.jpg


IMAG0989_zpsigdlsi9e.jpg


IMAG1177_zpsbmlkrxsx.jpg


IMAG1239_zpshmpo73jj.jpg


I also pieced together my own auxiliary drive set up for it, as I hate paying for stuff I can do myself!

I'm now at the point of waiting for my ECU kit to arrive from DIY Autotune, I want to run sequential fuel injection on this one, and it will use CAN to communicate with the transmission controller. To hopefully give myself the driveability of a modern car, with the performance I want at the strip.
 

303Radar

Well Known Member
Supporting Member 2
Wow, I thought my '59 had a lot of rust! Smart move to upgrade the drive train from the rear forward, a bit easier/less frustrating than replacing parts as they break.
I bet you stand out like a sore thumb in the UK in that car. I know I would, and I'd love it!
 

Sera

Active Member
Thanks all :)

Been working away on a few bits and pieces - the weather is holding me up more than anything else now.

Found out why my engine mounts didn't line up properly when I dropped my original engine in. The 'heavy duty' type engine mounts aren't correct for a Camaro - and they offset the mounting bolts by about 1/4". So I got hold of some of the correct mounts, which I will fit poly inserts into before I fit them to the car. Trouble is getting to the bolts is a complete nightmare.

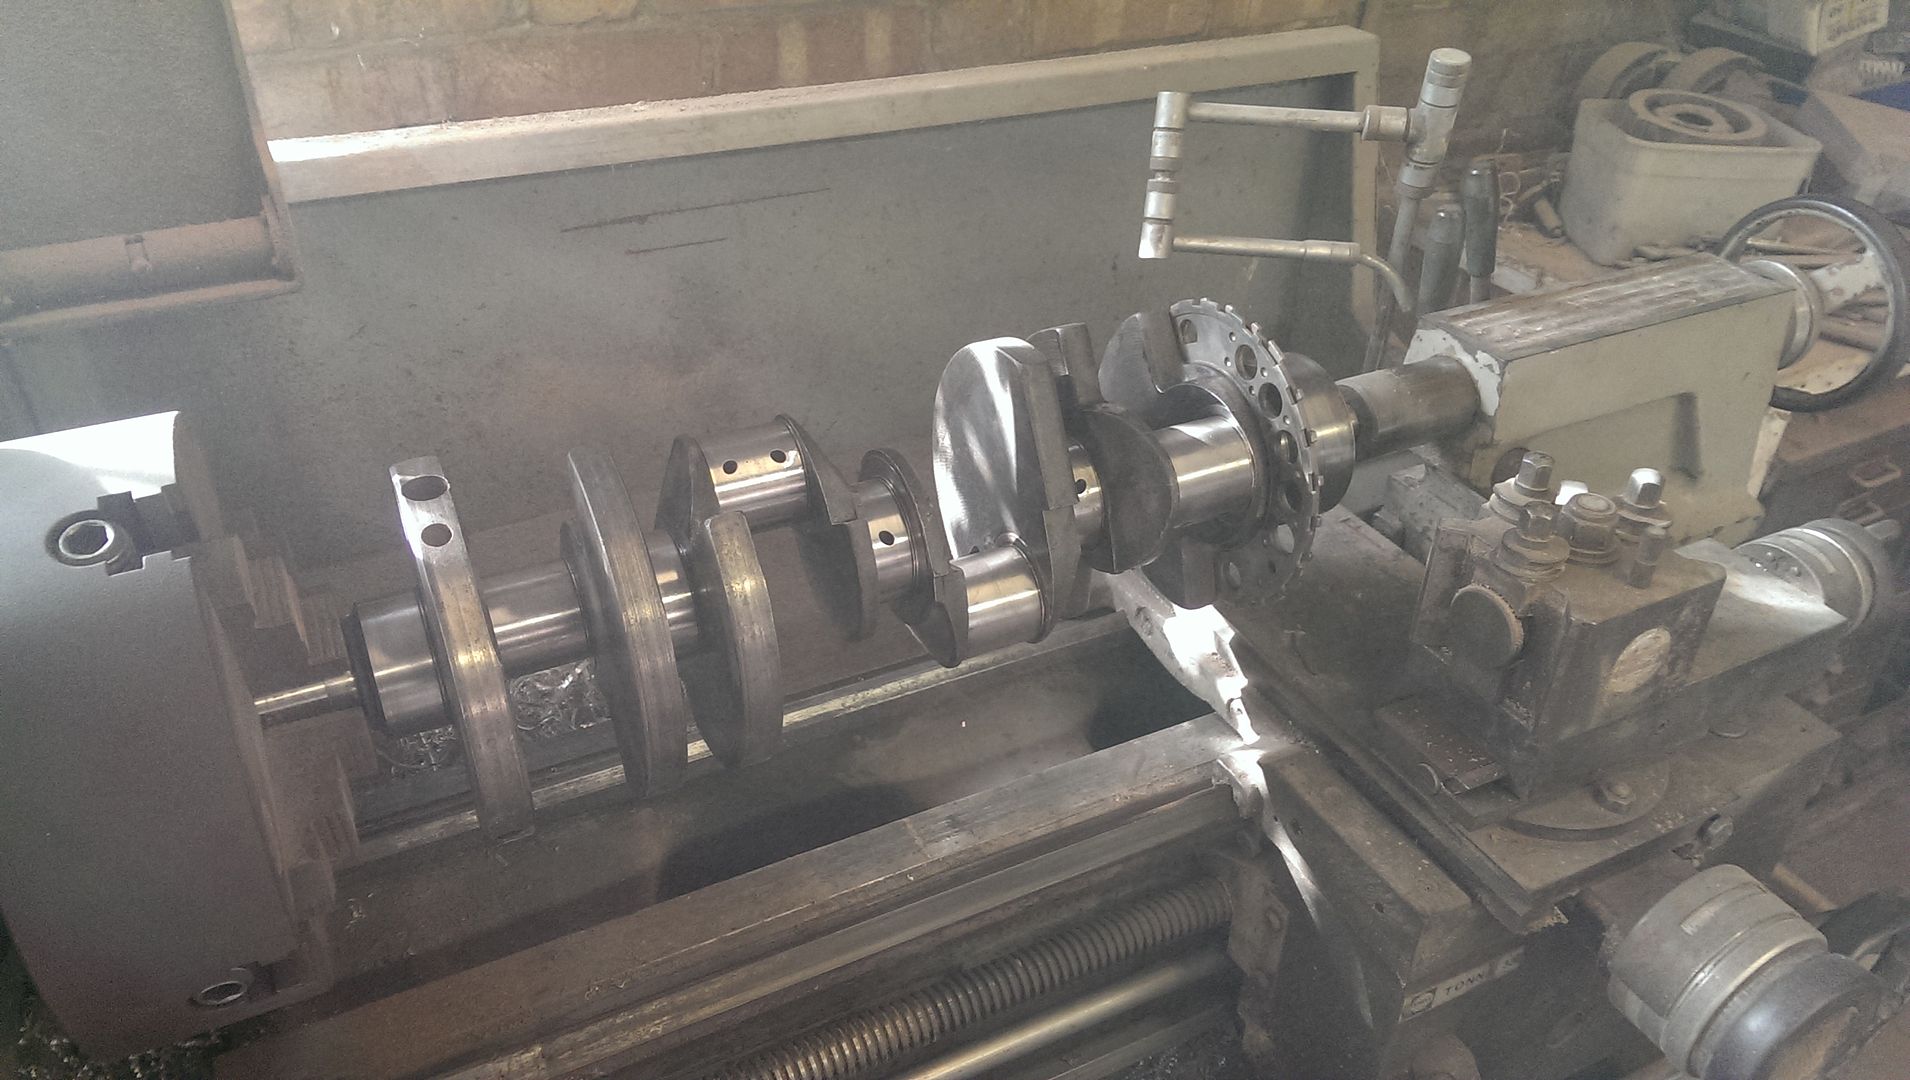
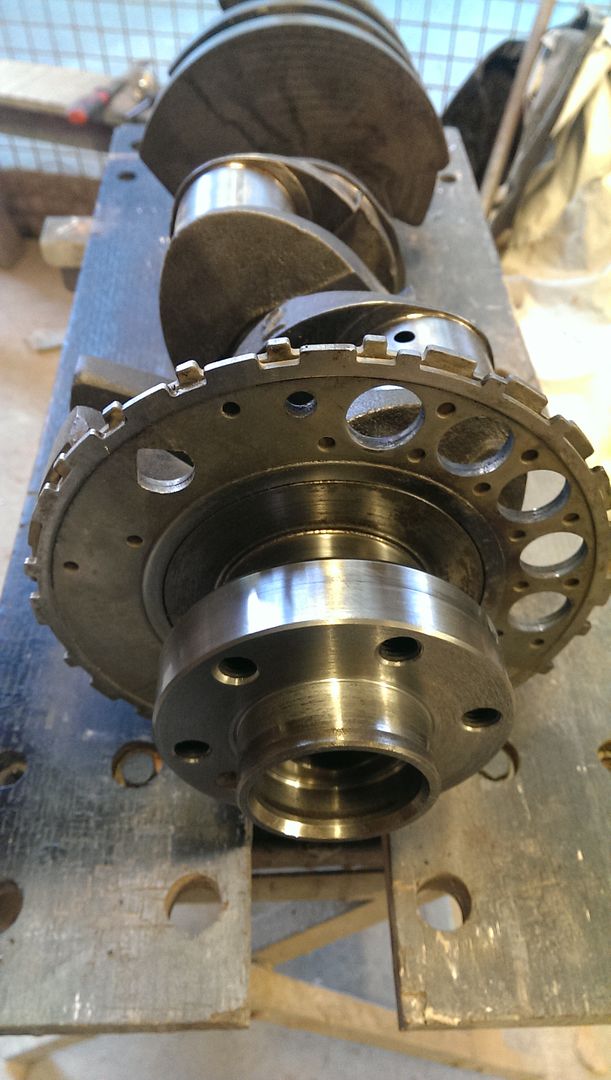
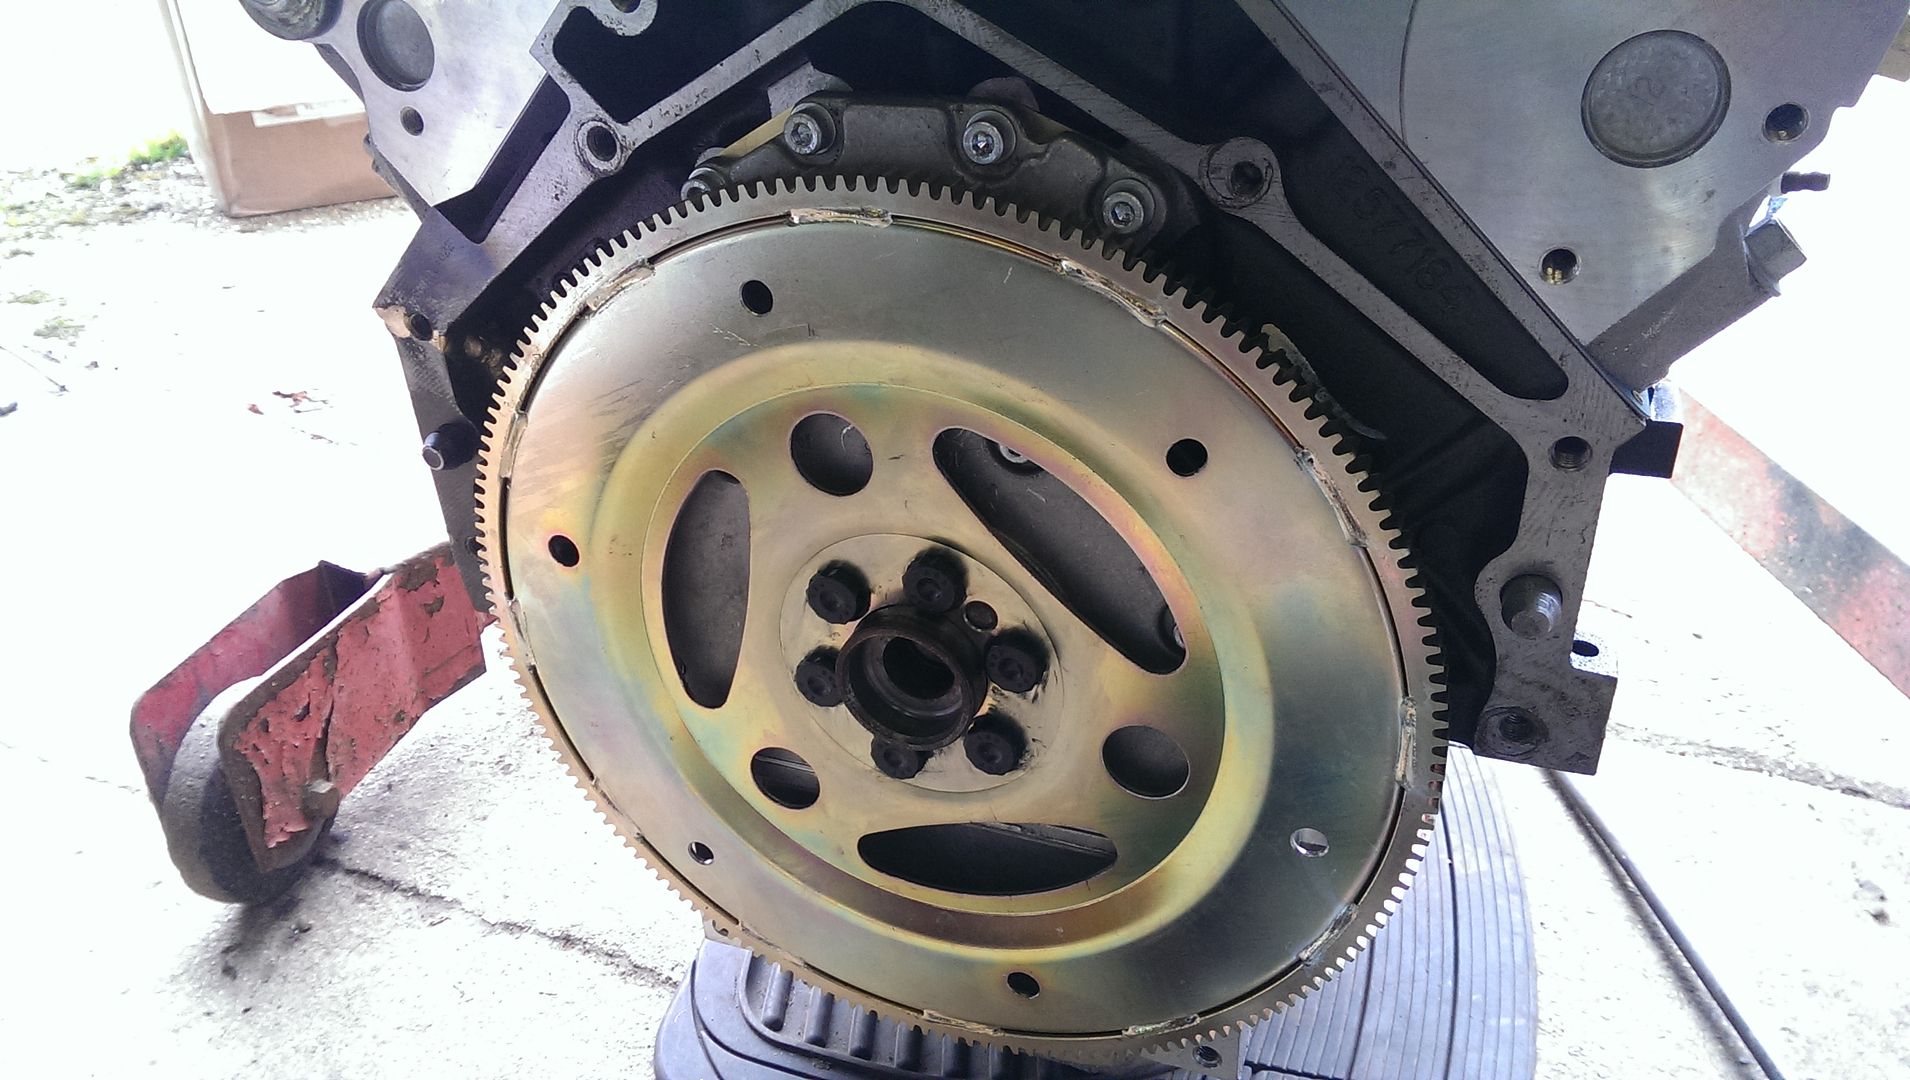
One of the the last jobs I needed to do before I could actually put the engine and transmission in the car was to sort out the flex plate. I machined the back of my truck crank so that I could use the standard LS type flex plate as they are far more common and cheaper to buy than the flat ones. Only problem is they come drilled for the standard LS converter, which has something like an 11" PCD for the converter bolts.

Pics from when I modified my crank a few months ago...

IMAG1139_zpsgxmf9omr.jpg


IMAG1142_zpsaqpqmwjc.jpg


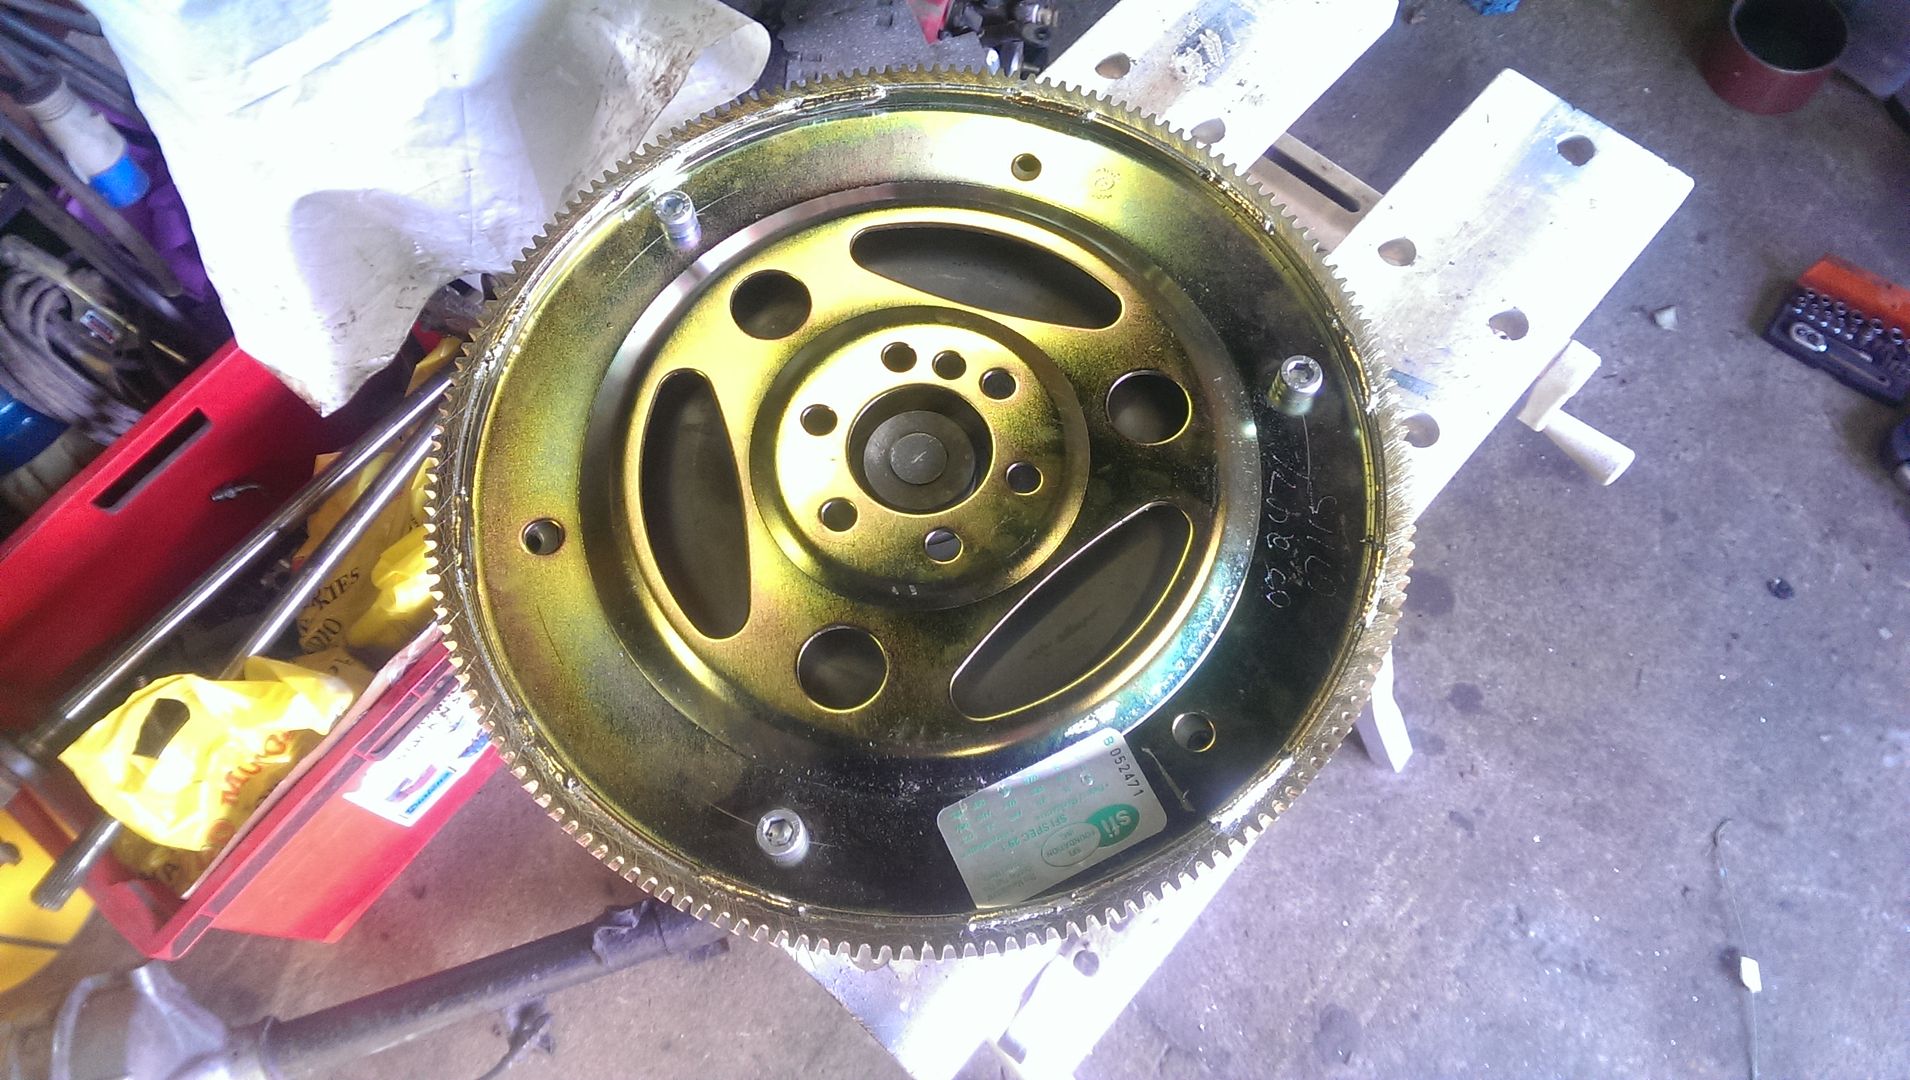
I have a 4L80E and a 'normal' converter for it which has the large 11.5" PCD for the bolts...No problem, I just marked out the flex plate and drilled another set of bolt holes between the others.

I've seen other people just elongate the holes in the plate, but I really didn't like that idea. You can see from the photo below just how far you'd have to go, as my converter has 6 bolt holes.

I might yet elongate the other holes and put bolts and large washers in just for the sake of it, although 3 bolts will be more than adequate.

IMAG1514_zpsbx6wesqy.jpg


With that job done, there's nothing really stopping it all going into the car - with the exception of the fact that it's been raining heavily for what seems like an eternity...

Other than that I have started making a pulley for my water pump - I just need to make the boss which will be a light press fit onto the shaft of the pump. I'll then heat it up and drop it onto the shaft so it doesn't go anywhere.
 

Sera

Active Member
Today has been ups and downs...

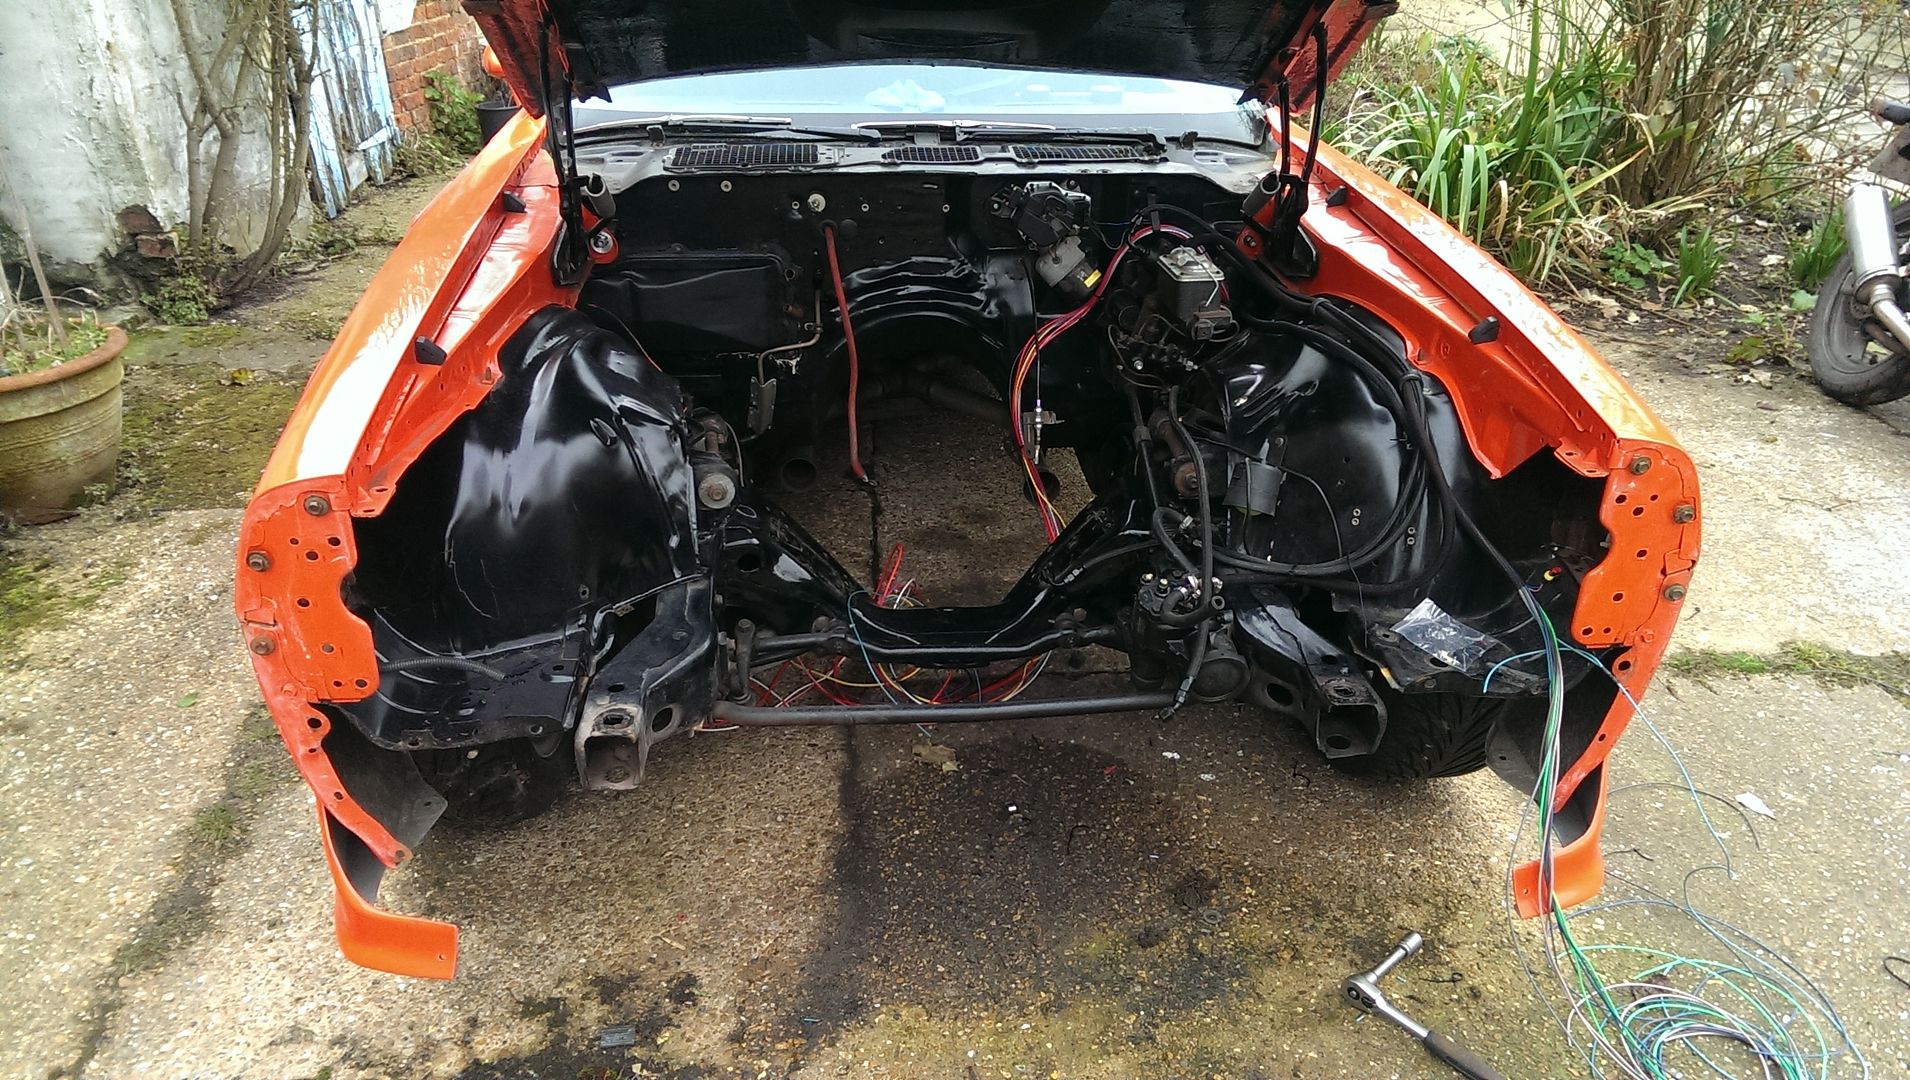
First job was remove the core support from the car - easy enough

IMAG1522_zpsg3ctniun.jpg


Next up was getting the engine off the stand and the flex plate fitted and the transmission bolted up. No real issues there except that I needed to tap the holes a little deeper in the crank and chop around 2mm off the bolts. I machined a truck crank and they aren't quite drilled as deep as the standard short car crank it seems. Thankfully I have a set of M11x1.5 taps handy...

IMAG1523_zpsk3itipyb.jpg


After that the transmission and converter were fitted with no real dramas.

That's when the fun started, as much my own fault as anything. The mounts wouldn't line up, but then I figured I'd assembled them wrong, oops. Never mind.

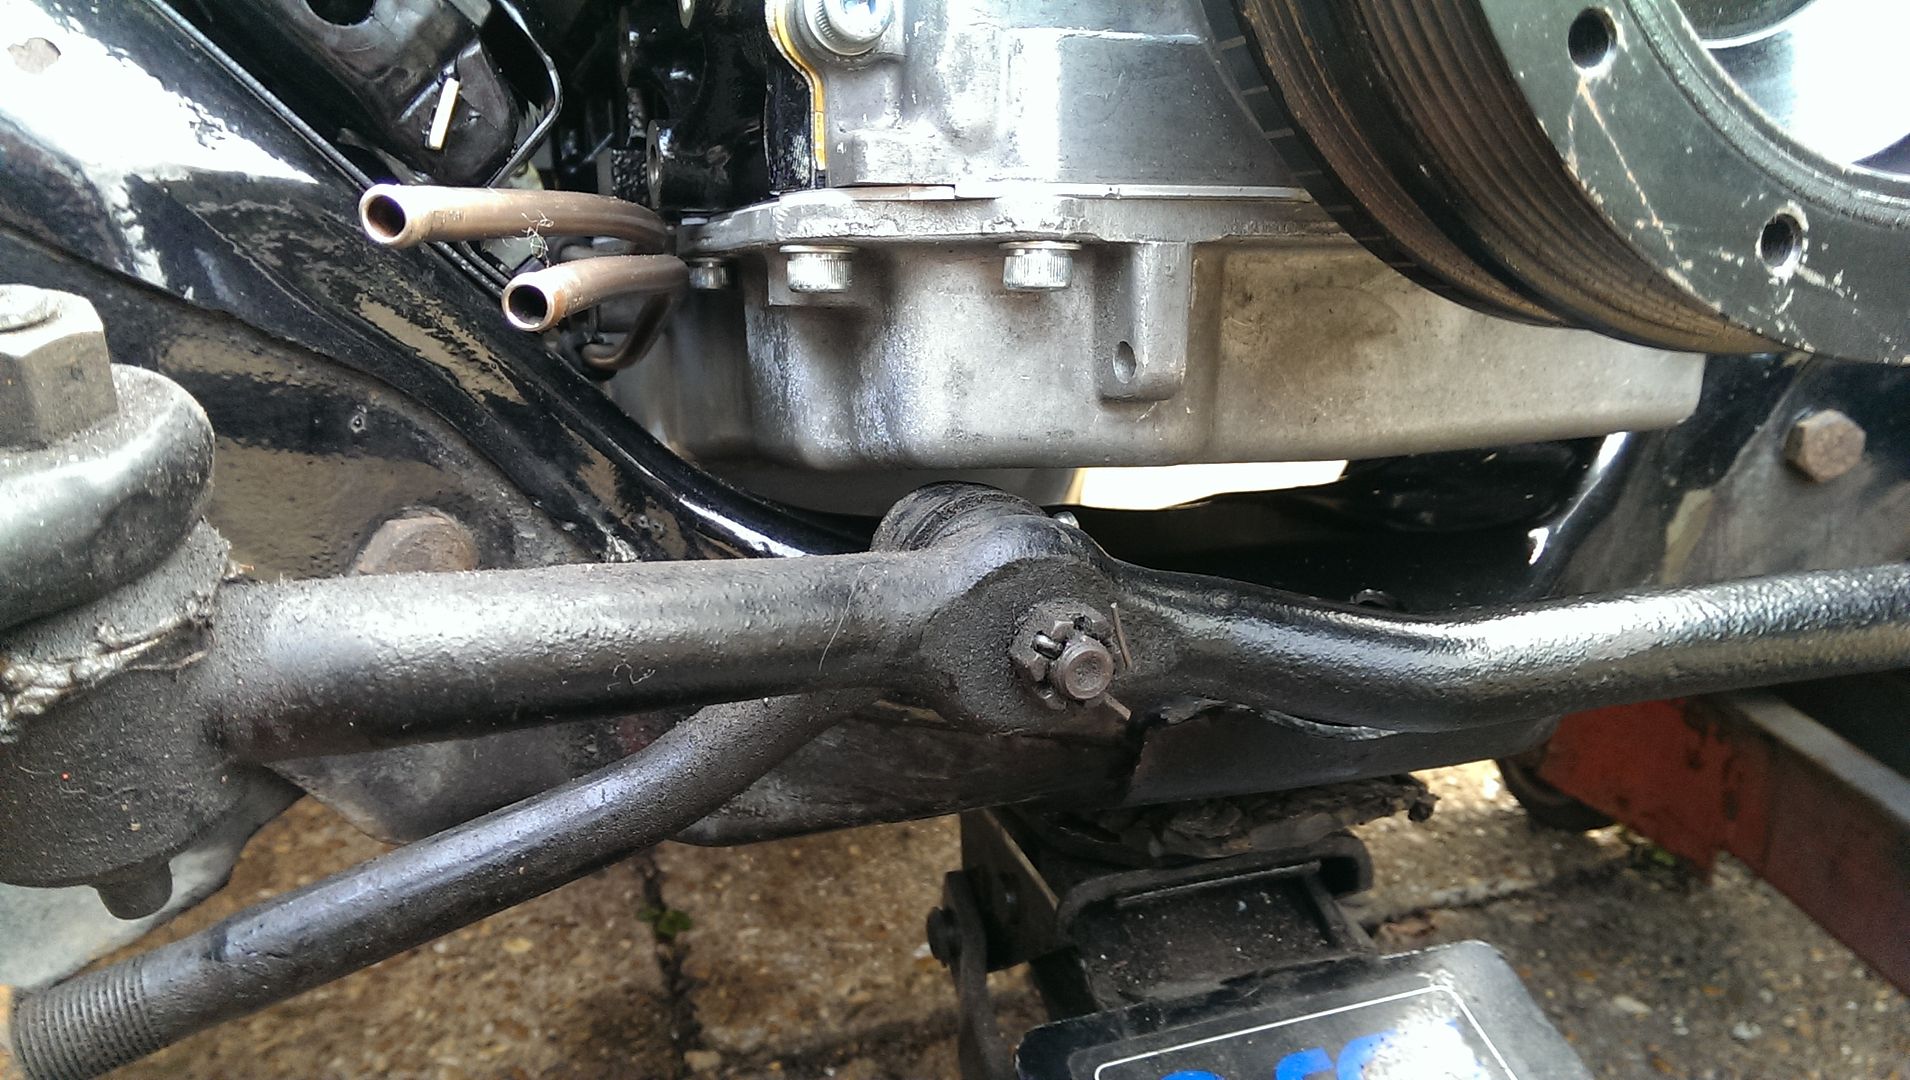
The good news is that I don't need to move the engine forward at all, it will fit in the stock position. The bad news is that I think I might have a slight issue with clearance on the steering linkage. I could gain a few mm if I make myself a new set of engine mounts.... seems like a lot of effort, but it might be the only way.

IMAG1525_zpshzoidofu.jpg


Oh and my transmission cross member fits right up...

IMAG1527_zpssnuevhkw.jpg


So yes, it's sort of in there, I still need to finish off mounting it properly. Ran out of daylight today
 

Sera

Active Member
Today started with pulling the whole engine and transmission back out again - at least that's easy with the core support removed.

I reconfigured all of the mounts and put it all back together again. I also made a small adjustment to the idler arm and now have around 3/8" steering clearance! Yay!

Helped by a number of things, including moving the engine as far back as it will go on the mounts. I followed other peoples advice initially and set it in the 1" forward position. But I think it works nicely in the stock position.... this is using Hooker adapter plates.

IMAG1530_zpsjbvxsjac.jpg


IMAG1531_zpso470z79c.jpg


IMAG1532_zpsidtojjbv.jpg


After that I got the transmission crossmember installed, this confirmed the transmission is in the same place as it was with the small block. If anything it's slightly further back...

The the driveshaft and a few other bits were hooked up.

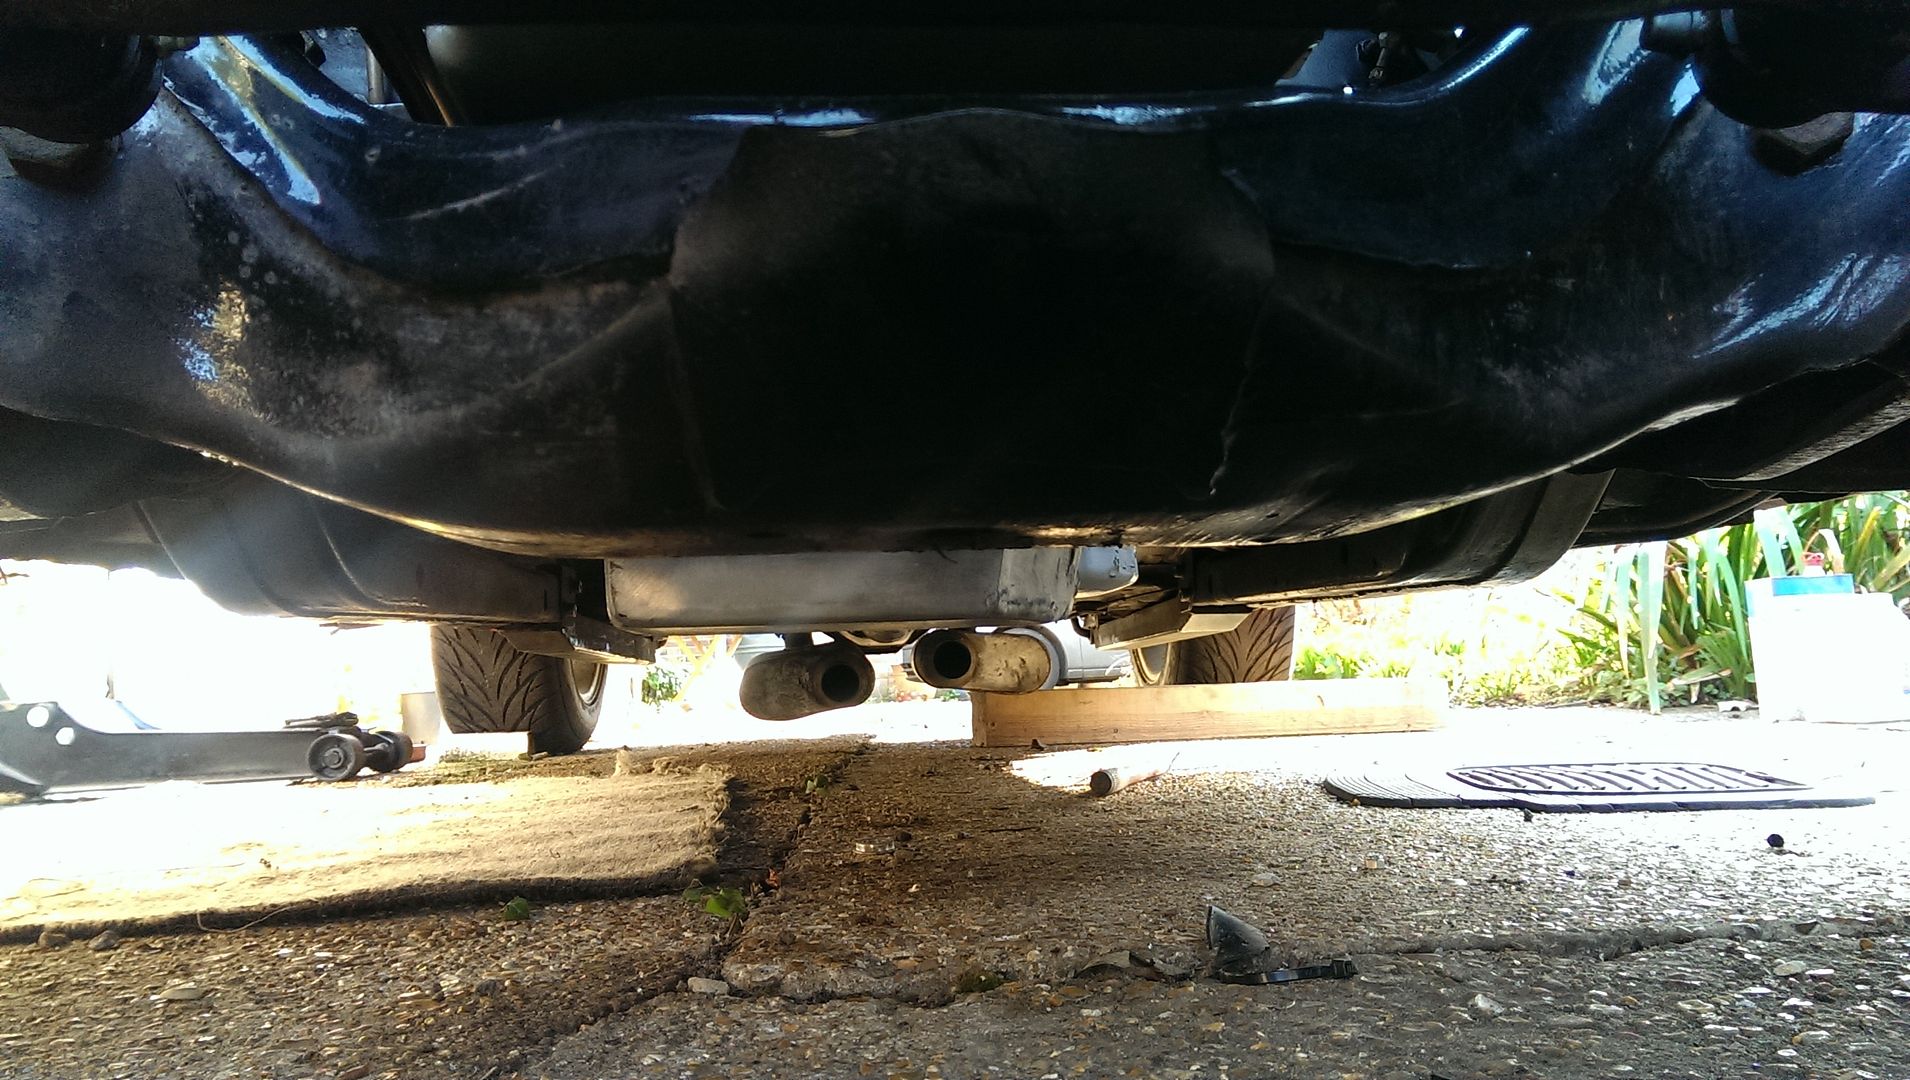
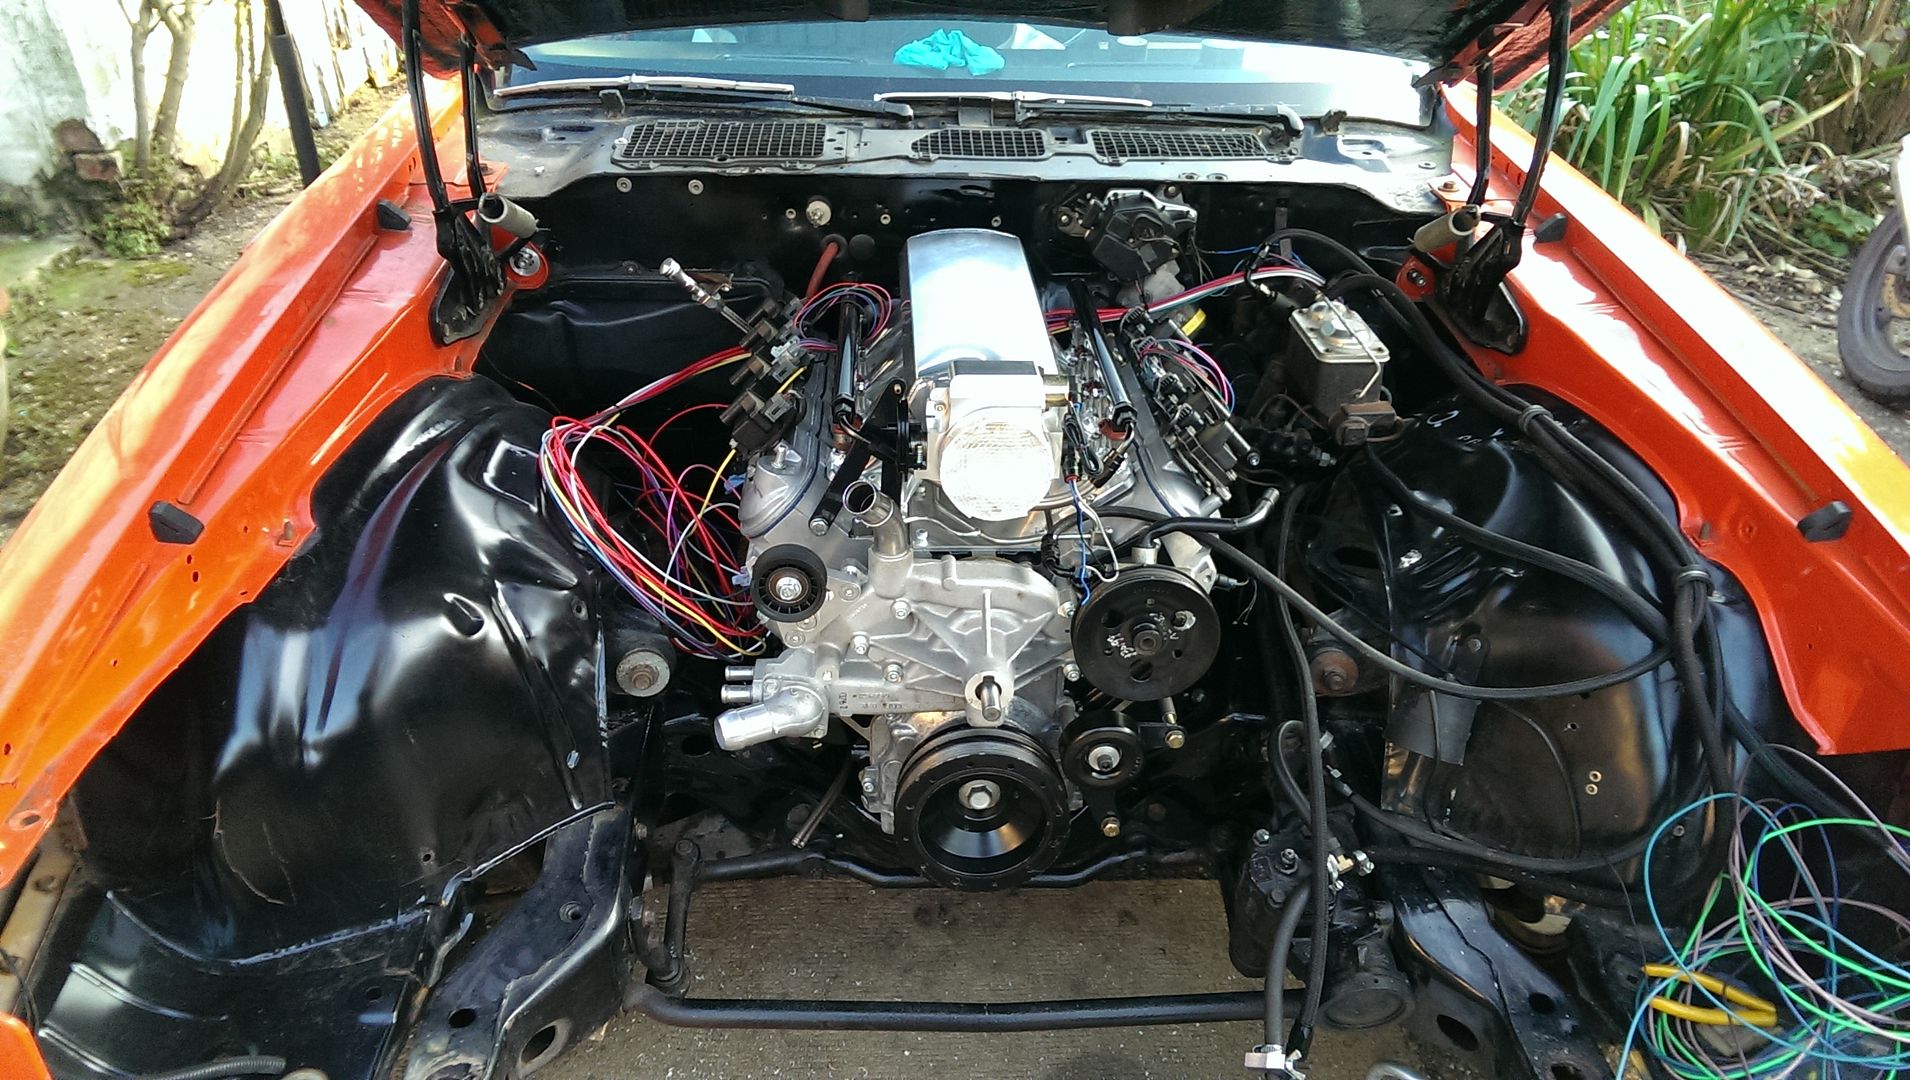
The 1st gen headers just do not fit, so I need to get some second gen correct ones. More expense!

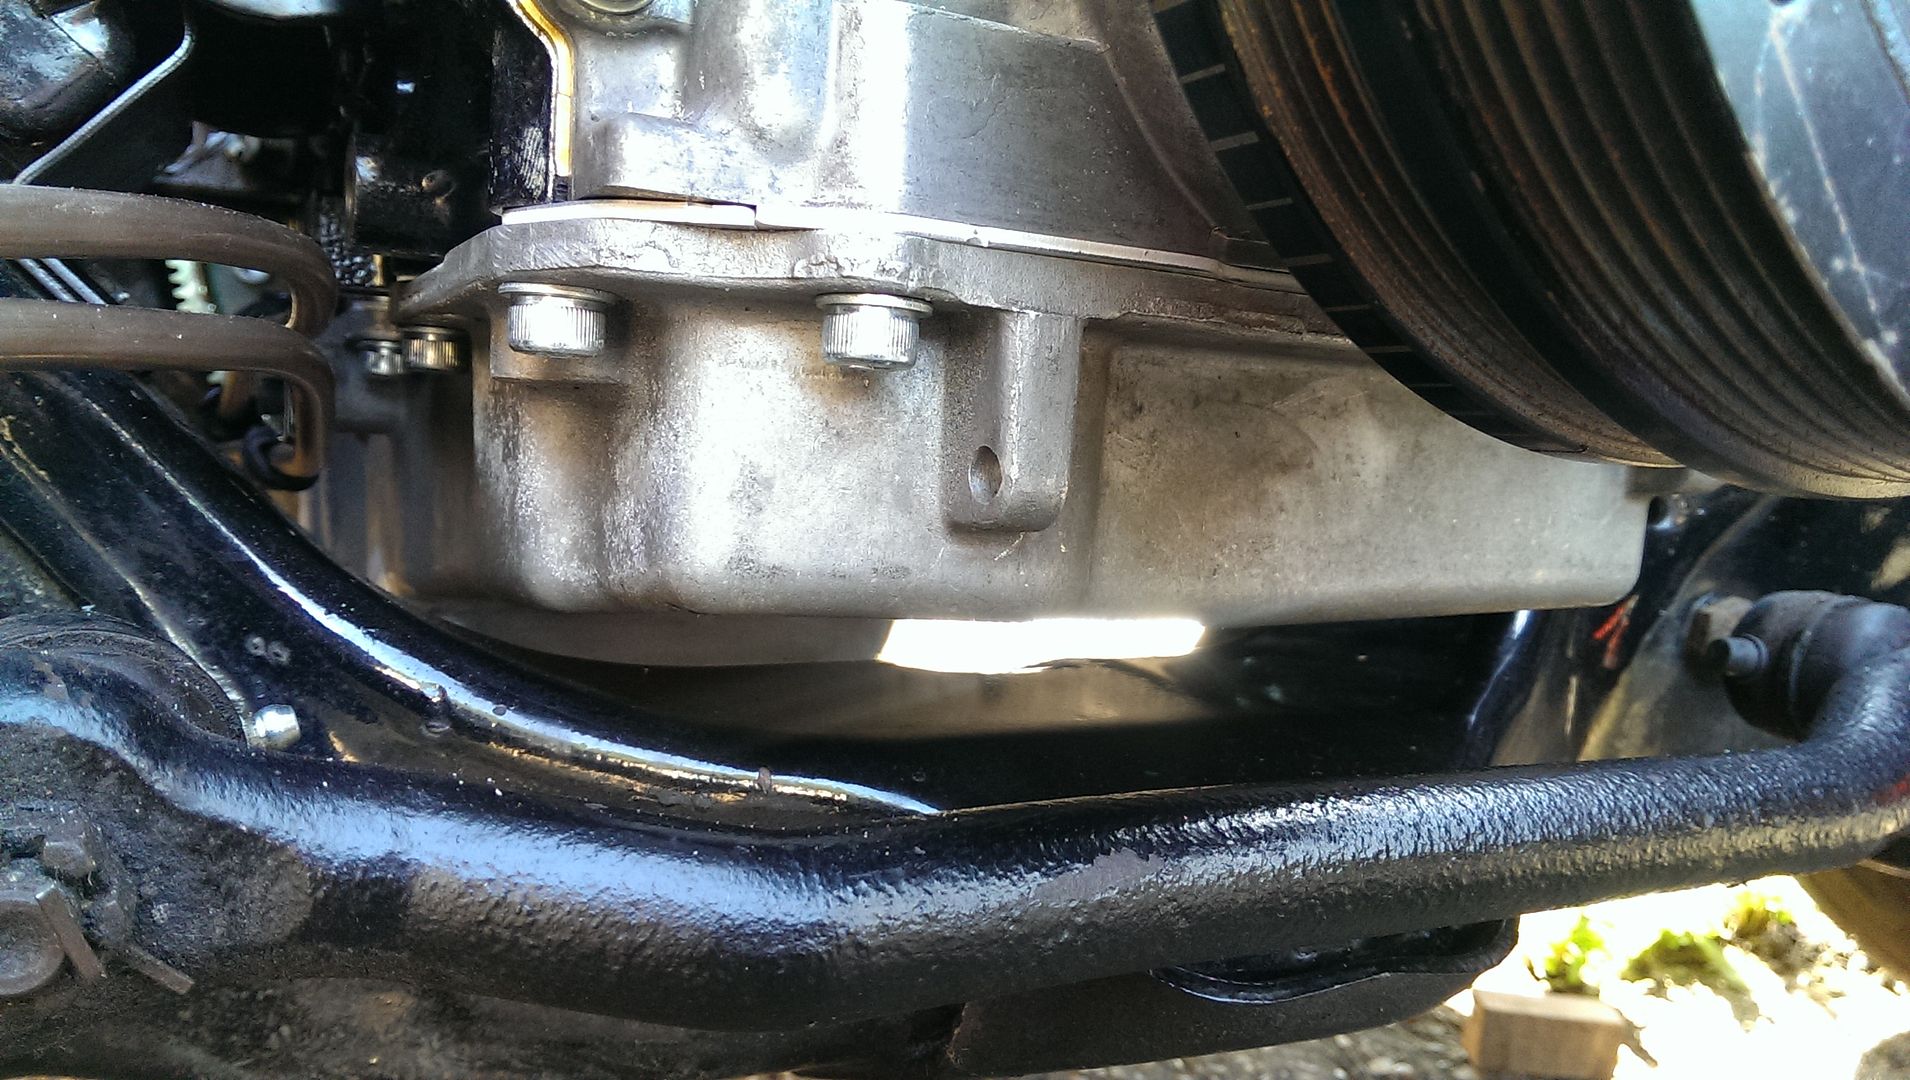
The oil pan that I modified hangs just below the crossmember - I made this to the same height as the CTS-V pan knowing that this would happen. I don't run the car too low anyway, so it should be fine.

IMAG1534_zpsngyslpll.jpg


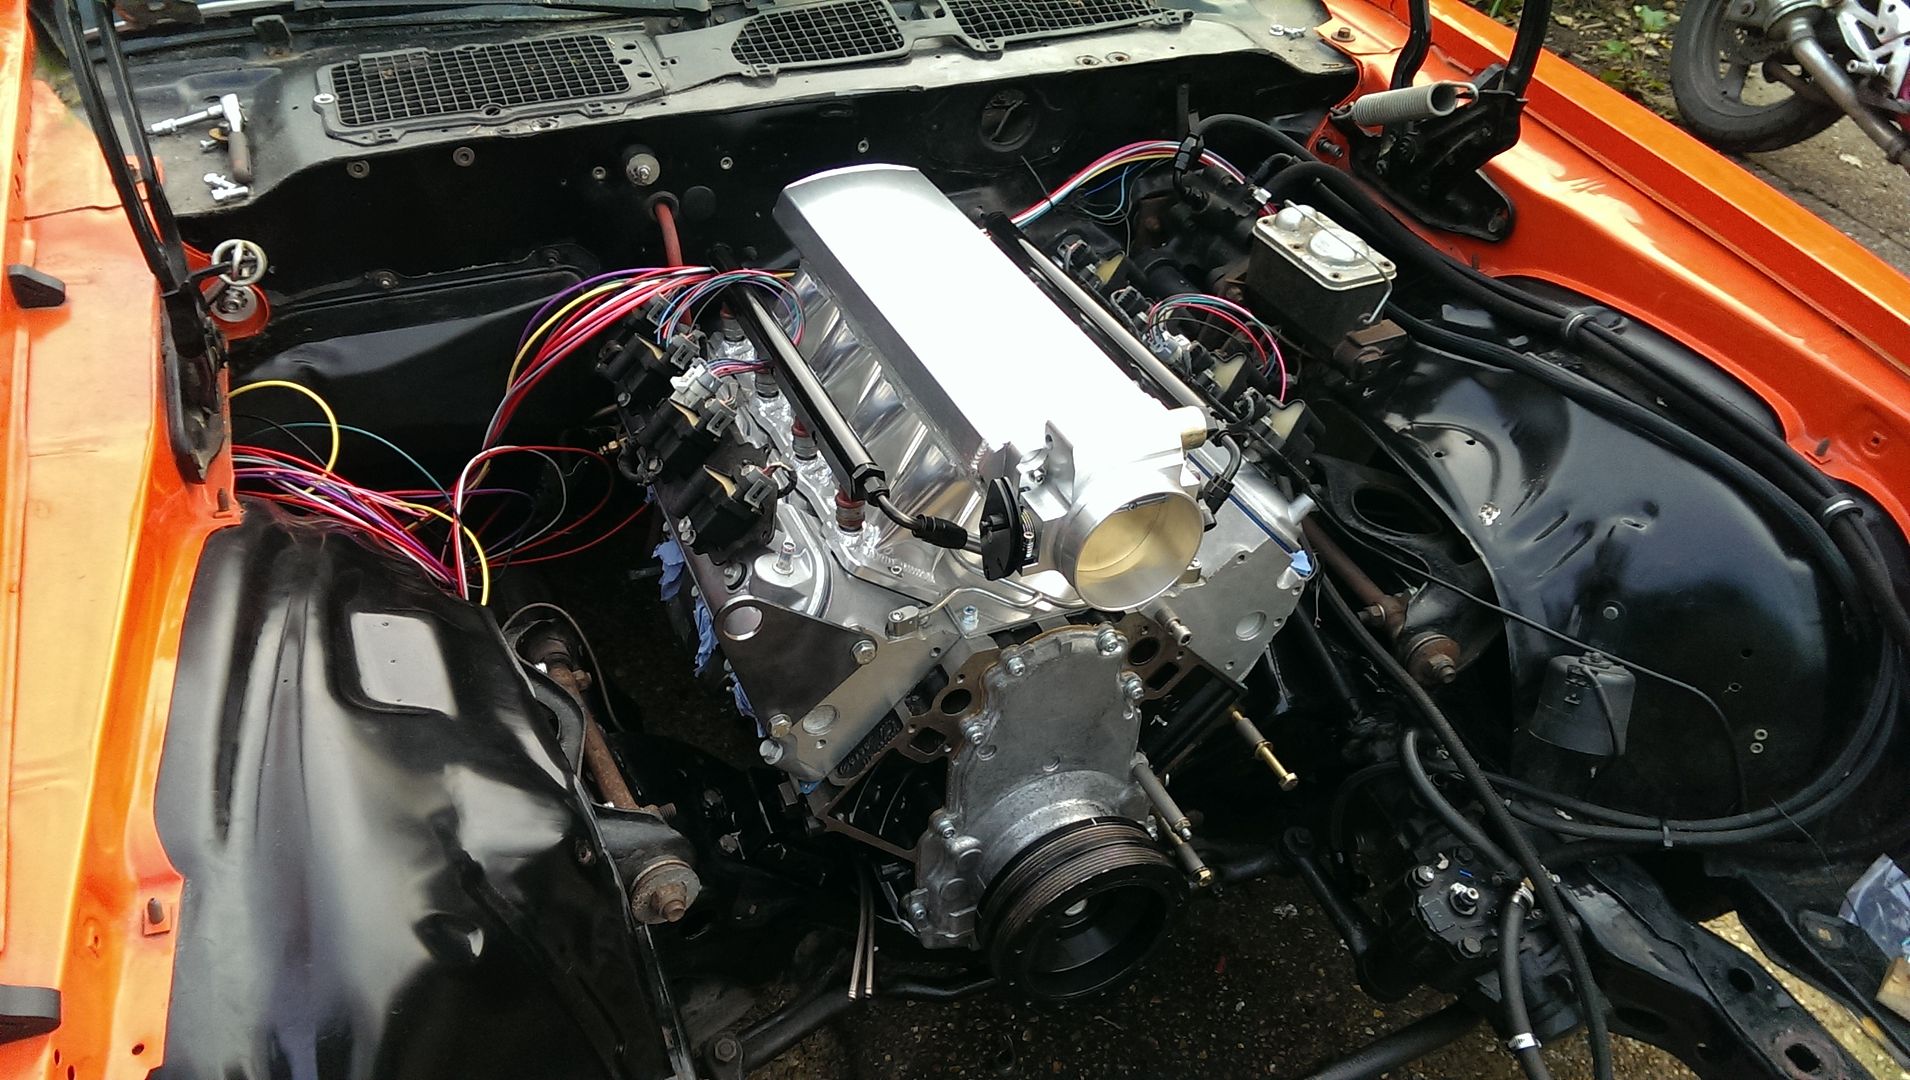
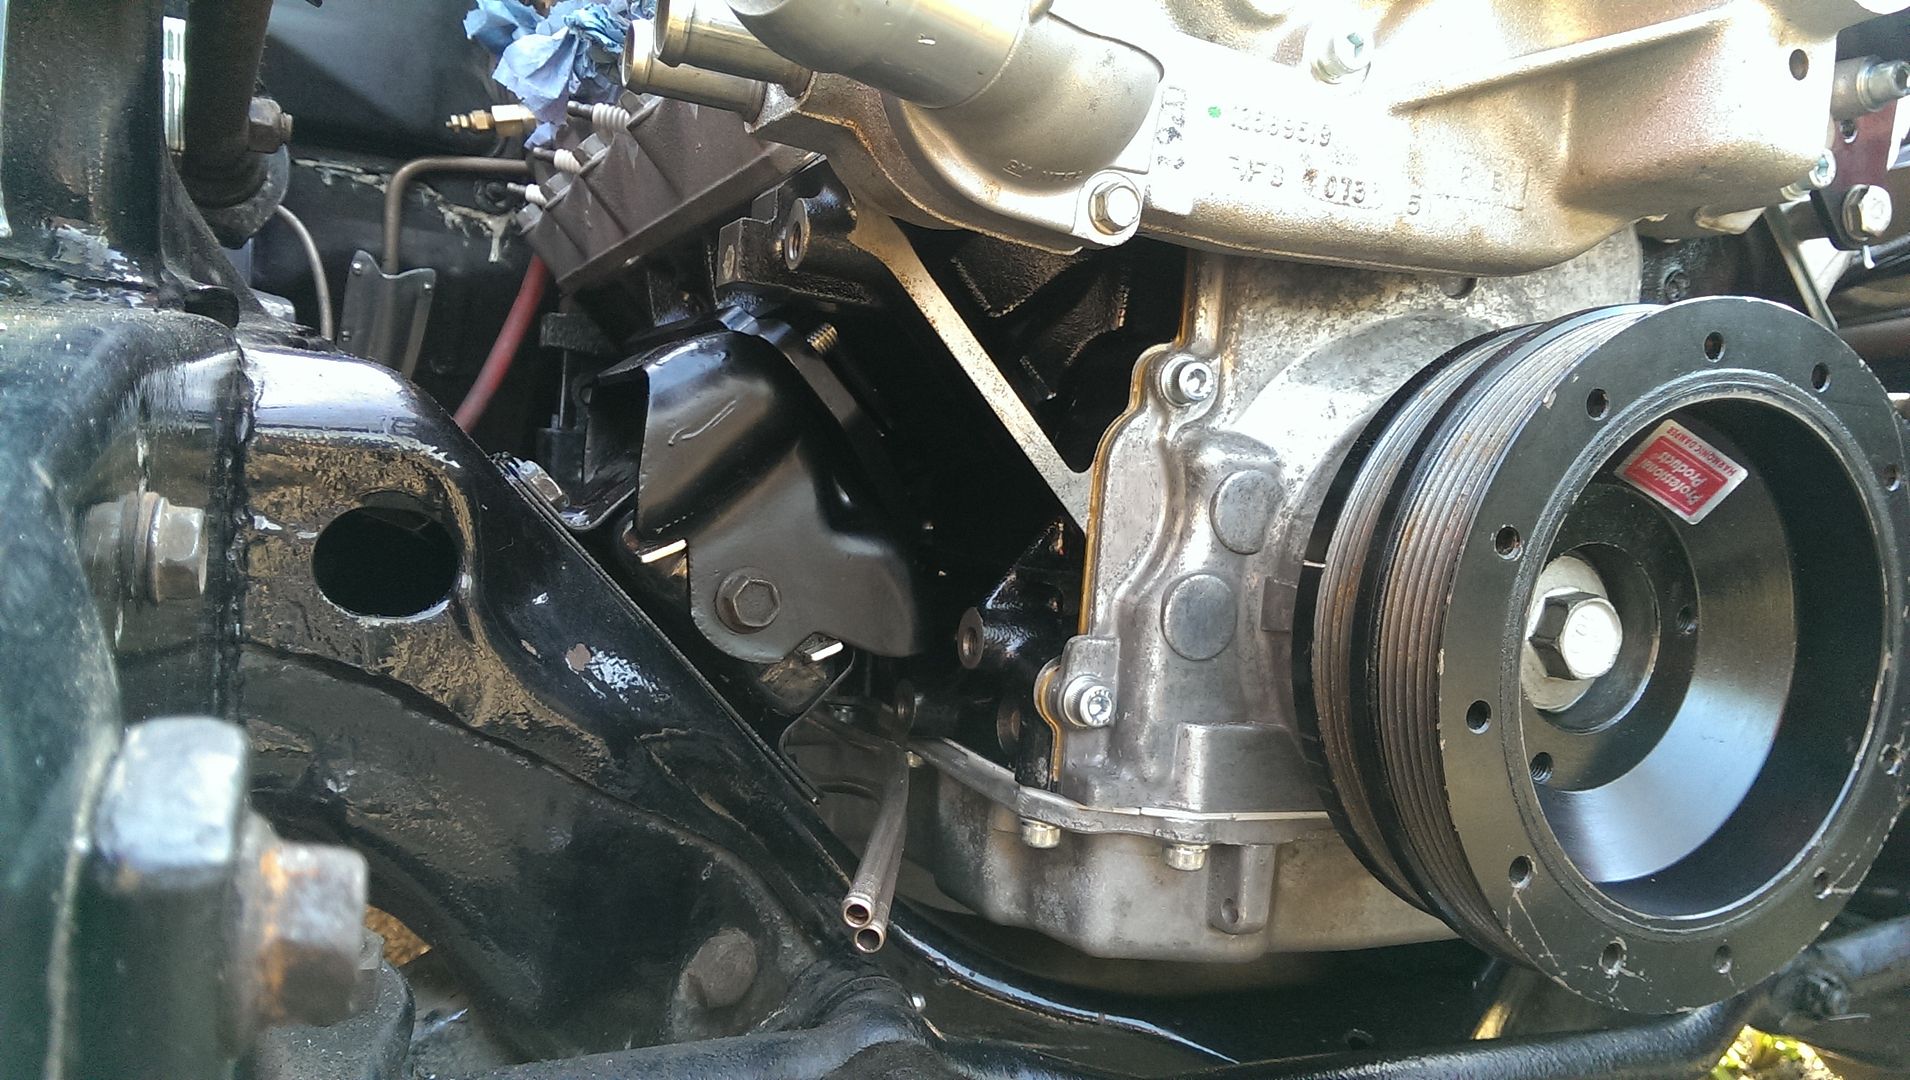
Next up I fitted the water pump and power steering pump, no real dramas there. The alternator is very close to the sub-frame but there is enough clearance for everything to work. I've left it off until I have primed the oil system as I need access to the port on the side of the block

IMAG1535_zpssq3vernx.jpg


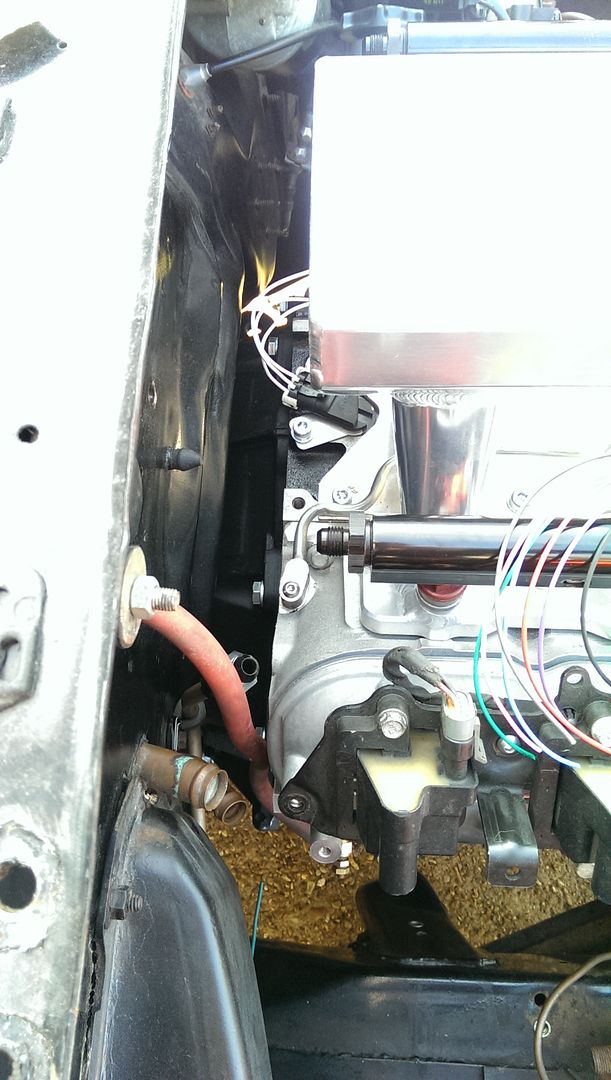
Last job was to refit the hood and chop a bit out to clear the intake, I'll need to cut some more once I have the hoses and filter fitted, but it should all sit under the scoop nicely

IMAG1536_zpseeg9antg.jpg
 

jdk971

Well Known Member
Supporting Member 6
get a set of oem exhaust manifolds from a vette. i am using stock ls3 manifolds. they flow fine, and they put a lot of time
and money designing them. jmho jim
 

Sera

Active Member
Thank you guys.

I'm considering my options on the exhaust - I really need to be running 1 7/8" headers for the power I am ultimately planning - so makes sense to get the right ones from the start.

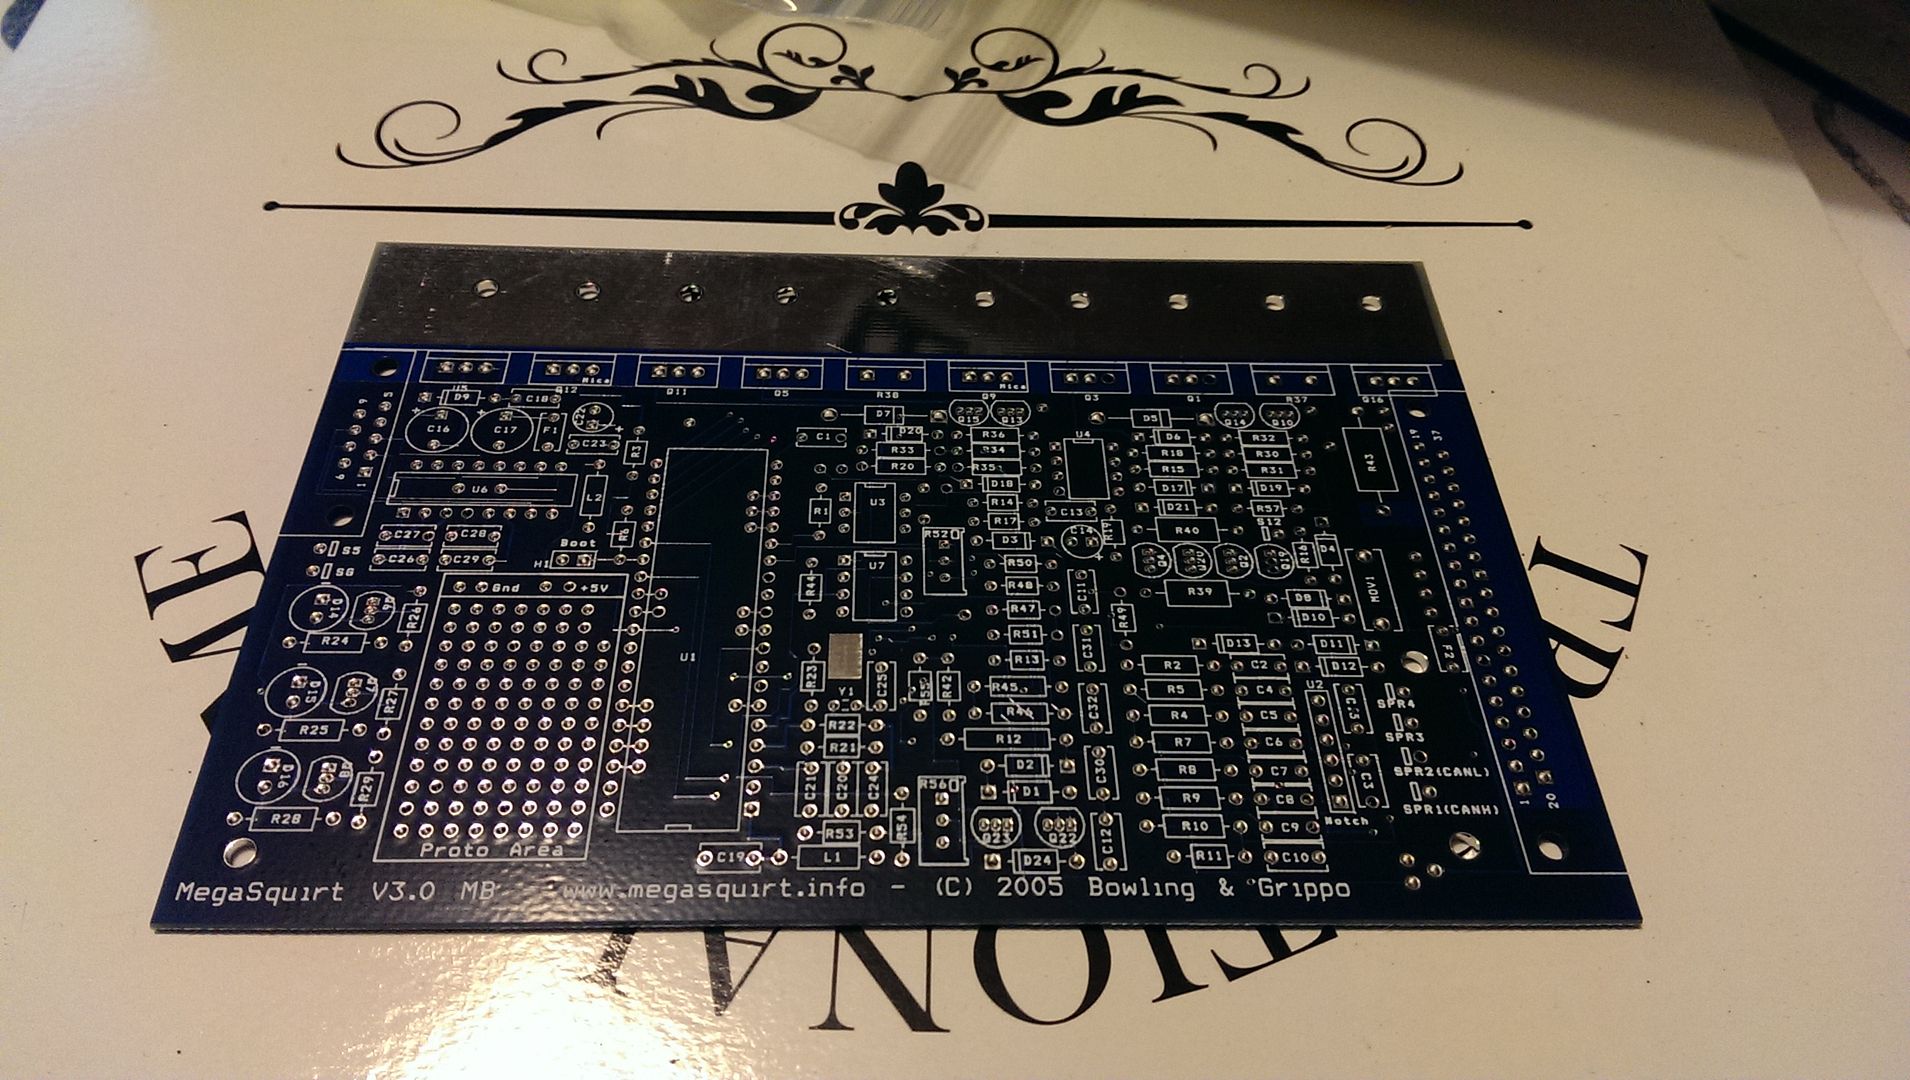
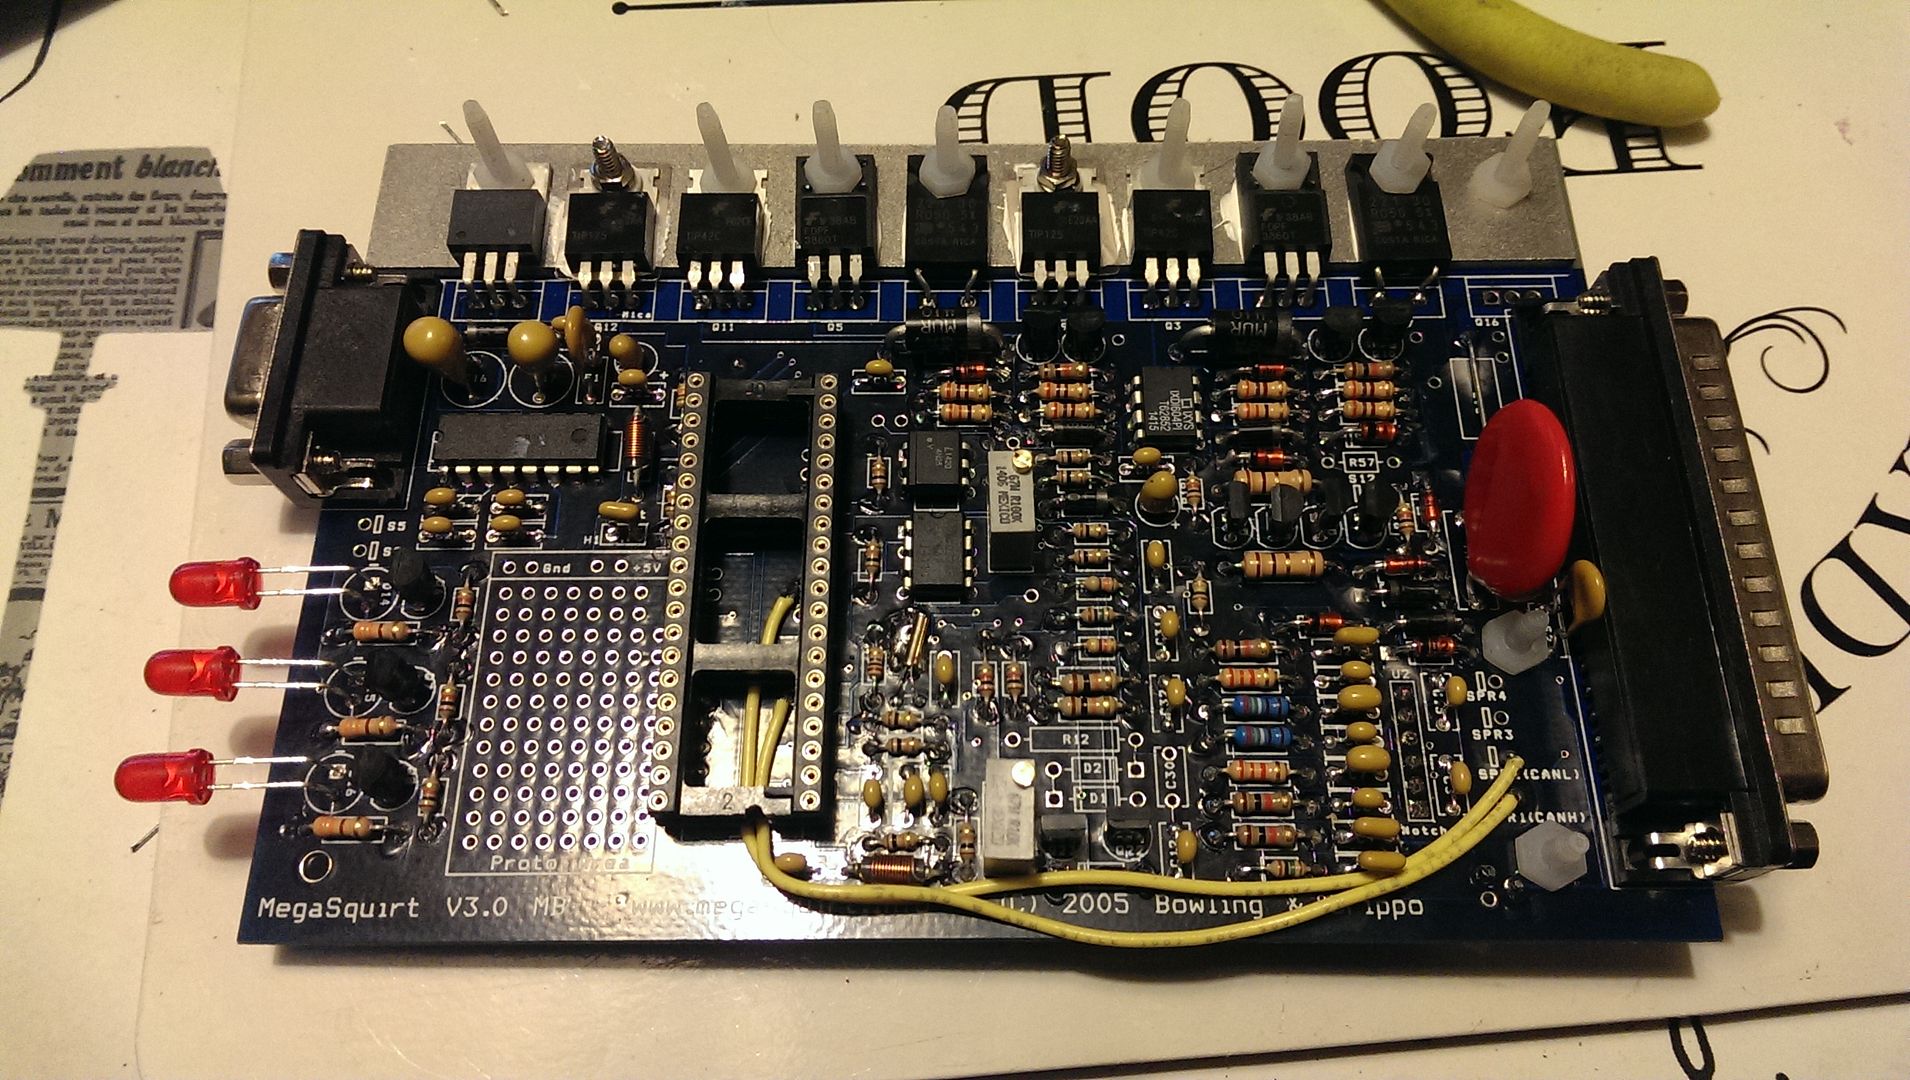
After its too cold and dark outside I've been working on building the ECU up for this. I'm using Megasquirt 3x so I can run sequential fuel and spark. It's got more features than I need but it's future proof. It will also communicate directly with my Megashift transmission controller via CAN so it keeps things simple.

Take one bare board

IMAG1528_zpsdxiwygfe.jpg


Do a bit of electrical witchcraft

IMAG1537_zpsvzymq61r.jpg


At the stage of testing and cleaning the board now, before finally fitting the processor and cramming it all into its case.
 
Top